
Update Kitchen Tiles Without Removing Them: 3 Options
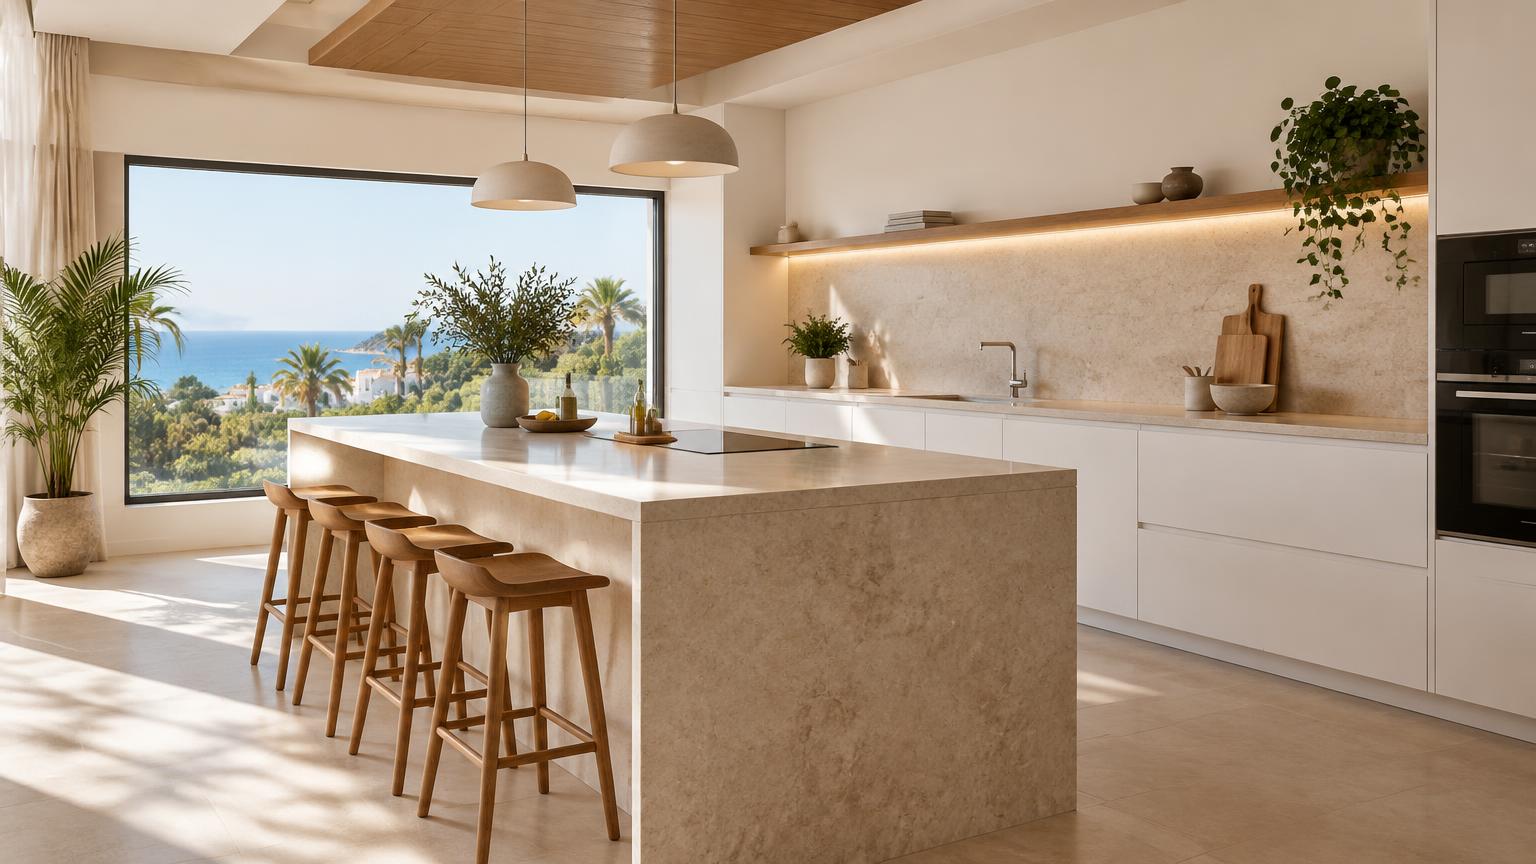
You can update kitchen tiles without removing them by painting the existing surface, applying self-adhesive vinyl or fitting wall panels over it. The right choice depends on whether the tiles are sound, how prominent the grout lines are and how much heat, water and grease the area receives.
These options avoid the disruption of stripping tiles, but they still need careful preparation. For a Costa del Sol home, check ventilation and any damp before covering the wall, especially if the kitchen is shut up between visits. Here is how to choose a finish, tackle the work safely and recognise when professional installation makes more sense.
1. Choose between tile paint, vinyl and wall panels
Start by separating decorative wall areas from the splashback behind the hob. Washable does not automatically mean heat-resistant, and a water-resistant face does not make every joint watertight.
- Tile paint changes the colour with very little added thickness. It suits firmly bonded tiles when you do not mind seeing the existing grout pattern.
- Self-adhesive vinyl offers patterns and colours with relatively simple installation. It works best on smooth, dry surfaces away from direct heat.
- Wall panels can conceal grout lines and minor surface imperfections. They require accurate measuring and careful detailing at edges and cut-outs.
Behind a hob, use only a system specifically approved for that location and follow the appliance manufacturer's clearance requirements. Ordinary decorative PVC panels or adhesive film are not automatically suitable.
A useful trade tip: view a sample beside the worktop under your actual kitchen lighting. A finish that looks warm in a showroom may look quite different at home.
2. Check and prepare the existing tiled surface
Good preparation matters more than a quick application. Grease, moisture and loose tiles can cause peeling paint, bubbling vinyl or panels that fail to bond.
- Inspect tiles, grout and seals. Resolve leaks, loose tiles and recurring cracks before covering anything.
- Degrease thoroughly with a compatible cleaner, particularly near the hob and beneath wall cupboards. Rinse and allow the surface to dry fully.
- Remove deteriorated silicone where the joint will be renewed. Paint and many adhesives do not bond reliably to silicone.
- Fill chips and recessed joints with a product compatible with your chosen finish.
- Sand or prime only as the coating or adhesive manufacturer requires, then remove all dust.
Gather gloves, eye protection, cloths, a filling knife, masking tape and covers for floors and worktops. Control dust and wear suitable respiratory protection if sanding.
In poorly ventilated coastal kitchens, look for condensation as well as leaks. Covering a damp wall does not solve the moisture problem and may simply hide damage while weakening the adhesive.
3. How to paint kitchen tiles
Choose a tile paint or coating system explicitly suitable for glazed ceramic and the intended kitchen location. You will also need any specified primer, the recommended roller, a brush, tray and masking tape. General-purpose paint is not necessarily suitable for a splashback.
- Protect cupboards, taps and worktops, and provide adequate ventilation.
- Prepare the tiles and carry out an adhesion test as instructed by the manufacturer.
- Apply primer if required and observe its drying time.
- Brush into corners and grout lines, then roll manageable sections for an even finish.
- Apply thin coats, allowing the stated interval between them.
- Wait for the specified curing period before washing, scrubbing or exposing the surface to frequent splashes.
Touch-dry is not the same as fully cured. Plan meals so you can limit steam and greasy cooking while the coating hardens.
Common mistakes include applying thick coats, painting over silicone and cleaning too soon. Paint also follows the existing surface: deep grout lines and raised decorative tiles will not become flat just because their colour changes.
4. Fit adhesive vinyl without bubbles or visible grout lines
Select vinyl intended for kitchen walls and check its temperature, cleaning and water-exposure limits. Tools usually include a tape measure, spirit level, metal straightedge, sharp craft knife and application squeegee, plus any products needed to smooth the substrate.
- Measure and plan the layout before cutting, including pattern alignment.
- Level recessed grout lines where the product instructions require it. Thin vinyl can reveal them after application even if it initially looks smooth.
- Mark a level starting reference rather than assuming the worktop is perfectly horizontal.
- Peel back the backing gradually and smooth from the centre towards the edges without stretching the material.
- Finish seams, corners and junctions using the manufacturer's specified method.
Do not use heat to shape the film unless this is permitted. Avoid improvised sealing, too: an incompatible sealant may stain the material or weaken its edge bond.
Test a discreet patch first. Vinyl may be appealing in a rented property, but removal is not guaranteed to be residue-free or damage-free. Agree changes with the landlord beforehand.
5. Install wall panels over tiles
Options include PVC, laminate and various composite panels, alongside glass or metal splashbacks for specific applications. Suitability depends on the actual product and installation system, not simply the material's name. Check heat resistance, moisture resistance, cleaning requirements and adhesive compatibility.
You will need measuring tools, a level, the specified adhesive, an applicator gun, trims and compatible sealant. Cutting tools depend on the panel; made-to-measure glass needs specialist preparation.
- Confirm that the tiles are firmly bonded. Sticking panels over loose tiles does not secure the underlying wall finish.
- Make templates around sockets, corners and awkward junctions.
- Dry-fit every piece and check cut-outs and clearances before applying adhesive.
- Follow the prescribed adhesive pattern and support the panel for the required setting period.
- Finish edges and joints while maintaining specified expansion gaps.
Added thickness can interfere with sockets, taps or appliances. Do not force fittings into place or conceal connections that must remain accessible. Poorly detailed joints are vulnerable to water ingress, particularly along the worktop.
6. Indicative costs and everyday maintenance
For straightforward surfaces, the following are indicative material-only ranges, excluding labour and substantial repairs to the existing wall:
- Tile paint and primer where required: €15–€35 per m².
- Self-adhesive wall vinyl: €15–€50 per m².
- Decorative wall panels: €30–€100 per m².
Prices vary with material quality, the condition of the existing surface and location. Special formats, trims, sealants, cut-outs and small project sizes can increase the effective cost per square metre. Obtain separate quotations for bespoke glass and specialist heat-resistant splashbacks.
Ask quotations to itemise preparation, materials, finishing details, protection and cleaning. A headline square-metre rate may not cover the same work from one contractor to another.
For maintenance, use soft cloths and cleaning products approved by the finish manufacturer. Avoid abrasive pads and direct steam unless expressly permitted. Wipe up splashes and inspect seals along the worktop.
Rather than relying on a promised lifespan, consider actual use: a frequently occupied holiday rental needs a finish that tolerates more regular cleaning than an occasionally used kitchen.
7. When to call a professional
Get professional advice for persistent damp, loose tiles, recurring cracks or an uncertain heat rating behind the hob. Large panels, numerous cut-outs and awkward corners also favour experienced installation: detailing matters as much as the chosen material.
If work affects sockets or electrical accessories, switch off the relevant supply at the consumer unit and verify that it is dead using a suitable voltage detector before intervening. Do not alter wiring without appropriate competence. In Spain, new electrical installations and extensions require an authorised installer and the relevant installation certificate, commonly called a boletín, under the REBT. Ask an electrician about any socket adaptations needed to accommodate thicker panels.
Gas work is never a DIY job. Do not disconnect or move gas appliances or pipework yourself; use an appropriately authorised installer.
For a property on the Costa del Sol, ReformaClick helps you find renovation companies and request quotations without obligation. Share photographs, dimensions and your preferred finish so the necessary preparation can be assessed.
Frequently asked questions
Can you cover kitchen tiles without taking them off?
Yes. Compatible paint, adhesive vinyl or wall panels can go over sound, clean, dry tiles. Leaks, loose tiles and unstable areas must be repaired first rather than concealed.
Is painting kitchen tiles better than using vinyl?
Paint adds very little thickness but keeps the existing grout pattern visible. Vinyl offers decorative designs, although it needs a smoother base and has product-specific heat and moisture limits. Choose according to the wall's condition and location.
Can self-adhesive vinyl go behind a hob?
Only if the product is specifically approved for that position and the hob manufacturer's conditions and clearances are met. If suitability is unclear, choose a purpose-made heat-resistant splashback instead.
How long does kitchen tile paint last?
There is no universal lifespan. Preparation, the coating system, curing, ventilation and cleaning all affect performance. Grease left beneath the coating or abrasive cleaning can cause premature deterioration.
Will grout lines show through a new covering?
They normally remain visible with paint. Thin vinyl may need a compatible smoothing layer first. Some panels conceal grout lines, but they still require a stable, sufficiently flat surface and correct installation.
Would you rather hire a professional?
Tell us about your project and we will connect you with renovation companies on the Costa del Sol. No obligation.
Get a quote