
Painting Kitchen Cabinets: A Practical Makeover Guide
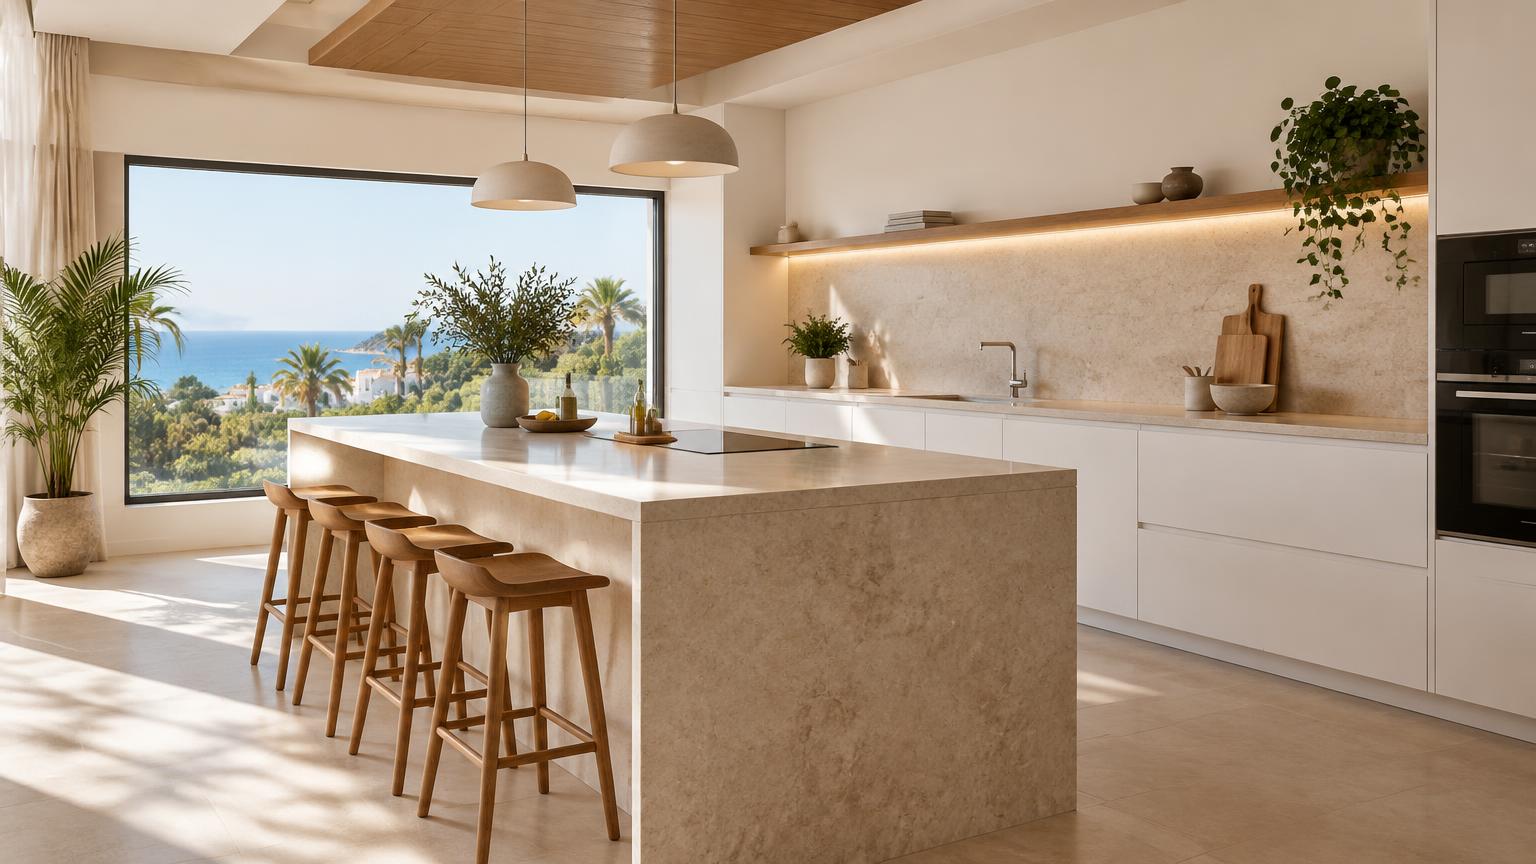
Painting kitchen cabinets can give a tired kitchen a fresh look without replacing sound units. The key is not simply choosing a colour: grease removal, surface preparation and a compatible paint system determine whether the finish stays put. Timber, MDF and melamine can all be painted, but each needs the right approach.
A weekend may be enough to prepare and paint a small kitchen, provided the products’ drying times allow it. It is not necessarily enough for the finish to become fully hard. Expect a further curing period before normal cleaning and heavy use, and plan somewhere safe for doors to dry.
1. Check whether your cabinets are worth painting
Inspect doors, drawer fronts, end panels and plinths before buying paint. A new coating cannot fix swollen board, loose hinges or an underlying damp problem. Pay particular attention to units beside the sink, dishwasher and oven, where moisture and heat can cause damage.
- Solid timber: generally suitable if stable and properly prepared.
- MDF: paintable when sound, although exposed edges need careful sealing.
- Melamine and laminate: need products designed to adhere to smooth, non-porous surfaces.
- Vinyl-wrapped doors: peeling or lifting film must be dealt with first; painting over it will not stabilise it.
Tighten loose fittings and fill minor dents with an appropriate filler. Replace badly swollen components and resolve any leaks before decorating. Check whether replacement doors would make more sense if the existing ones are warped or extensively damaged.
Try the complete paint system on an inconspicuous area first. Clean, prepare, prime and paint it, then allow the specified drying time before checking adhesion as directed by the manufacturer.
2. Choose suitable paint and assemble your kit
Choose a cabinet or furniture enamel suitable for kitchen use, with resistance to everyday handling and cleaning once fully cured. Water-based products can be convenient because of their lower odour and easier tool cleaning, but suitability matters more than the label alone. Ordinary wall emulsion is not a substitute.
Satin is often a practical finish, showing fewer minor imperfections than high gloss. Matt can also work when the product is designed for this level of wear. Do not automatically add wax or clear varnish: use a protective topcoat only if it is part of a compatible system.
Gather:
- Suitable degreaser, clean cloths and water where rinsing is required.
- A screwdriver, labels and bags for hinges and screws.
- Fine abrasives, typically around 180–240 grit where appropriate.
- A vacuum, masking tape and worktop and floor protection.
- Compatible filler, adhesion primer and cabinet paint.
- A mini roller recommended for the paint, a brush and stable supports.
- Gloves, eye protection and respiratory protection suited to the dust or product.
Trade tip: read the technical sheets before purchasing. Application temperatures, recoating intervals and curing times determine whether your weekend plan is realistic.
3. Remove doors, clean thoroughly and protect surfaces
Photograph the kitchen before dismantling anything. Label each door and its original position, and keep the corresponding fixings together. Remove handles rather than painting around them. Laying doors flat on stable supports usually makes application easier and reduces runs.
- Empty the units you will be working on and move nearby food and utensils.
- Cover worktops, floors, appliances and any surfaces that must stay unpainted.
- Degrease thoroughly, concentrating on handle areas and cupboards near the hob.
- Remove cleaner residues as instructed and allow everything to dry completely.
Clean before sanding. Abrading a greasy surface can spread contamination and compromise adhesion. Avoid soaking MDF or chipboard edges and joints, as water can cause swelling.
Ventilate the room without blowing dust across wet paint. In a Costa del Sol home, strong sunshine can make doors and outdoor work areas too hot for proper application. Work in shade within the product’s stated temperature limits.
If work takes you close to electrical fittings, switch off the supply at the consumer unit and verify that it is dead using a suitable detector. Do not disconnect gas appliances or pipework.
4. Lightly sand and apply the right primer
A sound existing finish does not normally need stripping back completely. The aim is to remove the sheen and produce an even surface, not grind through the coating or damage the board beneath. Use a suitable fine abrasive and take particular care around edges and corners.
Vacuum the dust, then wipe with an appropriate lint-free cloth that will not leave residues. Fill small defects, allow the filler to dry and sand it level. If new handles have different fixing centres, fill the old holes and mark the replacements before painting.
Apply a thin coat of primer where the chosen system requires it. For melamine or laminate, check that the primer explicitly covers that substrate. Timber with staining or tannin bleed may need a stain-blocking primer, while exposed MDF edges may require compatible sealing.
Follow the stated recoating interval. Sand between coats only when recommended, and remove all dust before continuing. If an old coating is unidentified, crumbling or potentially hazardous, avoid aggressive sanding and seek professional advice before disturbing it.
5. Apply thin coats and allow time to cure
Stir the paint as directed and do not thin it unless the manufacturer allows it. Brush mouldings and awkward corners first, then roll the flat areas. Keep a wet edge and avoid repeatedly going back over paint that has started to set.
Apply the number of coats specified by the system, commonly two finish coats, with the full recoating interval between them. Thin, even coats are preferable to one heavy layer. Watch for build-up around handle holes, lower edges and recessed profiles.
A sensible schedule is:
- Before the weekend: select products, test compatibility and prepare a drying area.
- Day one: dismantle, degrease, repair, sand and prime.
- Day two: apply finish coats if the product timings permit.
- Following days: allow hardening, refit carefully and keep use gentle.
Painting both sides adds handling and drying time. Do not turn doors onto a still-soft finish or stack them because they feel dry to the touch.
Refit hardware once the coating is ready for handling, without overtightening handles. Until full cure, avoid knocks, heavy steam, grease splashes and detergent cleaning. Touch-dry, ready to recoat and fully cured are different stages.
6. Budget realistically and avoid common mistakes
For a small kitchen, DIY materials may cost approximately €100–€300, excluding major tools and replacement components. Professional preparation and painting might fall around €700–€2,000 for a small to medium kitchen. Workshop spraying, extensive repairs or complicated removal can take the total above that range.
These are indicative prices, not quotations. They vary with material quality, existing condition and location, as well as the number of fronts, whether both sides are painted and the finish required. Compare like-for-like quotations and check whether VAT, transport, removal and refitting are included.
Common mistakes include:
- Leaving grease or cleaning-product residue behind.
- Skipping a primer that the substrate needs.
- Overloading the roller to avoid another coat.
- Recoating too soon or refitting soft doors.
- Expecting a workshop finish without thorough preparation.
Once cured, use a soft cloth and a cleaner approved for the coating. Avoid abrasive pads and standing water around joints. Keep the colour reference and some correctly stored leftover paint for small future touch-ups.
7. When to bring in a professional
Professional help is worthwhile for a large kitchen, detailed mouldings, demanding gloss finishes or doors with unstable coatings. It also makes sense if you lack a clean, ventilated space where pieces can dry undisturbed. Spray painting requires suitable equipment, protection and overspray control; it is not an easy shortcut inside an occupied home.
If the makeover includes moving sockets, wiring or fixed lighting, use an authorised electrician. In Spain, new electrical installations and extensions require an authorised installer and the relevant electrical certificate, commonly called a boletín, under the REBT. Before electrical work, the supply must be isolated at the consumer unit and verified dead with a suitable detector. Gas work is never a DIY task: disconnection or alterations must be handled by an appropriately authorised professional.
Ask for a quotation specifying preparation, products, repairs, painted surfaces and drying and curing times. If your property is on the Costa del Sol, ReformaClick helps you find renovation companies and request a quotation without obligation.
Frequently asked questions
Can you paint melamine kitchen cabinets?
Yes, provided the melamine is firmly attached and in good condition. Thorough degreasing, appropriate preparation and a compatible adhesion primer and topcoat are essential. Test the system on a discreet area first.
Can kitchen cabinets be painted without sanding?
Some products allow this on specified surfaces, but check their technical instructions. A no-sanding system still requires thorough cleaning and cannot stabilise peeling or poorly attached coatings.
How long does cabinet paint take to dry?
It depends on the product, temperature and humidity. Touch-drying, recoating and full curing have different timings. Painting may fit into a weekend, while complete hardening can take several days or weeks.
Is it better to paint cabinets or replace the doors?
Painting is sensible when doors are sound and you like their design. Replacement is often more practical for swollen, warped or peeling doors, provided the cabinet carcasses remain in good condition.
Would you rather hire a professional?
Tell us about your project and we will connect you with renovation companies on the Costa del Sol. No obligation.
Get a quote