
Tiled Walk-In Shower: Construction and Waterproofing
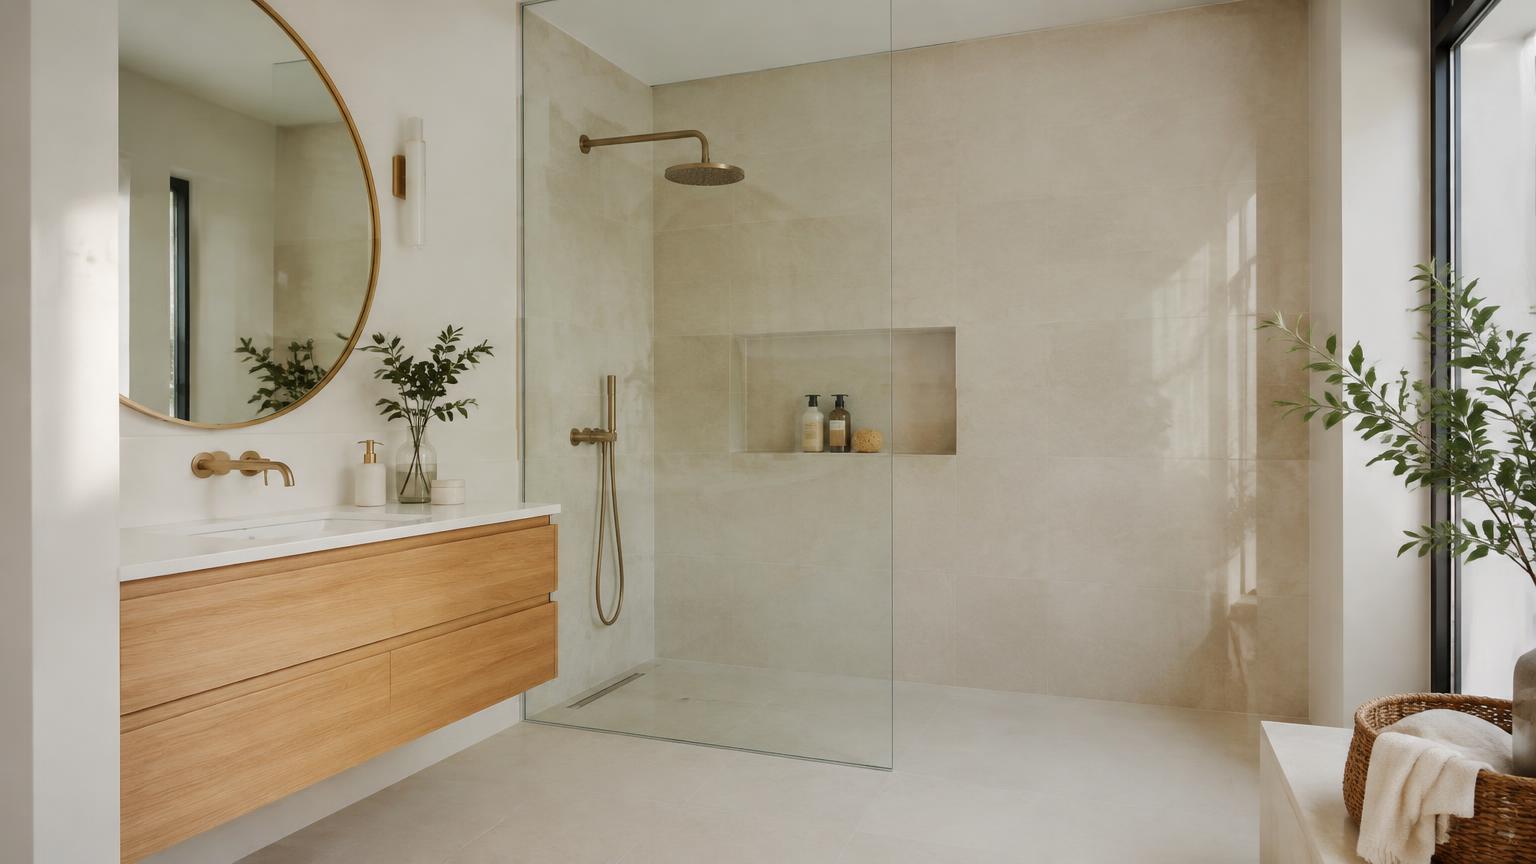
A tiled shower without a tray uses a sloping, tiled floor to direct water into a drain. Its watertightness comes from a continuous waterproofing system beneath the tiles, not from the tiles or grout themselves. Getting that hidden layer right matters more than the choice of finish.
For a genuinely level-access shower, there must also be enough depth for the drain, trap and floor build-up. In Costa del Sol apartments, this needs checking before demolition starts. This guide explains the construction sequence, suitable waterproofing options and the questions to ask your contractor.
1. Check whether a level-access shower is feasible
A tiled shower can be built without a conventional tray, but it cannot always sit flush with the existing bathroom floor. The available depth and the height of the waste connection are the main constraints.
Before agreeing a layout, establish:
- The space needed for the sloping base, membrane, adhesive and tiles.
- The depth of the drain body and water trap.
- The route and fall of the waste pipe.
- Whether pipes, underfloor heating or structural elements are present.
- The entrance width and position of the shower screen.
Do not chase into a structural floor slab simply to make the drain fit. Any proposed structural alteration needs proper technical assessment. Raising the bathroom floor or accepting a small step may be safer alternatives.
Level access is also only one part of accessibility. Clear entry space, room to move and a suitable slip-resistant surface all matter.
2. Choose compatible materials and the right tools
Start with the waterproofing system and a drain designed to connect to it. Buying a membrane, drain and sealing accessories independently without checking compatibility can create weak points that become expensive to reach later.
A typical materials list includes:
- Suitable screed or a tileable shower former with built-in falls.
- Primer where required by the substrate or system.
- A sheet membrane or liquid waterproofing product approved for shower use.
- Sealing tapes, corner pieces and pipe collars.
- A drain with a watertight membrane connection and an accessible trap.
- Compatible tile adhesive, tiles, grout and flexible sealant.
Tools usually include a tape measure, spirit or laser level, straightedges, mixer, trowels, tile cutter and the membrane application tools specified by its manufacturer. Use gloves, eye protection and effective dust control when stripping out or cutting.
Professional tip: obtain the technical instructions before ordering. Required overlaps, coverage, thickness and drying times should come from the chosen system, not guesswork.
3. Build the base, drainage and floor falls
The precise order varies between systems, but the essential stages are:
- Remove the necessary finishes and check that the substrate is sound, clean and free from active cracking.
- Set the finished floor level, allowing for tile and adhesive thickness.
- Connect and secure the drain, then check the waste connections before concealing them.
- Form the falls with an appropriate screed or install the shower former as instructed.
- Allow the base to cure before applying waterproofing.
A fall of approximately 1–2% is a common design reference for shower floors, subject to the selected system and layout. The finished surface must drain without backfalls or pockets of standing water.
A point drain normally needs several sloping planes. A linear drain against a wall may allow a simpler arrangement. Check drainage capacity against the shower's water output too: a large grate cannot compensate for an unsuitable waste pipe or poor installation.
4. Waterproof the whole shower, not just its floor
The waterproofing, often called tanking, must form a continuous barrier beneath the finish. It needs a watertight connection to the drain and protection up the walls exposed to shower water. A flush entrance also needs a properly designed transition into the bathroom; a glass screen does not replace waterproofing.
Common options are:
- Sheet membranes: joints need the specified overlaps or sealed connections and compatible accessories.
- Liquid membranes: performance depends on the required coverage, finished thickness and coats, with reinforcement where specified.
- Waterproof tileable boards or formers: joints, fixings and drain connections still need sealing as a complete system.
Pay particular attention to internal corners, wall-to-floor junctions, pipe penetrations and the drain flange. Covering the easy, flat areas is not enough.
Wall protection should cover the area exposed to splashing and direct water, following the system instructions and shower design. There is no single universal waterproofing height for every installation. Ordinary silicone beads are not substitutes for specified tapes, collars or drain connections.
5. Test before tiling and avoid common mistakes
Check the waterproofing before it disappears under tiles. Where the system and site conditions allow, carry out a controlled watertightness test in accordance with the technical instructions, using the correct drain closure, water level and observation period. Do not improvise by flooding the bathroom.
Once the installation has passed its checks:
- Lay tiles without puncturing the membrane and achieve the required adhesive coverage.
- Preserve the falls all the way to the drain.
- Keep movement joints and use flexible sealing at the specified junctions.
- Allow adhesives, grout and sealants to cure before use.
- Check drainage and whether water escapes beyond the intended shower area.
Choose flooring suitable for wet barefoot use, rather than relying on appearance or texture alone. Smaller tiles can follow complex falls more easily; large tiles need careful planning and cutting.
Typical mistakes include waterproofing an unstable base, applying insufficient product, damaging the membrane during tiling and drilling through it for screen fixings. Even epoxy grout does not replace a waterproof membrane.
6. Budget for the work and plan simple maintenance
As a broad guide, replacing an existing shower with a tiled, trayless installation may cost around €1,800–€4,500. Projects involving waste alterations, a raised bathroom floor, substrate repairs or extensive retiling may reach €4,500–€8,000 or more. These are indicative ranges that vary with specification, existing condition and location, rather than prices for a complete bathroom renovation.
Ask for an itemised quotation covering strip-out, waste disposal, plumbing, falls, waterproofing, tiling, the screen and applicable taxes. Establish which items are excluded and how unexpected repairs would be priced.
Routine care should include:
- Clearing hair and debris from the grate and accessible trap.
- Using cleaning products suitable for the tiles, stone and joints.
- Checking flexible seals, especially around the screen.
- Ventilating the bathroom to help surfaces dry.
Persistent smells may indicate a trap or drainage problem. If damp patches appear in an adjoining room or the ceiling below, stop using the shower and arrange an investigation.
7. When to bring in a professional
Professional installation is particularly advisable for waterproofing and its connection to the drain, especially in apartments with neighbours below. Get specialist advice if the available depth is uncertain, existing damp is present or the waste layout needs changing.
Ask the contractor to identify the waterproofing system, explain the junction details and describe the checks planned before tiling. Photographs of the hidden layers and connections provide a useful record for future maintenance or repairs.
If electrical work is involved, switch off the electricity at the consumer unit and verify that the circuit is dead using a suitable detector. In Spain, new electrical installations and extensions require an authorised installer and the appropriate installation certificate, commonly called a boletín, under the REBT. Never attempt DIY work on gas services; use an authorised gas installer.
For a property on the Costa del Sol, ReformaClick helps you find renovation companies and request quotations without obligation, so you can have the shower's feasibility assessed before committing.
Frequently asked questions
Is a tiled shower better than a shower tray?
It depends on your priorities. A tiled shower offers flexibility in size and finish, but requires careful falls and waterproofing. A manufactured tray also needs correct support, drainage and watertight junctions.
Can I install a trayless shower in an older Spanish apartment?
Often, but the substrate, waste pipe and available depth need checking first. A completely flush floor may not be feasible without raising the surrounding bathroom floor. Do not assume the structural slab can be cut.
Will silicone over the grout stop a shower leaking?
It will not remedy missing or defective waterproofing beneath the tiles. Silicone is appropriate for certain flexible joints; a failed membrane usually requires opening up the affected finish to investigate and repair it.
How soon can I use a newly tiled shower?
That depends on the curing requirements of the base, waterproofing, adhesive, grout and sealants. Your installer should confirm when it is ready using the product instructions and actual temperature and humidity conditions.
Would you rather hire a professional?
Tell us about your project and we will connect you with renovation companies on the Costa del Sol. No obligation.
Get a quote