
Replace a Bath with a Shower: Steps, Costs and Timescales
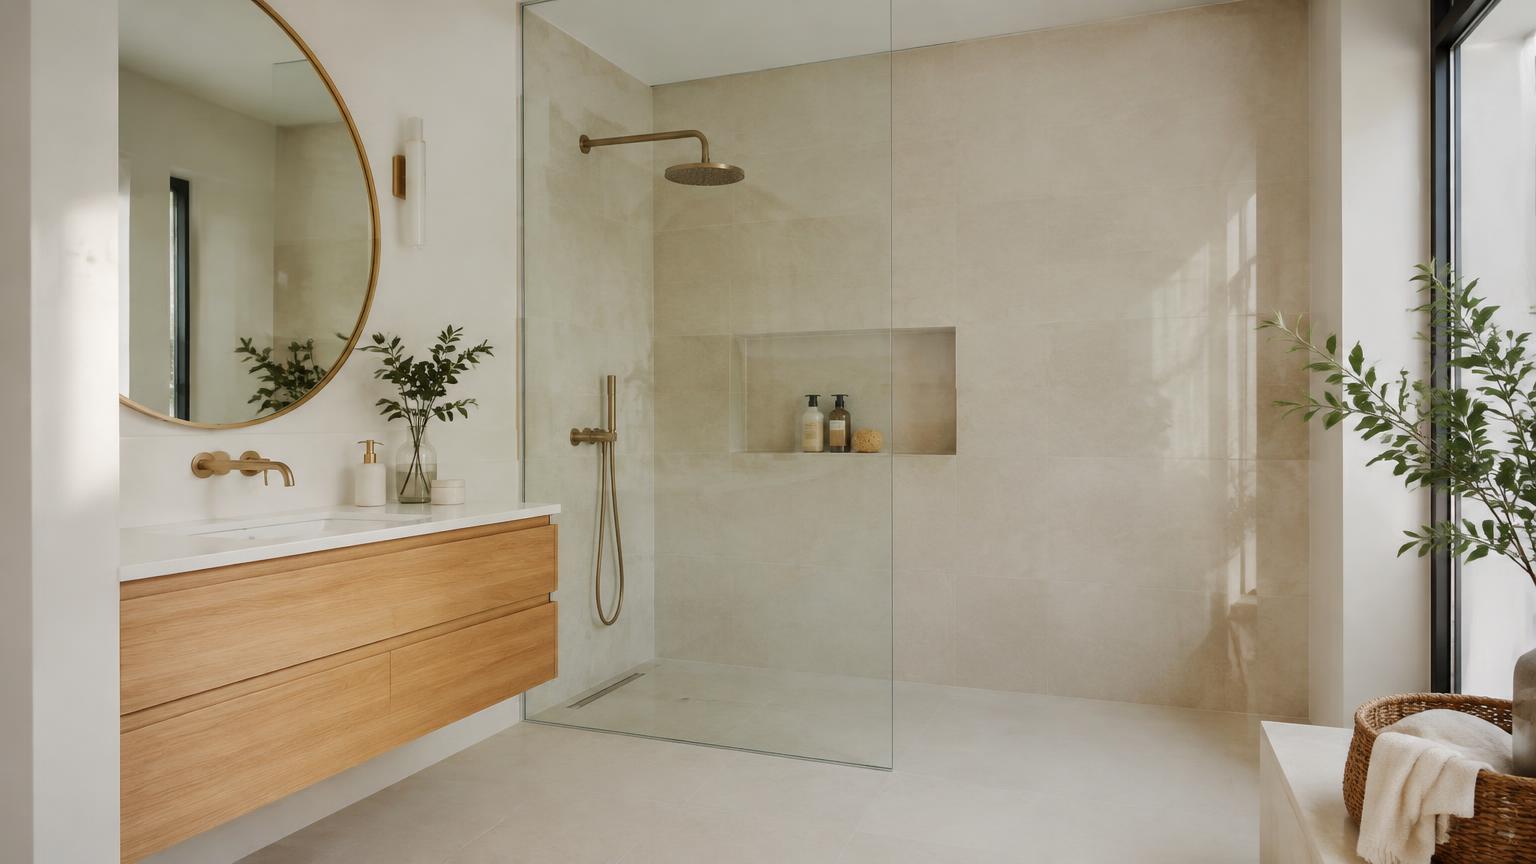
To replace a bath with a shower tray, you need to remove the bath, check the waste pipe, prepare a stable base, waterproof the wet area and fit the tray, wall finishes and screen. Getting the drainage and waterproofing right matters much more than simply choosing an attractive tray: mistakes can damage your bathroom and the property below.
A straightforward conversion often takes 2 to 4 working days, but drying times, deliveries and hidden defects can extend the overall schedule. For homeowners on the Costa del Sol, this guide explains what to check, how the work should progress and what to ask before accepting a quote.
1. Check the space, waste pipe and available depth
Measure the bath recess at several points, rather than relying on the bath’s advertised dimensions. Check the available depth, bathroom access and where the shower screen will open. Walls are not always square, particularly in older properties.
The crucial measurement is the height and position of the waste connection. This determines whether there is enough room for the shower outlet, trap and a properly falling waste pipe.
Before ordering anything:
- Photograph visible pipework and the surrounding finishes.
- Locate the water isolation valves.
- Check whether spare matching tiles are available.
- Note doors, toilets and furniture that could obstruct access.
A low-profile tray does not automatically create a level-access shower. A small raised base may be needed to accommodate the drainage. Never cut into a structural floor slab or other structural elements to gain depth without an appropriate technical assessment. Confirm what is achievable before choosing the finished design.
2. Choose the tray, screen and compatible materials
Common options include mineral-filled resin, ceramic and acrylic shower trays. Compare cleaning requirements, weight, durability, installation instructions and the manufacturer’s declared slip-resistance performance. Appearance alone is not enough.
The waste fitting must suit the tray and handle the shower’s flow rate. A trap that can be cleaned from above makes maintenance easier. For the screen, consider the clear entrance width and cleaning access. A short fixed panel may look spacious but allow water to splash onto the bathroom floor.
Typical materials include:
- Shower tray, compatible waste, trap and pipework.
- Waterproofing system, including corner tapes and connection details.
- Specified bedding material, adhesive and grout.
- Wall finishes and compatible sanitary sealant.
Tools include a tape measure, spirit level, plumbing tools, drill, controlled demolition and cutting equipment, vacuum cleaner, gloves, goggles and suitable respiratory protection.
Follow the specified installation system. Substituting incompatible adhesives or waterproofing products can undermine both bonding and watertightness.
3. Remove the bath and inspect the exposed area
Protect the route out of the property, the remaining sanitaryware and any flooring being retained. Isolate the water and confirm that the supply is off before disconnecting affected taps or pipes. Disconnect the waste, then carefully remove sealant, the bath panel or masonry surround and fixings.
Heavy baths need suitable handling equipment and enough people to move them safely. Avoid uncontrolled demolition before identifying concealed services. Arrange lawful disposal of the rubble and old fittings, checking local collection and waste-facility rules.
Once the bath is out, look for:
- Damp, mould and crumbling surfaces.
- Corroded pipes or leaking connections.
- Loose flooring and uneven supports.
- Untiled wall areas that will need finishing.
If cables are exposed or electrical work is involved, switch off the electricity at the consumer unit and verify it is dead using a suitable voltage detector. In Spain, new electrical installations and extensions require an authorised installer and the relevant installation certificate, or boletín, under the REBT. Gas work is never a DIY job.
4. Prepare the base and waterproof the wet area
The tray needs a sound, clean base shaped and supported as its manufacturer requires. Repair weak areas and allow levelling or repair materials to dry properly. Random blobs of adhesive are not a substitute for the specified support: voids can cause movement or cracking.
Dry-fit the tray and waste before fixing anything permanently. Check the available height, pipe route and access to connections. The waste pipe needs a continuous fall towards the outlet, without backfalls or unnecessary bends. The precise arrangement depends on the existing drainage.
Silicone alone is not a waterproofing system. Use a compatible system to address the shower walls, corners, pipe penetrations and the junction between the tray and wall. Follow the required preparation, coverage and curing instructions.
A useful professional habit is to photograph the pipework and waterproofing details before they are covered. These records make future maintenance easier and help establish exactly what was installed.
5. Fit the tray, finish the walls and test for leaks
The sequence varies with the chosen products, but these are the main installation checks:
- Connect the waste correctly. Check seals and alignment without forcing the fitting or adding sealants the manufacturer does not specify.
- Bed and secure the tray. Use the prescribed support and fixing method. Check the reference edges for level; the tray normally already incorporates its own drainage slope.
- Test accessible connections. Run water through the drainage and inspect for leaks before concealing it, while observing the installation system’s curing requirements.
- Complete the wall finishes. Maintain the specified joints and junction details. Do not fill movement joints with rigid grout.
- Install the screen. Follow its sealing instructions carefully. Some profiles must only be sealed on particular sides so their drainage paths remain open.
- Carry out a final water test. Once everything has cured, check drainage, joints and splash containment.
Only cut a shower tray if its manufacturer expressly permits it and provides a method.
6. Budget, timescales and mistakes worth avoiding
As a broad guide in Spain, a bath-to-shower conversion may cost €900–€2,800, including removal, a tray, basic plumbing adjustments, localised wall finishing and a simple screen. Work involving layout changes, extensive tiling or specialist arrangements may fall around €2,800–€5,000 or more. These are indicative ranges, varying with specification, existing condition and location.
Ask for an itemised quote showing VAT, waste disposal, waterproofing, the screen and how hidden defects will be priced. Compare the same scope of work rather than headline totals.
The usual 2 to 4 working days may not be consecutive. Allow for curing and deliveries; a made-to-measure screen may arrive later. Do not use the shower until every relevant product has cured.
Common mistakes include:
- Ordering before checking the drainage height.
- Keeping deteriorated pipes to reduce the initial bill.
- Relying entirely on silicone.
- Choosing a narrow entrance or slippery surface.
- Covering connections before testing them.
7. When to bring in a professional
You may be comfortable protecting furniture or choosing finishes, but concealed plumbing and waterproofing are best handled professionally. This is particularly important where there are existing leaks, ageing pipes, drainage alterations, structural concerns or electrical changes.
For someone with reduced mobility, removing the bath is only part of the solution. Consider the threshold, clear entrance width, turning space, a suitable seat and grab rails anchored into a strong backing. An attractive screen can still make the shower awkward to enter.
Before appointing a contractor, request a site visit, written scope and an explanation of the waterproofing system. Ask who handles unexpected defects and when the shower will actually be usable. Check any council requirements and owners’ association arrangements that apply, especially in an apartment building.
If your property is on the Costa del Sol, ReformaClick can help you find renovation companies and request a no-obligation quote to assess the right solution for your bathroom.
Frequently asked questions
Can I replace the bath without renovating the whole bathroom?
Yes, provided the plumbing and retained finishes are in suitable condition. The area previously hidden by the bath usually needs repairing and finishing, with proper waterproofing throughout the new shower area.
Can the shower tray sit flush with the floor?
Only if there is enough depth for the tray, waste, trap and pipe fall. Have this checked before ordering. A low-profile tray does not, by itself, guarantee a step-free installation.
How soon can I use the new shower?
Wait until the adhesives, grout, waterproofing and sealants have cured according to their technical instructions. Some sealants need 24–48 hours or longer, but the longest applicable curing period governs when the shower is ready.
What if matching wall tiles are no longer available?
Using a deliberately contrasting finish throughout the shower area often looks better than a near match. Choose a suitable wet-area material and ensure the transition preserves the continuity of the waterproofing.
Do I need permission for a bath-to-shower conversion in Spain?
Requirements depend on the municipality and scope of work. Ask the local council whether prior notification, a responsible declaration or another procedure applies. Check with the owners’ association if communal elements will be affected.
Would you rather hire a professional?
Tell us about your project and we will connect you with renovation companies on the Costa del Sol. No obligation.
Get a quote