
How to Tile a Bathroom: Tools, Cutting and Grouting
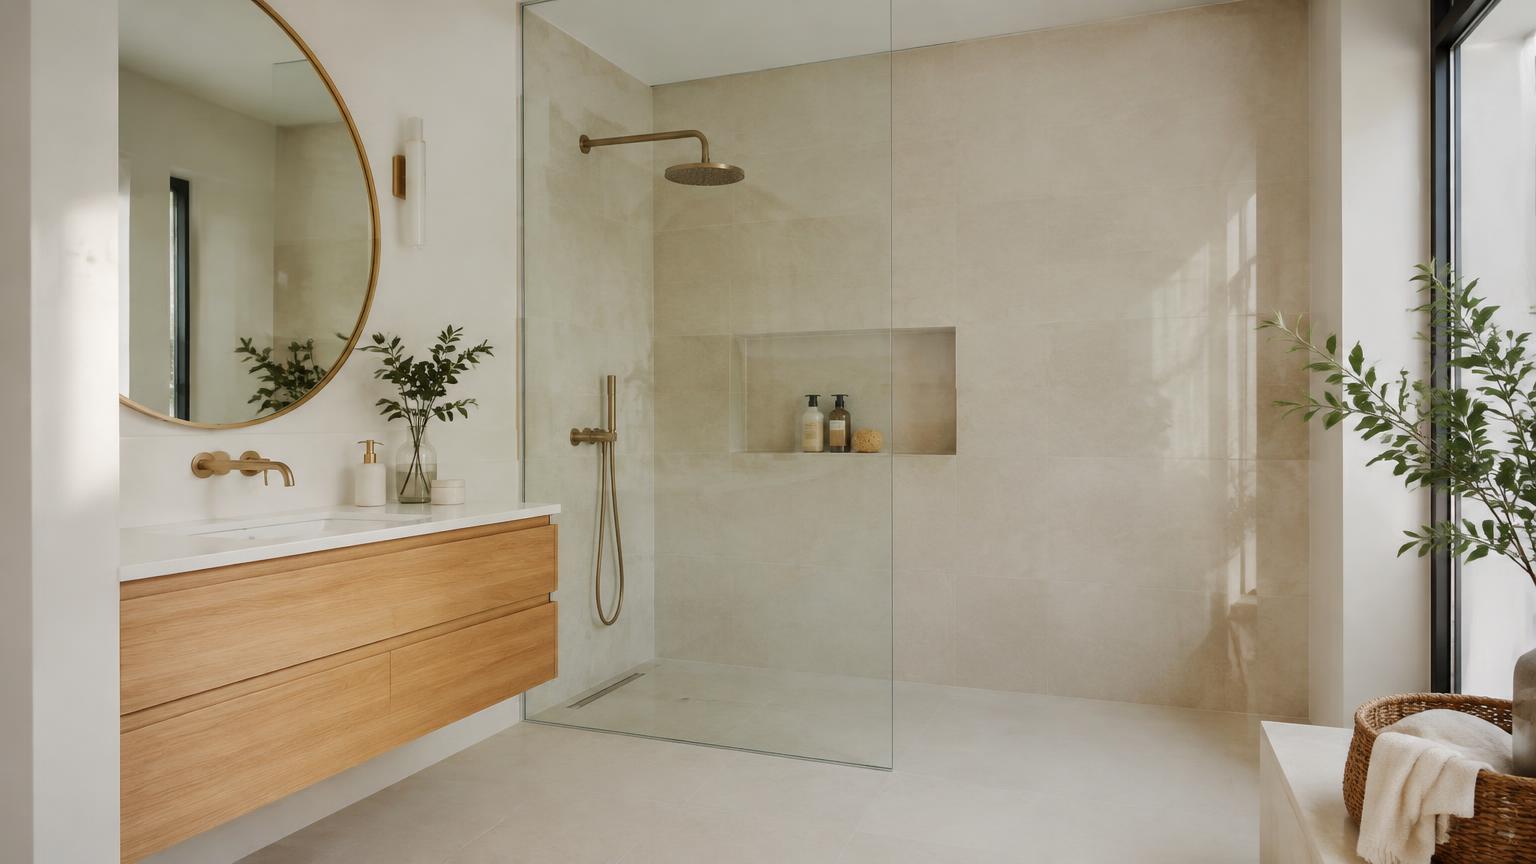
To tile a bathroom yourself, you need sound, flat walls, an adhesive suited to your tiles and a layout planned before you start mixing. The sequence is straightforward: prepare the surface, waterproof where required, set out, fix the tiles, allow the adhesive to cure and grout. Crucially, tiles and grout alone do not make a shower watertight.
A small, uncomplicated wall outside the shower area can be a reasonable project for a confident DIYer. Leaks, crumbling plaster and alterations to services need attention first. This guide covers bathroom wall tiling, with practical advice for choosing tools, making cuts and finishing neatly, including points relevant to homes on the Costa del Sol.
1. Measure up and assemble your materials
Measure each wall and sketch the positions of doors, windows, taps and other fittings. Calculate the tiled area and allow roughly 10–15% extra for cuts and breakages; complicated patterns may need more. Check batch, shade and size markings on the boxes where these are provided.
Your basic kit includes:
- Tiles, compatible tile adhesive, grout and sanitary silicone.
- Primer and a suitable waterproofing system where required.
- Notched trowel, small trowel, clean buckets and a low-speed mixing paddle.
- Spirit level or laser, long straightedge, tape measure, square and pencil.
- Tile spacers and, where appropriate, levelling clips.
- Tile cutter, suitable hole saw, rubber grout float and sponge.
- Gloves, eye protection, hearing protection and suitable respiratory protection.
For initial budgeting, ceramic tiles might cost €15–€60/m², with fixing materials around €8–€25/m², excluding tools and substantial repairs. These are indicative ranges only: prices vary with quality, the existing condition and location. Specialist finishes can cost considerably more.
2. Make the walls sound, flat and ready for water exposure
Remove loose finishes, adhesive residue, dust and grease. Gently tapping existing tiles can reveal suspect areas, but it is not a complete assessment of their bond. Tiling over tiles is only suitable when the existing covering is secure and the new fixing system specifically allows it. Check the extra thickness around door frames, taps and electrical fittings.
Use a long straightedge to identify uneven areas. Repair and flatten the wall with a suitable product, allowing it to cure as instructed. Do not compensate for a badly uneven wall with excessive tile adhesive. Gypsum plaster and boards need a system appropriate to both the background and its exposure to moisture.
In showers and other exposed areas, install a waterproofing system beneath the tiles, including the specified corner tapes and pipe collars. Resolve leaks and unexplained damp first rather than covering them up.
Protect the shower tray, bath and floor. Locate concealed pipes and cables before drilling or removing old finishes.
3. Plan the layout before mixing adhesive
Good setting out prevents a conspicuous sliver of tile beside a doorway or in a corner. Lay out a row dry, allowing for the actual grout joints, and work out the cuts at both ends of the wall.
- Establish a level horizontal reference line.
- Choose a starting point based on the main sightline, basin or wall arrangement.
- Adjust it if the layout produces awkwardly narrow cuts.
- Check how rows meet windows, niches and tap positions.
- Add vertical reference lines to keep the work aligned.
Do not assume the floor or shower tray is level. One option is to start from a supported horizontal row, then fit the bottom row afterwards with individually measured cuts. Avoid puncturing the waterproofing to secure a support batten.
Do not butt tiles tightly together, including rectified tiles. Follow the manufacturer's joint-width guidance. Allow flexible joints at corners, perimeters and changes of surface, and carry existing movement joints through the tiling system.
4. Choose the right adhesive and achieve good coverage
Select adhesive for the wall background, tile material, tile size and expected moisture exposure. A product suitable for small ceramic tiles is not automatically suitable for porcelain, large formats or existing glazed tiles. Check whether the system needs a primer.
- Mix using the stated water ratio, without adding cement or other ingredients.
- Allow any specified standing time, then remix as instructed.
- Apply a contact layer and comb with the appropriate notched trowel in parallel lines.
- Press each tile into place with a small movement across the adhesive ridges.
- Check alignment and periodically lift a freshly laid tile to inspect coverage.
Large tiles, and systems that specify it, also need a thin coat of adhesive on their backs: back-buttering. Avoiding voids is particularly important in wet areas.
Spread only what you can cover within the adhesive's working time. If it skins over, remove and replace it rather than wetting it. Warm, draughty conditions can shorten working time. Levelling clips cannot fix an uneven background. Clear adhesive out of the joints before it hardens.
5. Cut tiles and drill openings safely
A manual score-and-snap cutter can handle straightforward cuts if it is suitable for your tile material and size. Some porcelain, thick tiles and intricate cuts require an appropriate powered cutter. Practise on an offcut before cutting a visible piece.
- Straight cuts: measure with the joint allowance included, mark clearly and follow the cutter's instructions.
- L-shaped cuts: avoid forcing the waste section off, which can crack the internal corner.
- Pipe openings: use a compatible tile hole saw without hammer action. Allow clearance as required by the system and cover plate.
- Exposed edges: use an appropriate trim or purpose-made finishing tile.
Support tiles securely. Control silica dust using suitable wet cutting or extraction; never introduce water to a tool that is not designed for it. Respiratory protection is an additional precaution, not a replacement for dust control.
When working near electrical fittings, switch off the relevant supply at the consumer unit and verify that it is dead with a suitable voltage detector. Do not remove or relocate electrical fittings without the necessary competence.
6. Grout, seal the junctions and clean carefully
Wait for the adhesive manufacturer's specified period before grouting. This depends on the product, background and site conditions, not simply whether the tiles feel firmly attached. Remove spacers as appropriate and clear the joints to a consistent, adequate depth.
- Mix small batches of grout suitable for the joint width and intended use.
- Work it firmly into the joints with a rubber float, moving diagonally.
- Remove excess grout and wait until the specified cleaning stage.
- Wipe with a well-wrung sponge, rinsing it frequently.
- Remove the final haze using a method suitable for the tile surface.
Overwashing adds too much water, potentially weakening the grout surface and causing uneven colour. Test on textured or porous tiles first; some materials require protection before grouting. Epoxy grout has its own application and cleaning requirements.
Use a compatible flexible sealant rather than rigid grout in corners and where tiles meet a bath or shower tray. Surfaces must be clean and dry. Observe curing times before using the shower, and do not assume acidic cleaners are safe.
7. When to bring in a professional
Get professional advice if there are leaks, moving cracks, crumbling walls or poorly bonded existing tiles. Large, heavy tiles, recessed niches, built-in showers and difficult waterproofing junctions are also sensible jobs to hand over, especially where a leak could damage the property below.
If old materials might contain asbestos, stop before cutting or removing them and arrange a specialist assessment. Gas work is never a DIY job. In Spain, new electrical installations and extensions require an authorised installer and the appropriate electrical certificate, commonly called a *boletín*, under the REBT.
Ask quotations to separate removal, background repairs, waterproofing, tiling, grouting, flexible seals and waste disposal. Confirm who supplies the materials and what is excluded. A headline price per square metre is not enough to compare different scopes of work.
If your property is on the Costa del Sol, ReformaClick can help you find renovation companies and request a quote without obligation for your bathroom tiling project.
Frequently asked questions
Can I tile over existing bathroom tiles?
Yes, provided they are securely bonded, clean and suitable for the proposed fixing system. Check flatness and the effect of added thickness around fittings. Loose tiles or damp need their underlying cause addressed first.
What size notched trowel should I use?
It depends on the tile size, its backing profile, the wall and the adhesive. Follow the technical guidance and lift a newly placed tile to check coverage. Tile dimensions alone do not determine the right notch.
How long after tiling can I use the shower?
Wait until the adhesive, grout and sealant have all reached their specified curing times for water exposure. Surface dryness is not enough. Follow whichever applicable product instruction requires the longest wait.
Can rectified tiles be installed without grout joints?
They should not be fitted tightly edge to edge. Use the manufacturer's recommended joint width and retain movement joints. Corners and changes of surface need an appropriate flexible joint rather than rigid grout.
Does waterproof grout replace shower waterproofing?
No. Water-resistant grout does not replace a waterproofing system beneath shower tiles. Corners, pipe penetrations and the connection to the shower tray also need compatible, properly installed waterproof details.
Would you rather hire a professional?
Tell us about your project and we will connect you with renovation companies on the Costa del Sol. No obligation.
Get a quote