
Repair a Hole in Plasterboard: 5 Steps to a Seamless Finish
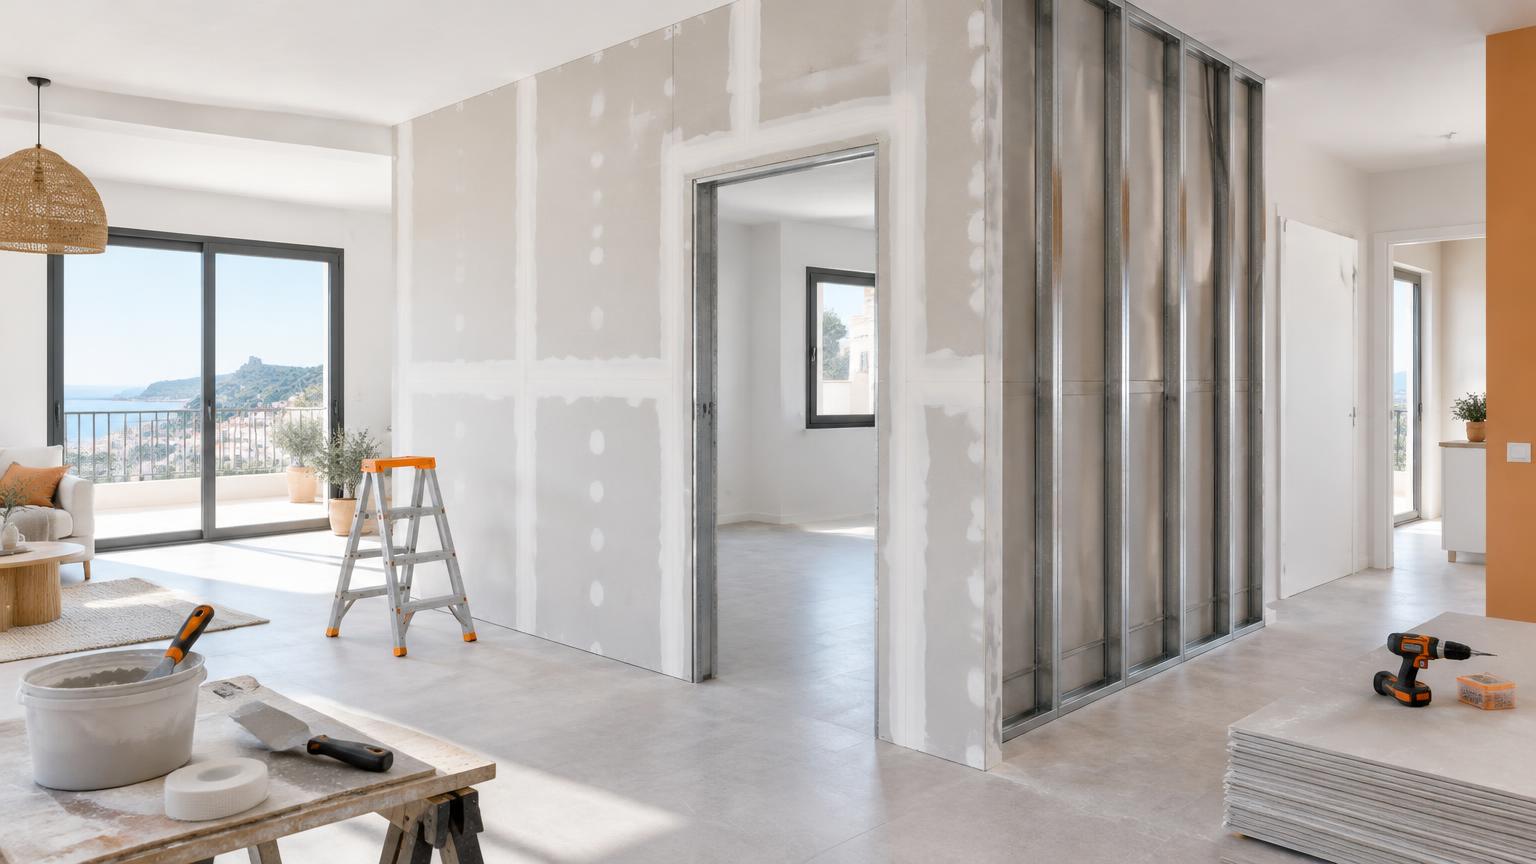
To repair a hole in plasterboard neatly, you need a stable repair, reinforced joints and a finish that blends into the surrounding wall. A small wall-plug hole usually needs suitable filler; larger damage calls for a purpose-made patch or a replacement piece of board secured to backing supports.
The five steps below explain how to tackle the job and avoid the usual pitfalls. A perfectly flat patch can still show through because its texture, colour or sheen differs from the existing paint. For the most discreet result, you may need to repaint the whole wall.
Before you start: assess the damage and gather supplies
In Spain, plasterboard is often referred to as pladur. Choose your repair method according to both the size of the hole and the condition of the surrounding board.
- Wall-plug holes and small dents: use a filler suitable for plasterboard, within the manufacturer's permitted application depth.
- Small openings with sound edges: a purpose-made repair patch may work, provided the opening falls within its stated size limit.
- Larger, ragged or crumbling holes: fit a replacement piece of matching board onto secure backing supports and reinforce the joints.
For a board patch, gather plasterboard of the same thickness, suitable backing battens or supports, compatible plasterboard screws, joint tape and matching jointing compound. You will also need primer, paint, a utility knife, plasterboard saw, straightedge, pencil, filling knives, screwdriver or drill-driver, fine sanding block, vacuum cleaner, eye protection and a dust mask.
Never cover an active damp problem. Wet, mouldy or deteriorating board needs assessment after the cause has been resolved. Bathroom boards and acoustic or fire-resisting partitions must retain the relevant properties of the existing construction.
Step 1. Check behind the board and tidy the opening
Protect the floor and establish what may be behind the damaged area: cables, pipes, framing or insulation. A scanner can help, but it cannot guarantee that the cavity is clear. Avoid deep cuts and never push tools blindly into the void.
If wiring could be present, switch off the relevant supply at the consumer unit and verify that it is dead with a suitable voltage detector. If you cannot do this safely, call an electrician. In Spain, new electrical installations and extensions require an authorised installer and an electrical certificate, commonly called a boletín, under the REBT. Never attempt DIY work on gas pipework.
- Remove loose gypsum and detached facing paper.
- For a replacement board patch, mark a rectangle extending into sound material without unnecessarily enlarging the opening.
- Once the cavity has been checked, cut carefully with minimal penetration.
- Vacuum away dust and leave clean, stable edges.
A common mistake is filling over lifting paper. It can bubble beneath the compound and spoil an otherwise sound repair.
Step 2. Add backing supports and fit the patch
For a small fixing hole, apply suitable filler in the layers specified by its manufacturer; there is no need to cut out a rectangle. With a ready-made repair patch, follow its fitting instructions and size limits. Where a section of board needs replacing, use this approach:
- Slide backing supports behind the sound board, leaving enough bearing surface for the replacement piece.
- Secure them through the existing board with suitable screws, keeping clear of hidden services.
- Cut a piece of board of the same thickness, allowing a small gap around its edges.
- Screw the patch to the supports and check that its face sits flush.
Screw heads should sit slightly below the surface without tearing the paper facing. Driving them too far weakens their grip on the board.
Check the repair with a straightedge before applying compound. A proud patch cannot easily be disguised with filler; adjust it now. If it sits too far back, check the board thickness and backing position rather than simply burying it under a thick layer.
Step 3. Reinforce the joints and apply the first coat
The edges of a replacement board patch need reinforcement to help prevent cracking. Choose joint tape and compound designed to work together rather than assuming every filler suits every tape.
- For paper tape, spread a bedding coat of compound, centre the tape over the joint and press it down with a filling knife, removing trapped air and excess compound.
- For self-adhesive mesh, follow the manufacturer's instructions and use the specified type of compound.
- For a proprietary patch, check whether reinforcement is already included and how it should be covered.
Cover the screw heads too. Keep the application controlled and stay within the product's permitted thickness. A heavy lump of compound may shrink, dry unevenly or leave a noticeable hump.
Trade tip: clean the edges of your filling knife between passes. Hardened crumbs drag grooves through fresh compound. Allow the coat to set or dry as instructed before continuing; a hard surface does not necessarily mean the repair is dry enough to paint.
Step 4. Feather out the surface and sand carefully
Apply subsequent coats over a progressively wider area, tapering their edges onto the undamaged wall. The aim is a gradual transition, not simply a filled opening. A board patch may need finishing over several tens of centimetres beyond the joint.
- Scrape off small ridges left by the previous coat.
- Apply a thin coat using a wider filling knife.
- Allow the necessary drying time for the product, thickness and room conditions.
- Sand gently with fine abrasive, such as 180–220 grit where suitable for the compound.
- Vacuum the surface and inspect it with a straightedge and light shining across the wall.
Do not sand through to the tape or damage the board's paper facing. If you find a hollow, fill it; sanding everything around it only makes the problem larger.
In humid coastal homes on the Costa del Sol, drying may take longer than expected. Ventilate the room without directing intense heat at the patch. Side lighting is particularly useful for spotting ridges before paint makes them more obvious.
Step 5. Prime and paint to blend in the repair
Remove all sanding dust and apply a compatible primer to the compound and any other surfaces that require it. Primer helps equalise absorption, but it cannot flatten ridges or guarantee an invisible colour match.
Once the primer is dry, paint in accordance with the manufacturer's recoating instructions. Choose a roller that reproduces the existing surface texture and avoid leaving heavy edges around the repair.
- On smooth walls, check for filling-knife marks before painting.
- On textured finishes, including Spanish gotelé, recreate the texture first and test your technique on a spare surface.
- If the existing paint is aged, shiny or exposed to strong side lighting, painting the complete wall from corner to corner usually blends better than a local touch-up.
Even leftover paint from the original job may look different because the wall has faded, collected dirt or been painted with a different roller. Do not try to hide a raised patch under extra coats: unevenness needs correcting with compound and careful sanding.
When to call a professional and what to budget
Get professional help if the damage affects a ceiling, extends across several framing members or leaves a large area unstable. The same applies to recurring damp, nearby services and partitions whose acoustic or fire-resisting performance must be preserved. Damage around a shelf or cupboard fixing also calls for a review of how the load is supported.
As a guide, consumables for a small DIY repair may cost around €20–€60, excluding tools and paint for a complete wall. A small professional repair might fall around €90–€250, while replacing a larger section and repainting the wall could be approximately €200–€500 or more. These are indicative ranges, varying with material quality, existing condition, location, access and the number of visits required.
Ask whether the quote covers replacement board, backing, joint reinforcement, primer, the agreed painting area and waste removal. If your property is on the Costa del Sol, ReformaClick can help you find renovation companies and request a no-obligation quote.
Frequently asked questions
Can I repair a plasterboard hole with filler alone?
Yes, for a small wall-plug hole or minor dent with sound edges. Use plasterboard-compatible filler within its stated depth limits. Larger openings need a suitable repair patch or supported replacement board; a mass of filler alone may leave a weak repair.
How long does a plasterboard repair take to dry?
It depends on the compound, layer thickness, temperature and humidity. Some products allow further work within a few hours, while others need until the following day or longer. Check the product data: setting and drying are not necessarily the same thing.
Why can I still see the patch after painting?
The repair may be uneven, have a different texture or absorb paint differently. Colour and sheen differences can also show. Check the surface with side lighting, correct any defects, prime appropriately and consider repainting the whole wall.
Can I put a wall fixing back into the repaired area?
Do not assume a patch restores the original load capacity. For shelves or cupboards, locate suitable framing or install backing designed for the load. Filler and surface repair patches should not be relied on to support heavy items.
Can I use this method on a plasterboard ceiling?
The basic principles are similar, but overhead work introduces falling-material risks and makes secure support especially important. For substantial damage, damp or an unfamiliar ceiling construction, a professional repair is the safer option.
Would you rather hire a professional?
Tell us about your project and we will connect you with renovation companies on the Costa del Sol. No obligation.
Get a quote