
Plasterboard Ceiling: How to Build a Suspended Ceiling
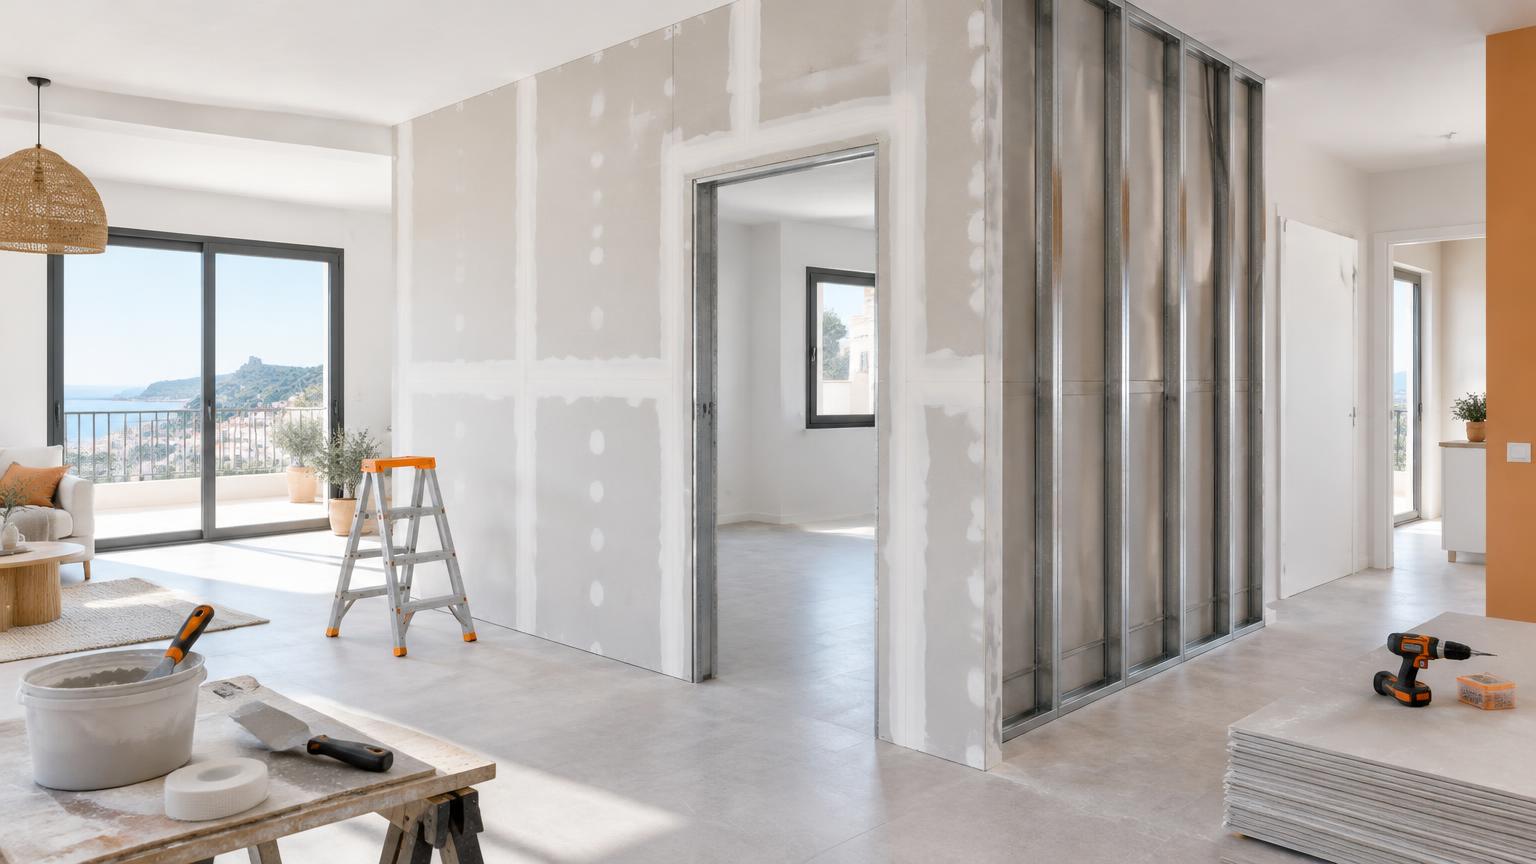
A plasterboard ceiling, often called a *techo de pladur* in Spain, uses gypsum boards fixed to a supporting framework below the original ceiling. It can conceal services, level an uneven surface and accommodate insulation or recessed lighting. The main stages are setting out, securing the hangers, levelling the metal framework, fixing the boards and finishing the joints.
This guide covers a continuous suspended plasterboard ceiling rather than a removable ceiling-tile system. Working overhead is demanding, and the fixings must suit the building’s structure. If you cannot identify the substrate or do not have safe access equipment and board-lifting assistance, professional installation is the sensible option.
1. Check the existing ceiling and choose a complete system
Start by establishing what will carry the new ceiling. Spanish homes may have different types of concrete floor construction, including hollow infill units. Never assume that every part of the existing ceiling can safely take a suspension fixing. Old plaster and existing ceiling linings are not suitable structural supports.
- Measure the room and check for unevenness, cracks and damp patches.
- Resolve leaks before covering the area.
- Locate cables and pipework before drilling.
- Plan lighting, access panels and any heavy fittings.
Choose a complete manufacturer’s system with compatible boards, metal sections, hangers, connectors and fixings. Hanger and channel spacing depend on the ceiling weight, board layers, spans and required performance; a generic spacing copied from another project may be unsafe.
Bathrooms may need moisture-resistant boards, but these are not waterproof and do not replace ventilation. For acoustic or fire performance, follow a tested system rather than mixing individual products.
2. Assemble your materials, tools and budget
Sketch a board layout before ordering, allowing some extra material for cutting waste. Store boards flat, dry and properly supported to prevent distortion.
Typical materials:
- Ceiling-rated plasterboard of the type and thickness specified for the system.
- Metal ceiling channels, perimeter sections, hangers and connectors.
- Substrate-appropriate suspension anchors and the specified screws.
- Jointing compound, joint tape, primer and paint.
- Mineral wool, separation strips and sealants where required by the design.
Useful tools: a laser level, tape measure, chalk line, drill, depth-controlled screwgun, tin snips, utility knife, plasterboard saw, jointing knives and dust-extracted sanding equipment. You will also need eye protection, gloves, suitable respiratory protection and a stable working platform. A board lift makes overhead handling much more manageable.
As a broad guide, a straightforward installed ceiling may cost €30–€60/m², rising to around €45–€90/m² for insulation, additional layers or more involved detailing. Prices vary with specification, existing condition and location. Check whether VAT, painting, waste removal and electrical work are included.
3. Set the finished height and mark out the framework
The ceiling drop must accommodate the framework and services while leaving an appropriate finished room height. Do not set it simply by checking whether a downlight will fit.
- Find the lowest point of the original ceiling.
- Check the space needed for hangers, channels, insulation and light fittings.
- Use a laser to mark a level reference around the room.
- Distinguish the framework level from the finished underside of the plasterboard.
- Mark hanger positions, channel runs and access openings in accordance with the selected system.
Check that windows, doors, shutter boxes and tall cupboards will remain usable. Confirm any applicable finished-height requirements before committing to the layout.
Professional tip: draw the board joints onto the framework plan. This makes it easier to provide edge support where required and avoid awkward narrow strips. Coordinate access panels with equipment that needs servicing; connections that must remain accessible should not disappear behind a permanently closed ceiling.
4. Secure the hangers and level the metal framework
The suspension system is safety-critical. Stop and seek specialist advice if you cannot identify the substrate or if drilling could affect structural components.
- Install the specified perimeter sections, including separation strips where required.
- Drill the marked suspension points to the anchor manufacturer’s diameter and depth.
- Clean the holes and install the correct fixings as instructed.
- Fit the hangers and main channels, then secondary channels if the design uses them.
- Connect the sections with the correct components and adjust everything to level.
Do not substitute improvised wire for proprietary hangers or use general-purpose wall plugs without confirming suitability for overhead loads and the particular substrate. Perimeter sections must not carry loads beyond their intended role in the system.
Check alignment, rigidity and all specified spacings before boarding. Ceiling fans, heavy pendants and other equipment need dedicated supports or designed reinforcement. They should not simply hang from screws through the board. Never cut or drill structural reinforcement or prestressing tendons.
5. Coordinate services, add insulation and fix the boards
Inspect services before closing the ceiling and photograph their routes. Cables and ducts need appropriate support rather than resting loosely on the boards. Fit insulation without unnecessary gaps or excessive compression. Only add a vapour-control layer where a suitable condensation assessment calls for one.
Electrical safety: switch off the relevant supply at the consumer unit and verify that it is dead using a suitable voltage detector before touching wiring. In Spain, new installations and extensions require an authorised installer and an electrical installation certificate, commonly called a *boletín*, under the REBT. Gas alterations are never DIY work: use a qualified professional.
To install the boards:
- Score the face paper, snap the core carefully and cut the backing paper.
- Lift each board using suitable equipment and another person’s assistance.
- Follow the system’s board orientation and staggered-joint layout.
- Use the specified screw spacing and edge distances.
Screw heads should sit just below the surface without tearing the paper. Maintain the required perimeter gaps and avoid four board corners meeting at one point.
6. Tape the joints and prepare for decorating
Even a well-built framework can look disappointing if the jointing is rushed. First check for protruding screws, damaged paper and loose boards.
- Prepare cut edges and fill gaps as required by the system.
- Apply compatible jointing compound and embed the specified tape without air pockets.
- Allow it to dry, then apply further coats, feathering them over a wider area.
- Cover screw heads and finish perimeter junctions to the specified detail.
- Sand lightly, remove dust and apply a suitable primer before painting.
Follow the product’s drying instructions rather than assuming every coat will be ready the following morning. Humid weather can slow the process considerably. Do not omit joint tape or fill movement joints with rigid compound. Avoid sanding through the board’s paper face.
Inspect the surface with light shining across it before decorating. Grazing light and satin finishes highlight imperfections and may call for a higher finishing standard. Use dust extraction and ventilation; paint will not hide raised joints or poor feathering.
7. When to hire a plasterboard ceiling specialist
Bring in a professional for uncertain substrates, high ceilings, large rooms, unresolved damp or changes to building services. Specialist help is also advisable when you need documented acoustic or fire performance: a particular board alone does not establish the performance of the whole ceiling.
For Costa del Sol homes, investigate condensation before enclosing a void, particularly beneath roofs or beside unconditioned spaces. Covering a recurring damp mark without identifying its cause can conceal ongoing damage.
Ask for a written quotation covering:
- The ceiling system, board type, layers and insulation.
- Suspension fixings, access panels and supports for fittings.
- Joint treatment, finishing standard and decoration.
- Services, room protection, waste disposal and taxes.
Compare equivalent specifications rather than just square-metre rates. ReformaClick helps you find renovation companies on the Costa del Sol and request quotes without obligation. Provide room dimensions, photographs of the existing ceiling and your lighting plans so contractors can assess the work more accurately.
Frequently asked questions
How much height will a plasterboard ceiling take away?
There is no universal minimum drop. It depends on the suspension system, existing unevenness, insulation and services. Check the clearance needed by light fittings and make sure the finished room height meets the requirements applicable to your property.
What thickness of plasterboard should I use for a ceiling?
Boards of 12.5 or 15 mm are common, but the thickness and number of layers must match the chosen ceiling system. A thinner board is not automatically suitable because it is lighter; it may need a different support arrangement or be unsuitable for the design.
Can I hang lights or a ceiling fan from plasterboard?
Only use fixings and loads permitted by the ceiling system. Lightweight fittings still need appropriate anchors. Heavy pendants and fans need independent support or reinforcement designed for their weight and, where relevant, vibration. Plan these supports before closing the ceiling.
Will a suspended plasterboard ceiling stop noise from upstairs?
It can reduce some noise, but results depend on the complete design, including hangers, board layers, mineral wool, airtightness and sound travelling through adjoining walls. Impact noise may also require treatment to the floor above. Standard plasterboard alone is not a soundproofing guarantee.
Is plasterboard suitable for a bathroom ceiling?
Yes, provided the system suits the expected moisture exposure and the bathroom is properly ventilated. Moisture-resistant boards do not cure leaks or condensation. Areas with persistent or particularly high humidity may require a different lining solution.
Would you rather hire a professional?
Tell us about your project and we will connect you with renovation companies on the Costa del Sol. No obligation.
Get a quote