
Plasterboard Partition Wall: Divide a Room Step by Step
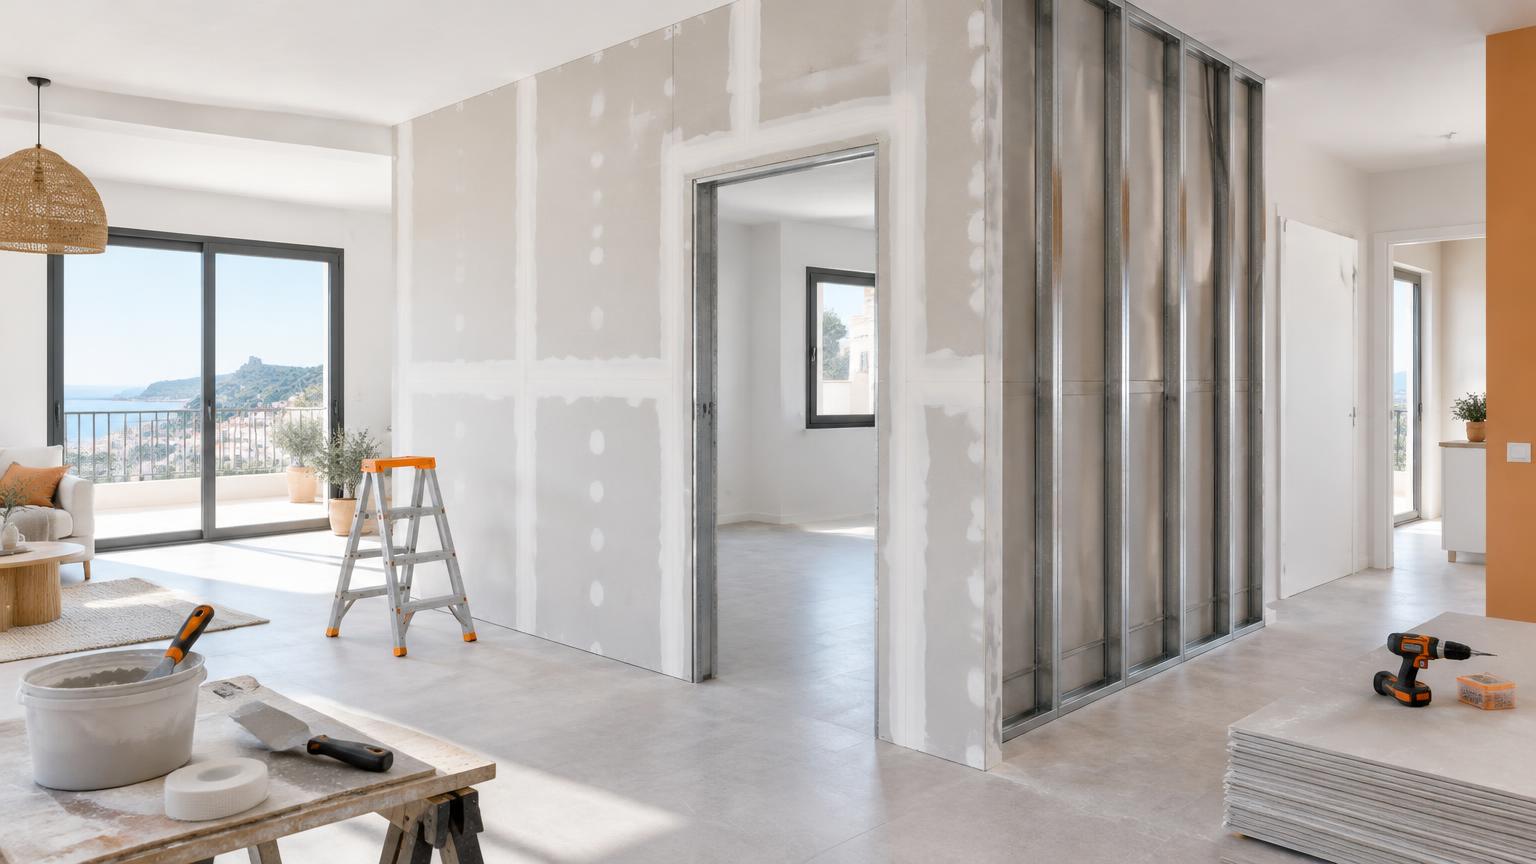
A plasterboard partition wall, commonly called a pladur wall in Spain, divides a room using a metal frame lined with boards on both sides. A successful installation needs more than neat plasterboard: the frame, fixings, insulation and junctions all affect stability, sound insulation and cracking.
This can be a manageable project for an experienced DIYer, provided there are no complicated services or structural connections. Before buying materials, check local permissions and consider how both spaces will receive light, ventilation and access. This guide covers the main stages, common mistakes and situations where a specialist is the better choice.
1. Check the layout and choose a suitable wall system
Sketch the proposed rooms, including furniture, access and the door swing. Mark the finished wall thickness rather than just its centre line so you can judge the usable space. Dividing a room does not automatically create a compliant extra bedroom: check applicable habitability requirements and municipal procedures first.
A typical system consists of floor and head tracks, vertical metal studs, plasterboard, cavity insulation and joint finishing. Frame dimensions and board layers depend on wall height, loads and the performance required.
- Standard plasterboard generally suits dry rooms.
- Damp areas need appropriate boards and finishes; moisture-resistant board is not a substitute for waterproofing.
- For better sound insulation, specify a tested wall assembly rather than relying on one specialist board.
In Costa del Sol properties, investigate leaks or damp before enclosing anything. A new partition will not cure an existing moisture problem, and hidden damp can become harder to inspect and repair.
2. Gather materials, tools and a realistic budget
Use compatible components and follow the chosen system’s technical guidance. Your shopping list will usually include:
- Metal tracks, studs and perimeter sealing or acoustic tape.
- Plasterboard and mineral wool of the specified thickness.
- Suitable substrate fixings and plasterboard screws.
- Joint tape, jointing compound, compatible sealant and primer.
- Door framing and reinforcements for planned loads.
Useful tools include a tape measure, spirit level or laser, chalk line, utility knife, straightedge, tin snips, drill, depth-controlled screwdriver, jointing knives and a sander with dust extraction. Wear gloves, eye protection and suitable respiratory protection when cutting insulation or sanding. Arrange help to handle full-size boards safely.
As an indication, a straightforward installed partition might cost €35–€65/m², while higher-specification systems may fall around €55–€95/m². These are guide ranges only and vary with material quality, existing conditions and location. Small jobs may attract a minimum charge.
Check whether the quote measures the wall area once or counts both faces, and whether VAT, decoration, doors, services and waste removal are included.
3. Set out the wall and install the metal frame
- Mark the partition on the floor, then transfer the line to the adjoining walls and ceiling with a level or laser. Check dimensions and squareness in several places.
- Identify the supporting surfaces and locate possible pipes, cables or underfloor heating before drilling. Do not drill where their position is uncertain.
- Apply the specified perimeter tape beneath the relevant tracks and end profiles.
- Secure the frame perimeter with fixings suitable for the substrate, using the manufacturer’s fixing centres.
- Fit and plumb the studs, positioning them to suit the boards and wall specification.
Stud spacing is not a matter of guesswork. It depends on height, board configuration and expected loads. Follow the system details for stud-to-track connections too; not every junction should be screwed together in the same way.
Do not anchor the partition solely to suspended ceiling boards. It may need a connection to the structural slab and a head detail that allows movement. Floating floors also require a suitable support detail.
4. Plan the doorway, reinforcement and services
Allow enough space for the door leaf, frame and installation clearances. Form the jambs and head using the specified framing arrangement; heavier doors may need reinforced profiles. Plan the plasterboard layout so joints do not finish at the upper corners of the doorway.
Decide where cupboards, televisions and shelves will go before boarding. Heavy loads need suitable reinforcement and fixings, not simply extra screws through the plasterboard. Photograph reinforcement positions with measurements so they can be located after decorating.
For electrical work, switch off the supply at the consumer unit and verify that the circuit is dead using a suitable voltage detector before touching it. In Spain, new electrical installations and extensions require an authorised installer and the appropriate boletín or installation certificate under the REBT.
Do not bury inaccessible electrical joints or leave cables against sharp metal edges. Avoid back-to-back socket boxes where sound insulation matters. Gas work is never a DIY task: any alteration must be handled by an authorised professional.
5. Board the first face, insulate and close the wall
Board one side first, leaving access from the other side for insulation and final checks.
- Cut plasterboard with a straightedge and utility knife: score the face paper, snap the core carefully and cut through the backing paper.
- Position each board with the clearances required by the system, particularly at floor level.
- Fix it to the frame using the specified screw lengths and centres. Screw heads should sit slightly below the surface without tearing the paper.
- Fit mineral wool continuously, without gaps or excessive compression. Pay attention around studs and services.
- Inspect reinforcement, service routes and seals before boarding the second face.
Stagger joints between opposite faces and between layers where the system requires it. Avoid four board corners meeting and unnecessary narrow strips.
Sound insulation relies on the whole assembly: board layers, mineral wool, airtightness and junctions with the building. A lightweight door or poorly sealed frame can substantially limit the result, even when the partition itself has been properly built.
6. Finish the joints and avoid common mistakes
Apply jointing compound and bed in the compatible tape according to the product instructions. Add the required finishing coats, widening them gradually to blend the joint into the surrounding surface. Fill screw heads and use the specified corner beads or tapes at edges and junctions.
Allow each coat to dry properly. Humidity and ventilation affect drying, so a single fixed timetable will not suit every home. Sand lightly with dust extraction, remove the dust and prime before decorating. A light shining across the surface helps reveal ridges and uneven patches.
Common mistakes include:
- Using compound without tape where both are required.
- Driving screws through the face paper.
- Trying to disguise a crooked frame with joint filler.
- Painting damp joints or skipping the primer.
- Leaving perimeter gaps unsealed or mishandling movement joints.
A useful trade habit is to check alignment after every stage. Adjusting an exposed stud is far easier than correcting a finished wall.
7. When to bring in a professional
Use a specialist for tall partitions, heavy doors, substantial wall-mounted furniture or projects needing documented acoustic or fire performance. Professional assessment is also sensible where there is damp, weak supporting material, a complicated suspended ceiling or services that need moving.
Ask for a written specification covering frame sizes, board types and layers, insulation, reinforcement, junction details and finish. Compare equivalent proposals: walls that look identical once painted can have very different construction.
Clarify who will handle any necessary permissions, protect the property and remove waste. If the project is intended to create another bedroom, have a suitably qualified professional check that the proposed layout is viable before installation begins.
For a property on the Costa del Sol, ReformaClick can help you find renovation companies and request quotes without obligation, so you can discuss the room division and the appropriate wall specification.
Frequently asked questions
How thick is a plasterboard partition wall?
Thickness depends on the metal frame and the number and thickness of board layers. Many domestic partitions are approximately 7–10 cm thick, but some need to be wider. Choose an assembly that meets the required performance rather than simply the thinnest option.
Will a plasterboard wall block noise between bedrooms?
It can provide useful sound insulation when the boards, frame, mineral wool and seals work together. Doors, service penetrations and sound travelling through adjacent floors or ceilings also matter. Mineral wool alone does not guarantee privacy.
Can I hang cupboards or a television on plasterboard?
Yes, with a fixing arrangement suitable for the wall system and the load. Heavy or projecting items may need reinforcement installed before boarding. Check the board and fixing documentation rather than relying on a general weight limit.
Do I need permission to divide a room in Spain?
The procedure depends on the municipality and the scope of work. A prior notification, responsible declaration or another form of permission may apply. Check with the local council, and review habitability requirements and any effects on communal elements, services or escape arrangements.
How long does it take to build a plasterboard partition?
A small partition may take several days overall, depending on access, size, doors and services. Jointing and decorating also need drying time. Completing the metal frame and boards does not mean the wall is immediately ready for paint.
Would you rather hire a professional?
Tell us about your project and we will connect you with renovation companies on the Costa del Sol. No obligation.
Get a quote