
Plasterboard Shelving: Ideas and How to Build Niches
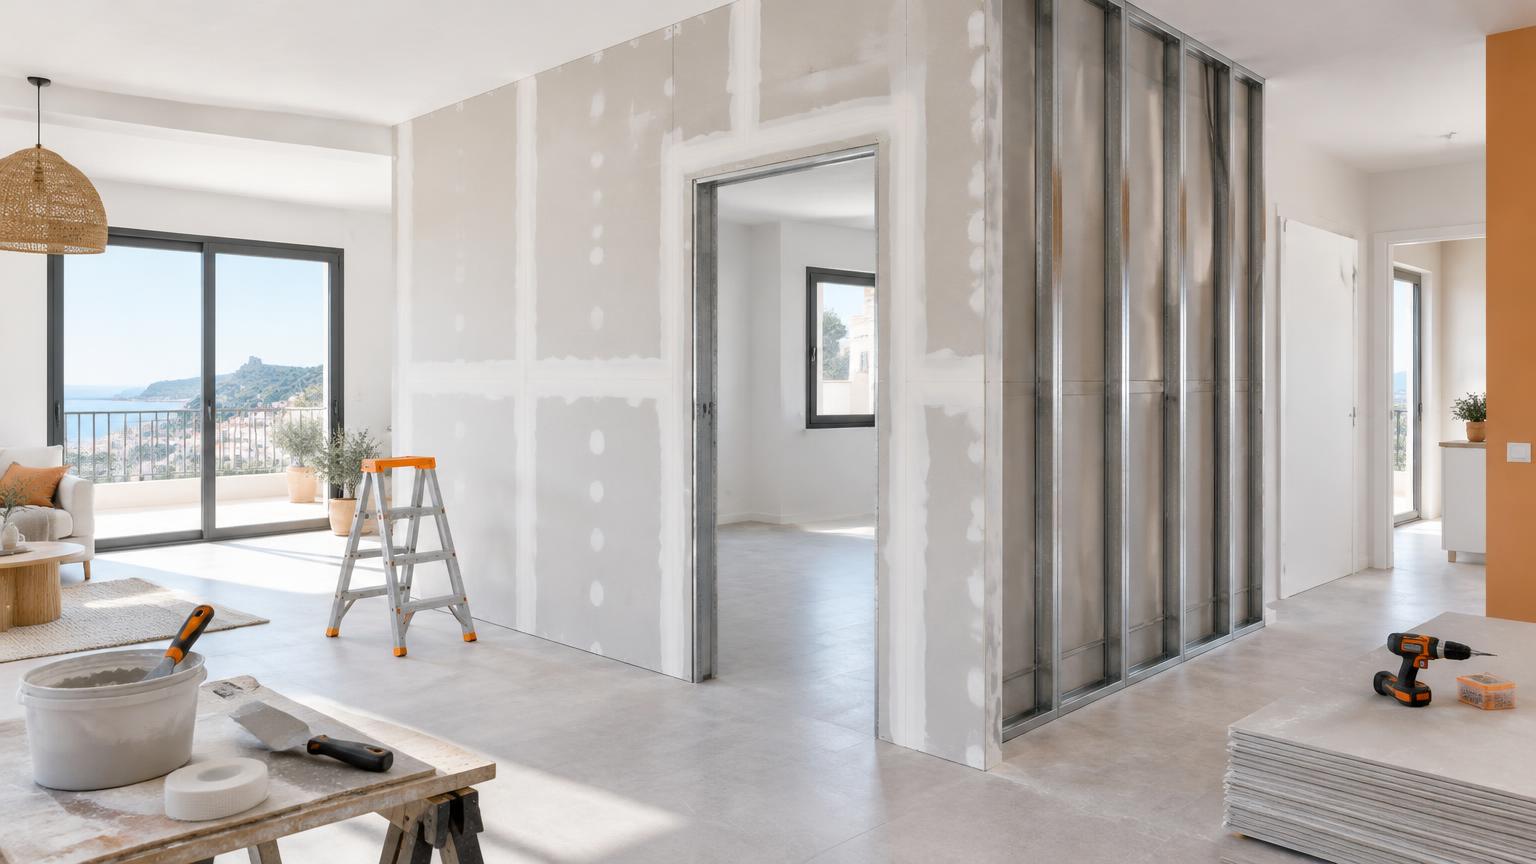
Built-in plasterboard shelving, often called pladur shelving in Spain, can turn an awkward recess into useful storage or create a seamless feature wall. The boards provide the finished surface; the supporting frame, fixings and internal reinforcement determine whether the shelves are suitable for your belongings.
Start by deciding what you want to store, how much floor space you can spare and whether the design needs lighting or waterproofing. This guide covers design options, materials and the main construction stages. A modest decorative unit may suit an experienced DIYer, but heavy book storage, shower niches and alterations to existing walls call for specialist input.
1. Shelving and niche ideas for different rooms
Design around the things you actually use rather than copying a photograph. Measure your belongings and allow enough room to lift them out, dust the shelves and reach sockets.
- Living rooms: frame a television with open shelving and closed storage below. Allow ventilation around equipment and access to cables.
- Bedrooms: incorporate bedside niches into a built-out headboard wall. Check that you can comfortably reach them from the bed.
- Hallways: use shallow display niches where they will not make the passage feel cramped.
- Bathrooms: position storage outside the direct splash zone where possible for a simpler construction detail.
- Home offices: plan dedicated reinforcement for books, files and other concentrated loads.
Shorter shelf spans and intermediate supports are generally easier to make rigid. If you want particularly slim shelves, consider a mixed-material design: plasterboard uprights with timber shelves sized for their intended load. This can also provide a more hard-wearing surface for objects that are moved frequently.
2. Build out from the wall or create a recess?
Building a new lining or freestanding-style framework against an existing wall is often the more manageable approach. It takes up some room, but lets you choose the depth and arrange reinforcement without hollowing out the original wall. You must still check for services before drilling any fixing holes.
Cutting a niche into an existing wall is not automatically safe. The wall might be structural, separate neighbouring properties or contain important insulation. Cutting studs in an existing plasterboard partition can also affect its stability and performance.
- Establish the wall construction and consult any available drawings.
- Check for pipes and cables using suitable methods; a scanner cannot rule out every hidden obstruction.
- Draw the elevation, including finished shelf thicknesses and clear openings.
- Mark the proposed footprint with tape to see how it affects the room.
Trade tip: work with finished internal dimensions. Boards, tiles and other finishes reduce the usable space, so a niche that looks generous on a framing sketch may not fit your bottles or storage boxes.
3. Materials, tools and load-bearing reinforcement
Choose compatible components and follow the selected plasterboard system's technical guidance. A shopping list alone cannot establish suitable profile sizes, fixing spacings or load capacity.
Typical materials include:
- Metal tracks, studs and framing components suited to the design.
- Plasterboard appropriate for the environment.
- Board screws, frame fixings and anchors suitable for each supporting surface.
- Sealing or isolation strip beneath tracks where specified.
- Joint tape, jointing compound, corner beads, primer and paint.
- Internal reinforcement designed for the intended loads.
Useful tools: tape measure, spirit or laser level, square, metal snips, utility knife, screw gun, jointing knives and sanding equipment with dust extraction. Wear gloves when handling metal profiles, eye protection and suitable respiratory protection for dusty work.
Books, heavy equipment and suspended cupboards need a reliable load path into adequate supports. An extra layer of board is not a substitute for structural reinforcement. Shelf span, end supports and anchoring matter just as much as the visible finish. There is no universal weight rating for a plasterboard shelving unit.
4. How to build plasterboard shelving step by step
The following sequence explains a straightforward built-out unit. Its dimensions, framing and fixings still need to suit the substrate and the chosen construction system.
- Prepare the space. Clear the area, protect the floor and check for active damp. Never conceal a leak behind new boards.
- Set out the design. Mark the perimeter, uprights, supports and finished shelf levels. Check everything for square, level and plumb.
- Secure the framework. Install tracks and studs using suitable anchors. Do not drill into floors that may contain services, including underfloor heating, without checking first.
- Frame the openings. Form each shelf and divider with its planned supports and reinforcement. A shelf must not rely solely on screws driven into the back lining board.
- Arrange services. Provide cable routes and maintenance access before closing the frame. Have electrical alterations carried out professionally.
- Fit the boards. Cut accurately, line all necessary faces and follow the manufacturer's joint layout and screw instructions. Avoid driving screw heads through the paper facing.
- Finish and inspect. Protect exposed corners, treat joints and check that the assembly is stable before decorating.
A common mistake is leaving reinforcement decisions until after boarding. Photograph the open framework so you have a useful record of support locations, while remembering that photographs do not replace checks before future drilling.
5. Bathroom niches and lighting: essential precautions
Moisture-resistant plasterboard is not waterproof. A shower niche needs a system suitable for direct water exposure, continuous waterproofing and compatible detailing at joints, corners and transitions. Tiles and grout alone do not provide a substitute waterproof barrier. The base should drain towards the shower rather than hold standing water.
Do not cut a recess where studs, pipes or structural elements may be present without assessment. Similarly, removing insulation from an external wall to gain depth can create problems and should not be treated as a routine shortcut.
For LED lighting, plan the mounting profile, heat dissipation and access to the driver. Do not permanently enclose connections or components that need inspection or replacement.
Electrical safety: before any intervention, switch off the relevant supply at the consumer unit and verify that it is dead using a suitable voltage detector. In Spain, new installations and extensions require an authorised installer and the corresponding electrical certificate, commonly called a boletín, under the REBT. Bathroom equipment positioning and protection should be specified by the electrician. If you encounter a gas pipe, stop: gas work is never a DIY task.
6. Finishes, common mistakes and indicative costs
Tape and fill joints as specified for the system, allow each coat to dry and sand without damaging the board facing. Remove dust before priming and painting. Light falling across the surface is useful for spotting uneven joints before the final coat.
- Protect vulnerable corners with suitable beads.
- Choose a washable finish where objects may leave marks.
- Consider a tougher shelf surface for regularly handled items.
- Wait for products to dry and the installation to be checked before loading it.
For budgeting, a small, simple installed unit might fall around €350–€850, while a larger bespoke living-room arrangement could be around €900–€2,800. A shower niche incorporated into a wider bathroom refurbishment might add roughly €250–€700. These are indicative ranges, varying with material quality, existing condition and location, as well as size, reinforcement and finish. A standalone small job can cost proportionally more.
Ask whether quotations include decorating, waterproofing, electrical work, waste removal and applicable taxes. Comparing the final scope is more useful than comparing headline prices for apparently similar units.
7. When to bring in a professional
Get specialist help for substantial book storage, wide unsupported spans, suspended fittings or uncertain fixing surfaces. Professional assessment is also advisable before opening an existing wall, altering services or installing a niche within a shower.
Prepare a sketch, photographs, approximate measurements and a list of what the shelves will hold. Mention any lighting, doors, timber inserts or fully painted finishes you want included.
Ask the contractor to explain the supports, reinforcement and maintenance access, not simply which board they intend to use. For a bathroom niche, also ask how the waterproofing connects to the surrounding shower system.
If your property is on the Costa del Sol, ReformaClick helps you find renovation companies and request quotations without obligation. A clearly defined brief will make those quotations easier to assess.
Frequently asked questions
How much weight can plasterboard shelving hold?
It depends on the framework, shelf spans, supports and anchors. There is no reliable general figure. For books or heavy objects, have the assembly designed for the expected load rather than relying on the board thickness.
Can you create a niche in any wall?
No. The wall's function, thickness and hidden services must be checked first. Building a new lining in front of it may be safer and more practical than cutting into the existing construction.
Is moisture-resistant plasterboard enough for a shower niche?
No. Moisture resistance does not make it waterproof. It must be part of a system suitable for shower exposure, with continuous waterproofing and correctly detailed joints and corners.
How deep should built-in plasterboard shelves be?
Measure the objects you want to store and allow room to handle them. Base the design on the usable depth after boards and finishes are installed, rather than the depth of the bare framework.
Can lighting be added after the shelving is finished?
Usually, but concealed wiring may mean opening and repairing the lining. It is easier to plan cable routes, lighting profiles and accessible drivers before boarding, with a qualified professional handling electrical alterations.
Would you rather hire a professional?
Tell us about your project and we will connect you with renovation companies on the Costa del Sol. No obligation.
Get a quote