
Moisture-Resistant Plasterboard for Bathrooms: Fitting Guide
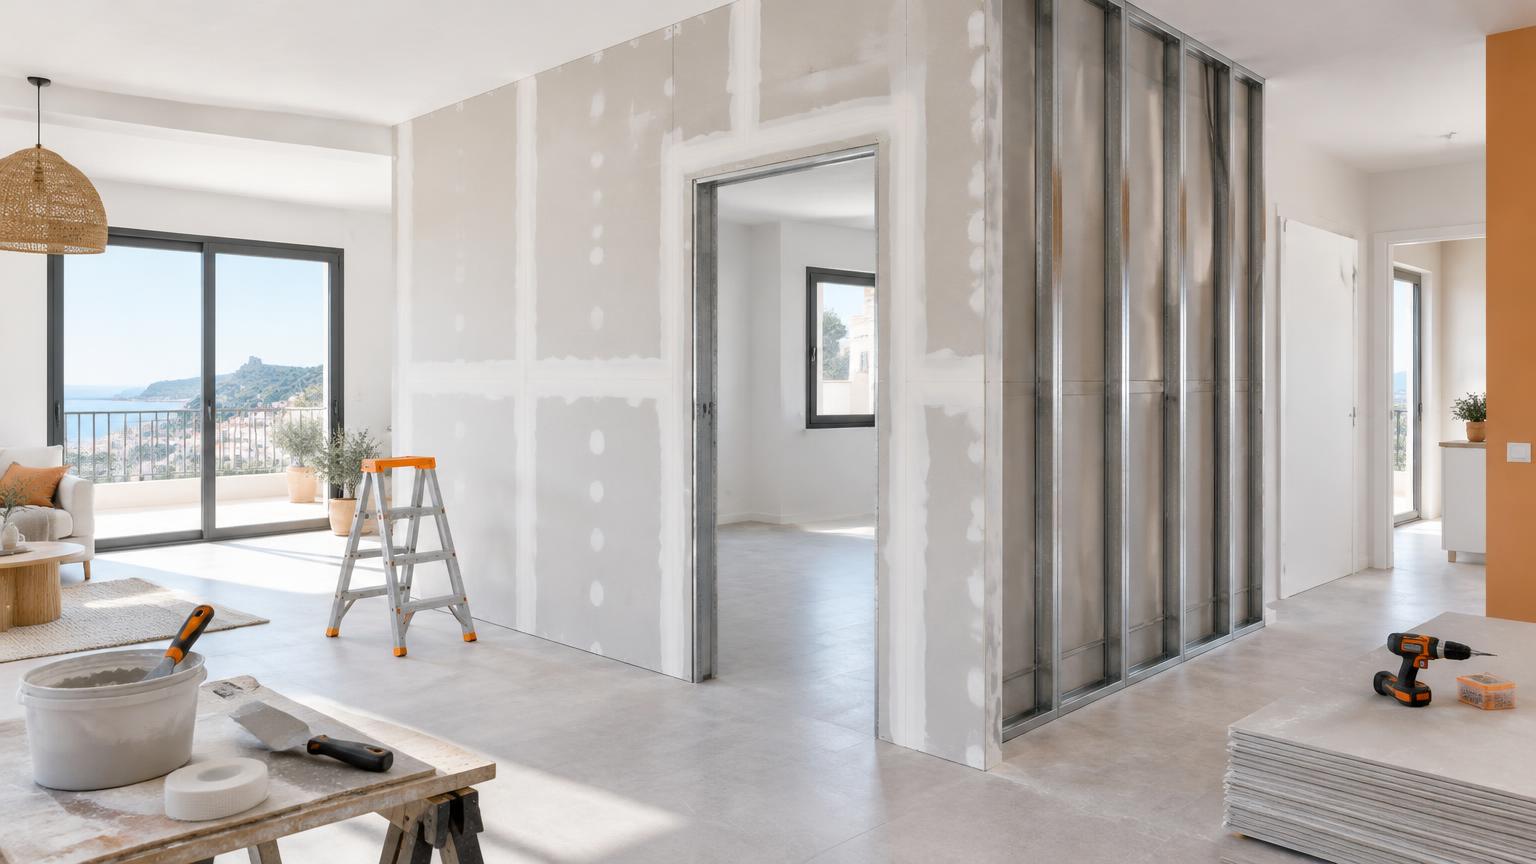
Moisture-resistant plasterboard is suitable for bathroom and kitchen walls, linings and ceilings exposed to occasional humidity. It absorbs less water than standard plasterboard, but it is not waterproof. Inside a shower or around a bath, it needs to form part of a suitable system with a compatible waterproofing layer.
If you are renovating a property on the Costa del Sol, you may hear contractors refer to plasterboard generally as “pladur”. Here is how to choose the right board, plan the framework and avoid weak points around joints, fittings and wet areas, with guidance on when professional installation makes sense.
What moisture-resistant plasterboard actually does
Pladur is a brand name, although it is widely used in Spain as a general term for plasterboard. When discussing specifications, ask for moisture-resistant gypsum plasterboard and the exact product reference rather than simply requesting green board.
The board is manufactured to reduce water absorption. Its face is often green, but colour alone does not confirm its performance or permitted uses. Check the manufacturer's classification and technical guidance for the particular product.
Two terms matter:
- Moisture-resistant: takes up less water than ordinary plasterboard.
- Waterproofed: protected by a continuous barrier designed to prevent water passing through under the intended conditions.
Neither option cures an existing building defect. A leaking pipe, rain penetration or rising damp must be investigated before the wall is covered. Concealing damp behind a new lining can allow damage to continue unnoticed and make future repairs more disruptive.
Where to use it in bathrooms and kitchens
Typical applications include bathroom walls outside the shower, suspended ceilings and domestic kitchen wall linings. These rely on intermittent humidity, adequate ventilation and installation within the chosen system's limits.
Assess the exposure rather than treating the whole room alike:
- Steam and humid air: moisture-resistant board with suitable joint treatment and decoration may be appropriate.
- Splashes near basins and sinks: protect the surface and seal junctions; assess whether waterproofing is needed.
- Direct water in showers and bath areas: use a system expressly approved for this application, including continuous waterproofing.
For heavily used showers or persistently wet conditions, a cement-based or specialist tile-backer board may be preferable. Do not assume that a different board automatically removes the need for a waterproofing membrane.
A coastal location does not make green board compulsory everywhere. Equally, a holiday home left closed for months may suffer condensation even when nobody is showering. Extraction and moisture control remain essential.
Materials, tools and checks before starting
Choose compatible system components, especially where waterproofing and tiling are involved. Your materials list may include:
- Boards of the specified type and thickness.
- Metal framing, anchors and suitable corrosion-resistant fixings.
- Perimeter strips, joint tape and jointing compound.
- Supports for cupboards, shower screens and wall-hung fittings.
- Primer, waterproofing membrane, corner tapes and pipe collars.
- Approved paint, tile adhesive and surface finishes.
Useful tools include a tape measure, level, straightedge, utility knife, depth-controlled screw gun, metal snips and finishing tools. Wear gloves, eye protection and respiratory protection appropriate to the dust produced.
Locate concealed services before drilling. Where electrical services could be affected, switch off the supply at the consumer unit and verify that it is dead using a suitable voltage detector. In Spain, new electrical installations and extensions require an authorised installer and the relevant electrical certificate, often called a boletín, under the REBT. Gas work is never a DIY task: use an appropriately authorised contractor.
How to build the framework and fit the boards
- Prepare and set out. Resolve damp, check dimensions and mark service routes, fixtures and finished wall positions.
- Install the framing. Fit perimeter strips and anchors as specified. Stud spacing depends on height, board arrangement and finish; tiled walls may need a stiffer assembly.
- Add supports before boarding. Plan fixing points for vanity units, basins, grab rails and screens. A wall-hung WC needs a purpose-designed frame with suitable structural anchorage.
- Cut and position boards. Follow the specified joint arrangement and leave the required clearances at floors and adjoining surfaces. Avoid standing boards directly on a damp floor.
- Drive screws carefully. Heads should sit just below the surface without tearing the paper. Follow the specified fixing centres and distances from edges.
Suspended ceilings need their own properly designed hangers and anchors fixed into a suitable load-bearing substrate. Do not copy wall framing details or hang heavy fittings from plasterboard alone.
Jointing, waterproofing and tiling correctly
Treat board joints with the tape and compound specified for the system, allowing each stage to dry. Tile adhesive is not a substitute for joint treatment. Remove dust and apply the required primer before continuing.
In areas exposed to direct water, install the waterproofing before the tiles:
- Prepare the board surface as instructed.
- Reinforce corners and junctions with compatible tapes.
- Fit sealing collars around pipe penetrations.
- Apply the membrane to its specified coverage, thickness and drying requirements.
- Connect it correctly to the shower tray or bath using the approved junction detail.
Tiles and grout alone do not provide dependable waterproofing. Choose an adhesive compatible with the membrane and tile size, and check the allowable finish weight for the complete wall system.
Preserve movement joints and use flexible seals where required. For painted surfaces outside wet zones, choose a suitable bathroom or kitchen finish. Mould-resistant paint may help with surface maintenance, but it cannot compensate for persistent condensation or an unresolved leak.
Common mistakes, upkeep and indicative costs
Frequent mistakes include assuming green board is waterproof, sealing only the joints, forgetting supports and fitting heavy tiles without checking the wall specification. Closing a wall before checking concealed pipework is another avoidable risk.
A useful trade tip: photograph service routes and supports before boarding. Keep product information and provide access panels wherever future inspection or maintenance is needed. Afterwards, inspect flexible seals, maintain ventilation and deal with leaks promptly. Softened or distorted board needs assessment, not simply another coat of paint.
As a broad guide, a straightforward moisture-resistant wall lining might cost around €35–€65/m² installed. A framed partition boarded on both sides may be approximately €50–€90/m², while waterproofing beneath the finish could add about €20–€45/m².
These are indicative ranges, varying with material quality, existing condition and location. Small jobs, demolition, difficult access and extra supports can increase costs. Ask whether VAT, decoration, tiling and waste removal are included rather than comparing headline square-metre rates alone.
When to bring in a professional
Professional help is particularly worthwhile inside showers, for suspended ceilings, where leaks remain unexplained or where the wall must carry substantial loads. It is also advisable when concealed plumbing, electrical work or layout changes are involved. Cutting boards is relatively straightforward; making every junction work reliably is the more demanding part.
Before agreeing a quotation, ask for:
- Board type, thickness and number of layers.
- Framing, insulation and support details.
- Waterproofing system and areas covered.
- Substrate preparation, finishes and waste removal.
- Checks before the wall is closed and on completion.
Compare equivalent scopes. A price for boarding alone is not the same as a fully prepared, waterproofed surface ready for tiling. If your property is on the Costa del Sol, ReformaClick can help you find renovation companies and request a no-obligation quotation for your project.
Frequently asked questions
Can moisture-resistant plasterboard be used inside a shower?
Yes, if the complete system explicitly permits it and includes suitable waterproofing around corners, pipe penetrations and the tray junction. Moisture-resistant board on its own is not sufficient.
What thickness of plasterboard should I use in a bathroom?
Many systems use 12.5 or 15 mm boards, but thickness cannot be selected in isolation. Framing, wall height, board layers, loads and the finish all matter. Follow a specified complete system.
Can you tile straight onto moisture-resistant plasterboard?
Outside directly wetted areas, some systems allow this after suitable joint treatment and any required primer. In showers and other wet areas, install the specified waterproofing layer before tiling.
Does moisture-resistant plasterboard stop mould?
No. It reduces water absorption, but mould can still develop where condensation, leaks or surface contamination persist. Ventilation, humidity control and fixing the underlying cause are essential.
Can a plasterboard wall support a bathroom vanity unit?
Yes, provided the wall has supports and fixings designed for the load. Heavy units and wall-hung basins should not rely on the board's paper facing or on unspecified plasterboard fixings.
Would you rather hire a professional?
Tell us about your project and we will connect you with renovation companies on the Costa del Sol. No obligation.
Get a quote