
Kitchen Lighting: Plan Ambient, Task and Accent Light
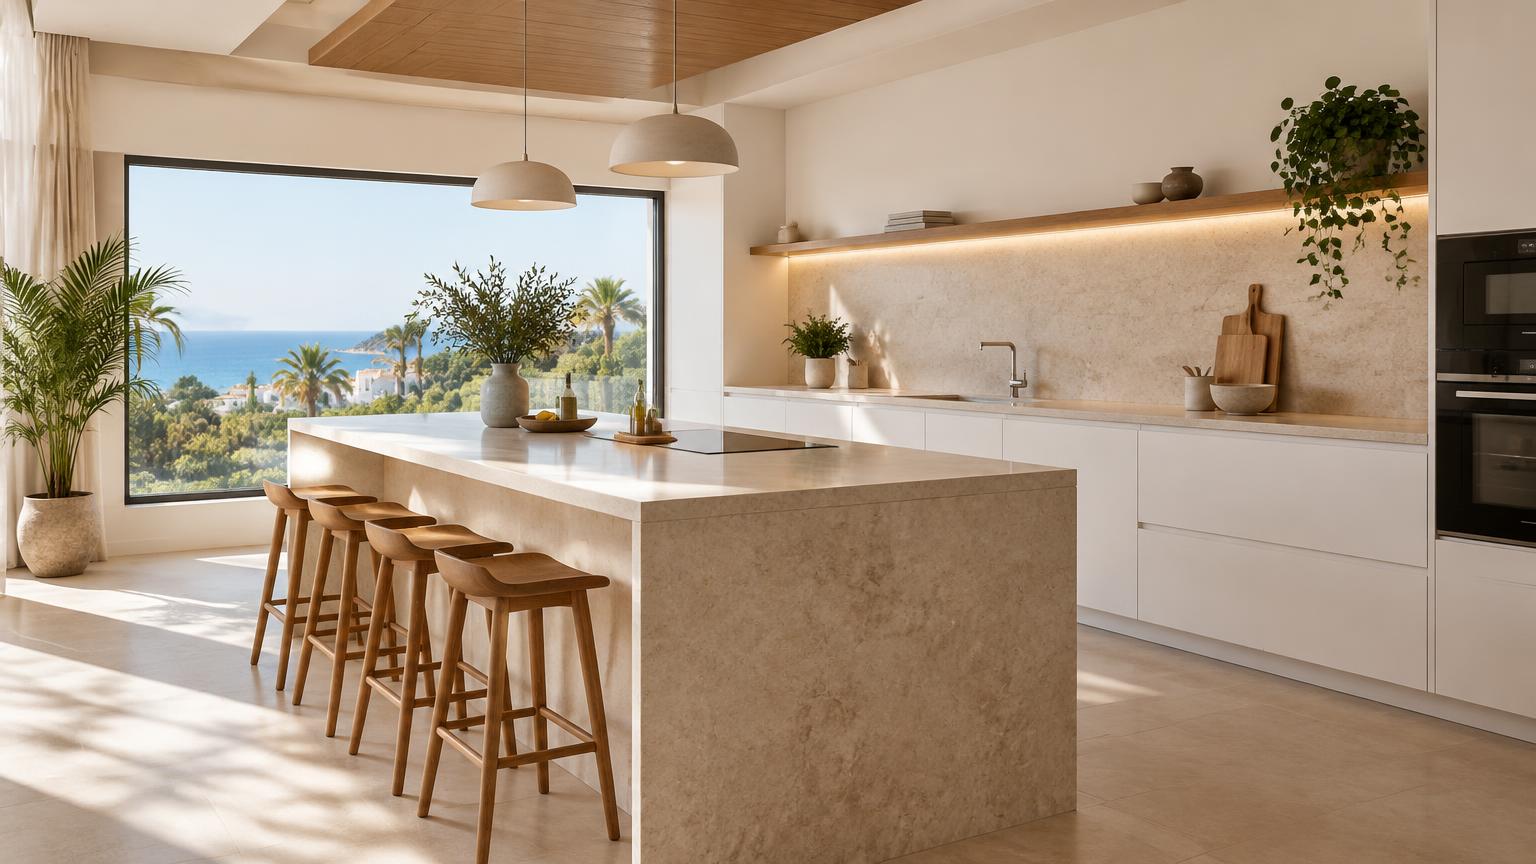
Good kitchen lighting combines three layers: general lighting for moving around, task lighting for preparing food and softer accent lighting for dining or relaxing. The aim is not to fill the ceiling with spotlights, but to put light where you need it and control each layer independently.
Start with your kitchen layout rather than a shopping list. Mark the worktops, appliances, dining area and existing electrical points, then consider how you use each space throughout the day. Whether you are refurbishing a Costa del Sol apartment or improving an existing family kitchen, this approach helps prevent shadows, glare and unnecessary spending.
1. Map out your kitchen before choosing fittings
Draw a simple plan showing room dimensions, ceiling height, windows, wall cupboards, sink and hob. Add the dining table or island, along with existing switches and electrical points. These details determine where lighting will be useful and where installation work may be needed.
Useful planning tools: a tape measure, graph paper or a drawing app, a pencil and manufacturers’ lighting specifications. Photographs taken in daylight and after dark can reveal overlooked dark corners.
- Mark where you chop, cook, wash up and unpack shopping.
- Check which areas benefit from daylight.
- Separate your ideas into general, task and accent lighting.
- Decide which groups need independent switching or dimming.
- Identify accessible locations for switches and LED drivers.
Professional tip: consider your standing position and open cupboard doors, not just the empty floor plan. A perfectly symmetrical arrangement of ceiling lights can still leave the main preparation area in shadow. Lighting should follow the way the room works.
2. General lighting: comfortable coverage without glare
General lighting lets you move around safely, clean the room and find what you need. Diffused ceiling fittings, well-positioned downlights and adjustable track lights can all work. Your choice will depend on ceiling height, available space and whether there is a suspended ceiling.
As an initial planning guide, around 200-300 lux for general lighting can be useful, adjusted for finishes and activities. Lux measures the light reaching a surface; lumens describe the light output of a fitting. Wattage alone does not tell you how well the kitchen will be lit.
- In a narrow kitchen, distribute light along its length.
- Pay attention to dark cabinetry and finishes that absorb light.
- Avoid exposed, bright LED points in normal sightlines.
A common mistake is putting all the lights down the centre of the room. When you face the worktop, your body can block that light. General lighting should support task lighting, not replace it.
3. Task lighting for worktops, sinks and cooking areas
Food preparation needs even illumination without distracting shadows. Around 500 lux on the worktop is a common reference for kitchen tasks, although achieving that figure alone does not guarantee a comfortable result. Position, glare and reflections matter too.
Under wall cupboards, linear fittings or LED strips in an aluminium profile with a diffuser are practical options. The profile helps dissipate heat, while the diffuser reduces the visibility of individual LED points. Check that the strip, profile and diffuser are compatible.
- Position lighting towards the front of the cupboard underside, checking for glare.
- Cover the worktop sections where you actually prepare food.
- Without wall cupboards, consider suitably positioned wall lights or directional fittings.
- Check the extractor hood’s built-in light before adding fittings above the hob.
Near sinks, heat and steam, fittings must be selected and positioned for their actual exposure and according to the manufacturer’s instructions. Unprotected decorative LED tape is not a suitable shortcut in these locations.
4. Accent lighting for islands, dining and open-plan rooms
Softer lighting makes the kitchen more comfortable once food preparation is finished. This is particularly useful in open-plan homes, where bright kitchen lights can dominate the adjoining living area during the evening.
Options include indirect light above cupboards, gentle lighting inside a display cabinet and pendants over a table or island. Choose one or two effects rather than using every available surface. A restrained scheme is usually easier to live with and control.
Before settling on pendant positions, make a cardboard template to test their size and hanging height. They should not obstruct views, cupboard doors or everyday activities. Over an island used for chopping, avoid shades that cast strong shadows across the working surface.
A frequent mistake is making illuminated plinths or shelving too bright. Accent lighting should provide a softer background, not compete with task lighting. Check how fittings look from the sofa and dining chairs, where a light source hidden from someone standing may become directly visible.
5. Choose colour temperature, colour quality and controls
For everyday kitchen use, 3000-4000 K is a useful colour-temperature range. The warmer end feels more welcoming, while the more neutral end gives a crisper appearance. For accent lighting, consider 2700-3000 K, avoiding jarring differences between fittings visible together.
Good colour rendering helps food and finishes look natural. A CRI or Ra of 90 or above is a sensible choice. Remember that a whiter-looking lamp is not necessarily brighter or better for preparing food.
Plan straightforward controls:
- Separate switching for general and worktop lighting.
- An independent control for pendants or indirect light.
- Dimming where useful, especially around dining areas.
If you want dimming, confirm compatibility between the fitting, LED driver and dimmer before buying. Not every LED lamp or strip is dimmable, and incompatible components can cause flickering or poor adjustment. Smart controls can be convenient, but retain simple everyday switching: making dinner should not depend entirely on finding your phone.
6. Prepare the installation and set a realistic budget
List fittings, profiles, diffusers, LED drivers, controls and cabling, plus any ceiling repairs or decorating. For LED strips, check voltage, wattage per metre, maximum run length and ventilation requirements in the manufacturer’s documentation. Drivers should remain accessible for maintenance rather than being sealed inside finished joinery.
As a rough guide, a modest upgrade with under-cabinet lighting and minor adjustments might cost €150-€450. A broader scheme with several lighting layers, new points, controls and making good could be €600-€1,800 or more. These are indicative ranges: costs vary with specification, existing condition, scope and location. Check whether VAT and finishing work are included.
Electrical safety: before any intervention, isolate the electricity at the consumer unit and verify that the circuit is dead with a suitable voltage detector. If you cannot do this safely, do not touch the installation.
In Spain, new electrical installations or extensions require an authorised installer and the relevant electrical certificate, commonly called a *boletín*, under the REBT. Gas pipework and appliances are never DIY work.
7. When to bring in a professional
Use a professional when moving electrical points, extending the installation, adding new controls or working near water, heat or concealed services. Older wiring, repeated tripping and persistent flickering also need proper assessment rather than trial-and-error replacement of parts.
To compare quotations fairly, give each company the same plan and brief:
- Areas to be illuminated and the intended lighting layers.
- Proposed fittings or minimum performance requirements.
- Switching groups and dimming preferences.
- Building repairs, painting and certification to be included.
Ask who will carry out the electrical work and how LED drivers will be accessed later. Before signing off the job, check the lighting after dark from your normal cooking, dining and seating positions. This is when unwanted reflections and glare are easiest to spot.
If your property is on the Costa del Sol, ReformaClick can help you find renovation companies and request a no-obligation quote for a lighting upgrade suited to your kitchen.
Frequently asked questions
Is warm or cool light better for a kitchen?
For general and task lighting, 3000-4000 K is a practical starting point. Warmer light can suit evening accent lighting. Do not choose a very cool lamp simply because you expect more brightness: colour temperature and light output are different characteristics.
How many spotlights does a kitchen need?
There is no universal number. It depends on room size, ceiling height, layout, fitting output and beam angle. Plan the worktop lighting first, then assess general lighting using the manufacturers’ specifications rather than a fixed spacing rule.
Where should LED strips go under kitchen cupboards?
Usually towards the front of the cupboard underside, in a suitable profile with a diffuser. Test the position before fixing it permanently, checking for shadows, reflections on polished worktops and glare from seated positions.
Can I improve kitchen lighting without building work?
Often, yes. Suitable plug-in fittings, compatible replacement lamps and surface-mounted solutions can help. Keep cables away from water and heat. Any changes to the fixed electrical installation should be handled by an authorised installer.
Would you rather hire a professional?
Tell us about your project and we will connect you with renovation companies on the Costa del Sol. No obligation.
Get a quote