
Kitchen Island: Minimum Sizes, Services and Layouts
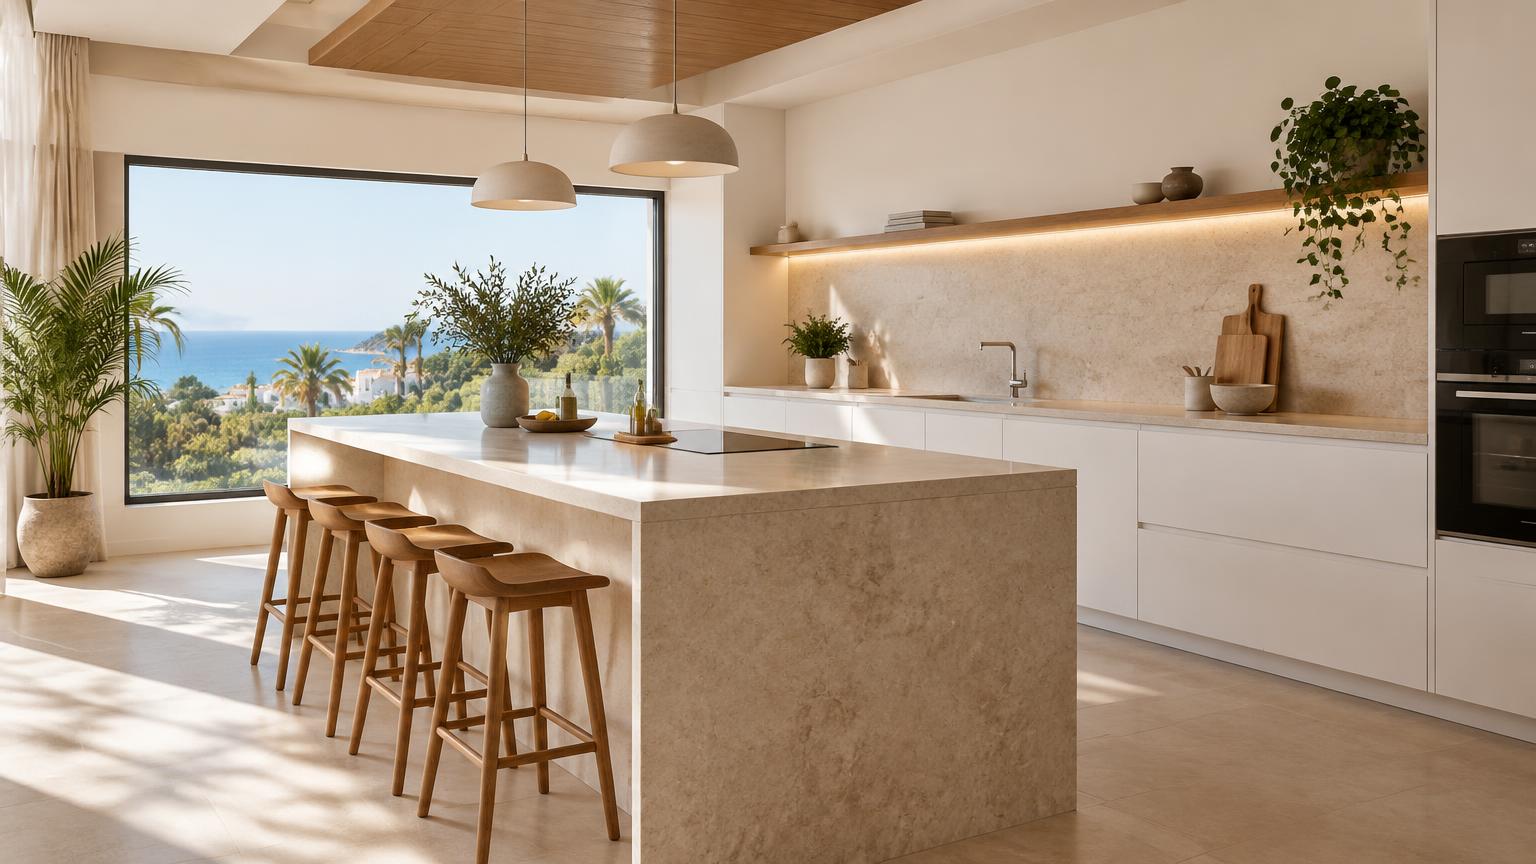
A kitchen island should make cooking easier, not turn the room into an obstacle course. As an initial guide, allow around 90 cm of clear space around it, with 100–120 cm generally preferable opposite worktops and appliances. The cabinetry fitting into the room is only the first test: drawers, dishwasher doors and people need space too.
Start by deciding whether you want extra storage, somewhere to eat, or an island with a sink or hob. Each option has different implications for dimensions, services and cost. The measurements below are practical planning guidelines rather than universal legal minimums, and should be adapted to your property and the people using it.
1. Kitchen island dimensions: work out what actually fits
A compact preparation island might start at around 120 × 60 cm, although this provides a fairly limited work surface. A depth of 80–90 cm allows more flexibility. For an island with a sink or hob, use the appliance dimensions and required landing areas to establish the overall size.
Useful starting points include:
- Worktop height: approximately 85–95 cm, adjusted to suit the users.
- Secondary walkway: around 90 cm clear of obstructions.
- Working aisle: preferably 100–120 cm between opposing fronts.
- Two cooks or regular through-traffic: aim towards 120 cm and test appliance openings.
For example, a 60 cm cabinet run, a 100 cm aisle, an 80 cm island and a further 90 cm walkway require approximately 330 cm of usable room width. That calculation checks whether the arrangement fits; it does not prove it will feel comfortable.
Professional tip: measure from the furthest projecting surfaces, including handles, worktop edges and radiators, rather than simply measuring between walls.
2. Test the layout before ordering cabinetry
You will need a tape measure or laser measure, graph paper and low-tack masking tape. Cardboard boxes can help you visualise the height and bulk, provided they do not create a trip hazard.
- Draw the room, showing doors, windows, columns and existing service points.
- Record cabinet dimensions and how far appliance doors project when open.
- Tape out the island footprint, including any worktop overhang.
- Walk through taking food from the fridge, washing it, preparing it and cooking.
- Test what happens when someone sits down while another person opens the dishwasher.
Do not assess the design only with every cupboard closed. Opposing drawers and appliances may clash or leave someone trapped in the working aisle.
Common mistake: placing the island between the fridge and the main preparation area, creating a detour whenever you cook. If it interrupts everyday routes, consider a peninsula or a freestanding preparation table. Where someone has reduced mobility, obtain tailored advice on turning space, reach and working height.
3. Island designs that suit everyday life
A preparation island with drawers is often the least complicated solution. It adds storage and worktop space without relocating plumbing or extraction. Arrange drawers around what you use most and avoid awkward storage that is difficult to reach.
- Breakfast-bar island: allow roughly 60 cm of width per person. An overhang of around 25–30 cm is a starting point for knee room, subject to comfort and structural support.
- Sink island: lets you prepare food facing the living area, but washing-up and splashes remain visible.
- Hob island: suits sociable cooking, provided extraction, heat and safe clearances are properly addressed.
- Peninsula: may work better in a narrow kitchen because it removes the need for a walkway at one end.
Allow room behind stools for sitting down and, where necessary, walking past an occupied seat. An empty aisle measurement does not account for seated people.
Avoid squeezing a sink, hob and breakfast bar into a small island. A continuous preparation surface is usually more useful, with seating kept away from heat and splashes.
4. Plan electricity, plumbing and extraction early
Resolve island services before the floor is finished. Establish possible routes and check for underfloor heating, waterproofing and concealed pipes or cables.
- Electricity: specify sockets, electrical capacity and circuits to suit the appliances. Never trail extension leads across walkways. Before electrical work, switch off the supply at the consumer unit and verify that it is dead using a suitable voltage detector. In Spain, new installations and extensions require an authorised installer and the relevant electrical certificate, commonly called a boletín, under the REBT.
- Water and drainage: a sink needs both supplies and a waste pipe with sufficient fall. Moving it away from the drainage stack can require floor alterations and should be assessed by a professional.
- Extraction: ceiling hoods need suitable support and ducting. Integrated extraction uses space beneath the worktop. Recirculating systems need filter maintenance and do not discharge moisture outdoors.
Gas work is never a DIY task: use an appropriately authorised installer. Do not drill through a structural floor slab for services without technical assessment.
5. Choose materials and plan a safe installation
Choose finishes around your cooking habits and willingness to maintain them. Laminate is often economical, but joints need protection against water. Timber requires periodic care. Engineered surfaces and porcelain have different limitations, so check the supplier’s guidance on heat, impacts and support.
For the cabinetry, look for properly sealed edges, hardware rated for the expected loads and finished panels on exposed sides. In coastal properties with high humidity, good ventilation and corrosion protection for metal components deserve attention.
A typical professional installation follows this sequence:
- Check service positions and floor levels.
- Position, connect and level the cabinets.
- Secure the assembly using the specified system, checking for concealed services first.
- Take final worktop measurements and plan supports and cut-outs.
- Seal junctions, connect equipment and test for leaks and correct operation.
Common mistake: assuming a long breakfast-bar overhang can support itself. Safe spans depend on the material, thickness and loading. Heavy worktops and specialist cutting require suitable handling equipment and trained tradespeople.
6. Indicative costs and how to compare quotations
Costs vary with specification, the existing condition of the kitchen and the location. As broad euro ranges for the island rather than a complete kitchen renovation:
- Simple storage island: approximately €1,000–€3,000 for cabinetry and a basic worktop without relocating services.
- Bespoke island with seating and upgraded finishes: around €3,000–€7,000.
- Island with plumbing or cooking facilities and associated building work: approximately €6,000–€15,000, with complex projects potentially costing more.
These are planning ranges, not fixed tariffs. Appliances, extraction, demolition, making good the floor and changes to services can substantially affect the total.
Request itemised quotations showing dimensions, materials, hardware, worktop thickness, fitting and connections. Check whether VAT, delivery, waste removal and finishing work are included.
To control costs, consider keeping the island free of plumbing and using standard cabinet sizes where practical. Do not compare headline totals alone: one quotation may omit the electrician, worktop supports or floor repairs that another contractor has included.
7. When to bring in a professional
Measuring the room, marking out a footprint and listing your storage needs are sensible tasks to tackle yourself. Bring in a professional for a hob, sink, new electrical outlets, heavy worktop or any fixing arrangement you cannot safely assess.
Technical advice is also important if you find damp, substantial floor unevenness or uncertainty about columns, structural slabs and ventilation routes. If shared building elements are affected, check with the owners’ community. Ask the local town hall which procedure applies to the scope of your renovation.
Before requesting quotations, prepare:
- A measured sketch and photographs.
- Your island’s main purpose.
- Appliance models or dimensions.
- Preferred materials and an outline budget.
Ask for a dimensioned layout and a clear explanation of the service routes before approving the work. If your property is on the Costa del Sol, ReformaClick can help you find renovation companies and request quotations without obligation, so you can discuss which layout is practical for your kitchen.
Frequently asked questions
How much clearance do you need around a kitchen island?
Allow around 90 cm for secondary walkways and preferably 100–120 cm opposite working areas. Check the arrangement with appliance doors open and stools occupied, and adapt it to the mobility needs of everyone using the kitchen.
Can a small kitchen have an island?
Yes, if comfortable routes and appliance access remain clear. A compact island without services may work, but a peninsula or preparation table is often a better use of space in a narrow room.
Is it better to put a sink or a hob on the island?
That depends on your cooking routine and the available service routes. A sink needs workable drainage; a hob needs a suitable energy supply and extraction. If either adds too much complexity, keep the island for preparation and storage.
Can you install a kitchen island without lifting the floor?
Often, a storage-only island can be fitted without lifting the floor, provided stability and any fixings are properly addressed. An island with services depends on existing routes. Cables and pipes should not be improvised across walkways.
How much worktop overhang is needed for island seating?
Around 25–30 cm is a useful starting point for knee room. Test it with the intended stools and ask the worktop supplier what support is required for the chosen material, thickness and span.
Would you rather hire a professional?
Tell us about your project and we will connect you with renovation companies on the Costa del Sol. No obligation.
Get a quote