
How to Install a Shower Screen Without Leaks
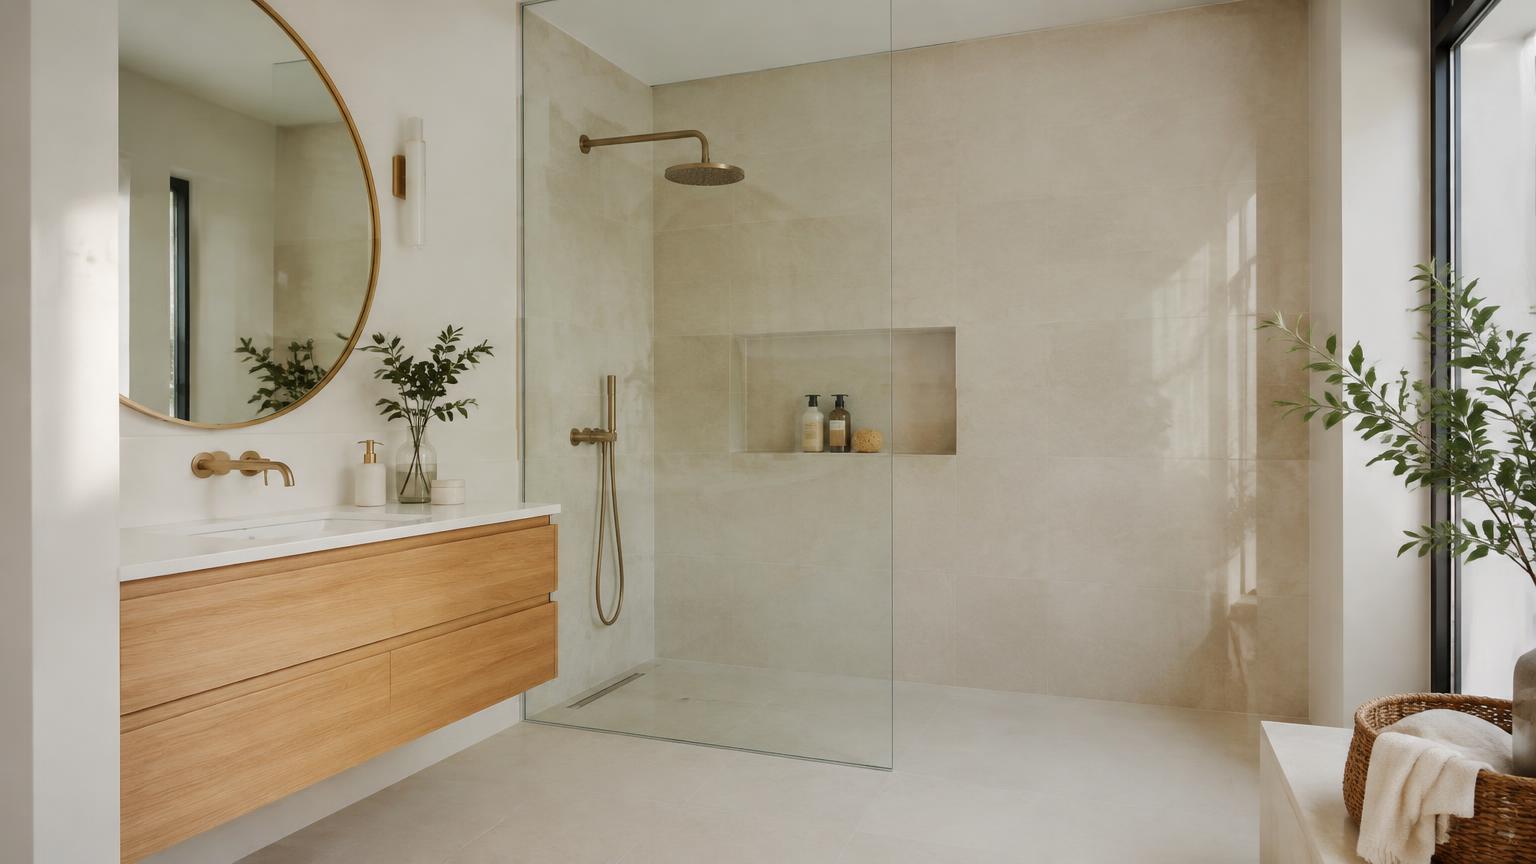
A leak-free shower screen starts with accurate measurements, secure fixings and sealant applied in the right places. Extra silicone will not make up for a poorly adjusted door, an unstable shower tray or blocked drainage channels inside the frame.
Whether you are updating a Costa del Sol apartment or fitting out a permanent home, start with the instructions for your particular screen. Fixed panels, sliding enclosures and hinged doors have different fitting and sealing requirements. This guide explains the practical sequence, the tools you need and the situations best left to a professional.
1. Check the shower tray before fitting the screen
Inspect the tray and its junction with the tiled walls before unpacking the screen. A shower enclosure controls splashes; it does not replace bathroom waterproofing or repair a leaking waste connection.
Run a controlled test by pouring water towards the waste without wetting the tray perimeter. Then check the tray-to-wall junction separately. If damp appears outside the shower or on the ceiling below, establish the cause before proceeding.
Look for:
- Movement or flexing when you stand on the tray.
- Chips or damage along the mounting edge.
- Loose tiles where the wall profiles will be secured.
- Standing water close to the proposed entrance.
With an open walk-in panel, layout matters as much as fitting. The shower head position, panel width and entrance opening all affect how much spray reaches the bathroom floor. Even a correctly installed panel cannot contain every splash if the opening is too exposed.
2. Measure the finished opening and choose the right model
Measure only after the tray and wall finishes are complete. Record the opening width at the bottom, middle and top, then use a spirit level to check whether the walls are plumb. The tray’s advertised size is not necessarily the enclosure’s finished opening size.
Compare all three measurements with the manufacturer’s adjustment range. Wall profiles can often accommodate small variations, but they cannot correct every uneven wall. Check the available height and the width of the tray rim where the enclosure will sit.
- Sliding doors: check the usable entrance width and access for cleaning the tracks.
- Hinged doors: make sure the door clears the basin, toilet and towel rail.
- Fixed panels: check access space and any requirement for a stabilising arm.
Consider concealed pipes and cables before deciding where to drill. A suitable detector is useful, but it cannot reliably identify every hidden service. If the route is uncertain, stop and seek advice. Keep photographs and a simple measurement sketch to confirm suitability with the supplier before ordering.
3. Gather tools, materials and safe handling equipment
Check every component against the parts list. Inspect glass edges for chips and the panels for cracks before lifting anything into place. Do not install damaged glass or substitute incompatible fittings.
You will usually need:
- Tape measure, spirit level, pencil and masking tape.
- Variable-speed drill and bits suitable for both the tiles and the wall behind.
- Hidden-service detector and vacuum cleaner.
- Screwdrivers and any keys specified in the instructions.
- Fixings matched to the substrate and expected load.
- Sanitary silicone compatible with the tray, profiles and wall finish.
- Sealant gun, finishing tool and a compatible cleaner.
- Safety glasses, cut-resistant gloves and padded floor protection.
The wall plugs supplied in the box may not suit your wall. Hollow partitions need a different fixing approach from solid masonry, and some installations require reinforcement.
Handle large panels with another person and follow the manufacturer’s lifting guidance. Never rest a glass edge directly on tiles. Toughened glass cannot be trimmed or drilled on site. Protect the tray from tools and debris while keeping waste material out of the drain.
4. Position and secure the wall profiles
- Dry-fit the profiles, allowing the setback from the tray edge specified in the manual.
- Check that they are plumb, mark the fixing holes and recheck your measurements.
- Drill through the tile with an appropriate bit, controlled speed and no hammer action. Adapt the drilling method to the wall material once through the tile.
- Remove dust from the holes and fit the specified, suitable anchors.
- Seal fixing penetrations where required by the installation system, then tighten the profile screws gradually.
Do not use screw pressure to pull a distorted profile straight. This can crack a tile, deform the frame or prevent the glass from seating correctly. Deal with uneven walls using the adjustment components permitted for that enclosure, rather than improvised packing.
Avoid drilling into the shower tray unless the manufacturer expressly requires it. If a bottom guide is bonded in place, use the specified adhesive and preparation method. General-purpose silicone is not automatically a substitute for a load-bearing adhesive.
Stop if a fixing spins without gripping, or if the surrounding tile cracks. The support must be sound before you hang or insert the glass.
5. Fit the glass, adjust the doors and apply sealant
Install gaskets, setting blocks and protective inserts in the order shown in the manual. Glass must not bear directly against screws or metal parts where protective components are specified. Fit any stabilising arm and observe the stated tightening requirements for clamps and fittings.
Before sealing, open and close the doors several times. Adjust rollers or hinges until the panels move freely and magnetic seals meet without forcing them together. Check that the bottom deflector directs water back into the tray.
For a clean seal:
- Remove old silicone and residue without scratching the surfaces.
- Clean with a compatible product and allow everything to dry thoroughly.
- Mask either side of the joint if needed.
- Apply a continuous bead along the specified joints and finish it using the sealant manufacturer’s recommended method.
- Remove masking tape before a skin forms.
Many enclosures are sealed on the outside, allowing water within the profiles to drain back into the tray. Do not automatically seal both sides. Keep drainage holes and channels clear, and follow the sealing diagram for your exact model rather than a generic online example.
6. Allow the sealant to cure, then test carefully
Wait for the sealant’s stated full curing time before using the shower. A bead that feels dry on the surface may still be uncured underneath. Temperature, humidity and bead thickness affect the process, so follow the product instructions rather than guessing.
Test one area at a time with a moderate flow, starting low down. Keep the outside floor dry and use absorbent paper to identify where water first appears. Avoid blasting a pressurised jet directly into joints that normally receive only splashes.
- Water beneath a door: inspect the bottom seal, deflector and door alignment.
- Water beside a wall profile: check the silicone bead and the tray-to-wall junction.
- Water escaping from a track: check for blocked drainage or incorrectly fitted parts.
Do not spread fresh silicone over wet surfaces or a loose existing bead. Remove failed sealant, clean and dry the joint, then renew the affected section with proper continuity.
For routine care, use a soft squeegee and compatible cleaning products. Keep seals and drainage openings free of deposits and avoid abrasive cleaners that could damage finishes.
7. When to use a professional and what to budget
Bring in a professional if the glass is difficult to handle, instructions are missing, walls are significantly out of plumb or the fixings would enter a weak substrate. Uncertain pipe or cable routes are another reason to stop. Damp that appears without wetting the enclosure may indicate a waste or waterproofing problem.
As a broad guide, fitting a standard enclosure may cost €120–€300, excluding the enclosure itself. Supply and fitting of a standard model may be around €300–€900, while bespoke solutions may fall around €700–€1,600 or more. These are indicative ranges and vary with specification, existing condition and location.
Ask for an itemised quotation covering measurement, delivery, fitting, sealing, taxes and any removal of the old screen. Repairs to the tray or tiled walls may be priced separately.
For a property on the Costa del Sol, ReformaClick helps you find renovation companies and request a no-obligation quote for the installation and any associated repairs.
Frequently asked questions
Should a shower enclosure be sealed inside or outside?
Follow the instructions for the specific enclosure. Many designs are sealed externally so water inside the profiles can drain back into the tray. Sealing both sides can obstruct that route.
How long after sealing can I use the shower?
Wait for the full curing time stated by the sealant manufacturer. Touch-dry is not the same as fully cured, and a thicker bead or different room conditions can affect the waiting period.
Can I fit a shower screen without drilling?
Only where the screen has an approved drill-free mounting system suitable for the surface and load. Do not replace mechanical fixings with adhesive on your own initiative, particularly for heavy panels or hinged doors.
Why is my new shower screen leaking?
Common causes include misaligned doors, incorrectly fitted seals, blocked drainage channels and gaps in the silicone. Water can also escape through an overly exposed entrance or leak at the tray-to-wall junction.
Can a shower screen be fitted on an uneven tray?
Do not try to compensate for a significant slope or unstable tray with extra silicone or forced profiles. Check the tray support, drainage and installation tolerances first. Movement or persistent pooling needs professional assessment.
Would you rather hire a professional?
Tell us about your project and we will connect you with renovation companies on the Costa del Sol. No obligation.
Get a quote