
How to Install a Ceiling Light Safely in Spain
To install a ceiling light safely, you need secure fixings, suitable electrical connections and a supply that has been isolated and checked. Modern Spanish wiring normally uses blue for neutral, green and yellow for earth, and brown, black or grey for line conductors. However, wire colour alone is not proof of its function, particularly in older or previously renovated properties.
Replacing an existing fitting may be straightforward when the wiring is clearly identified and sound. Unknown conductors, a missing required earth or an unsuitable ceiling support are reasons to stop. This guide explains the checks, equipment and fitting process, with advice on when to bring in an electrician on the Costa del Sol.
1. Check whether this is a straightforward replacement
Replacing a light fitting is different from adding a lighting point. This guide covers an existing, correctly identified connection in good condition, using the light manufacturer’s instructions. It does not cover extending or redesigning the circuit.
Before starting, check:
- The fitting’s weight and specified mounting arrangement.
- Whether the ceiling is concrete, hollow masonry, plaster or plasterboard.
- The light’s electrical protection class.
- Whether an existing dimmer is compatible with the new light.
- Whether you can reach the work comfortably from stable stepladders.
For bathrooms, terraces and other outdoor areas, the location determines the protection needed against water. A decorative light suitable for a dry living room is not automatically suitable for a covered terrace. Ask an electrician if you are unsure.
In Spain, new electrical installations and extensions require an authorised installer and an installation certificate, commonly called a boletín, under the REBT framework. Do not treat creating a new lighting point as simply changing a fitting.
2. Gather the right tools and materials
Prepare everything before switching off the supply. A battery-powered head torch is useful, especially in internal rooms without natural light. Keep small components somewhere secure rather than balancing them on the ladder.
You may need:
- Stable stepladders of a suitable height.
- Correctly sized insulated screwdrivers.
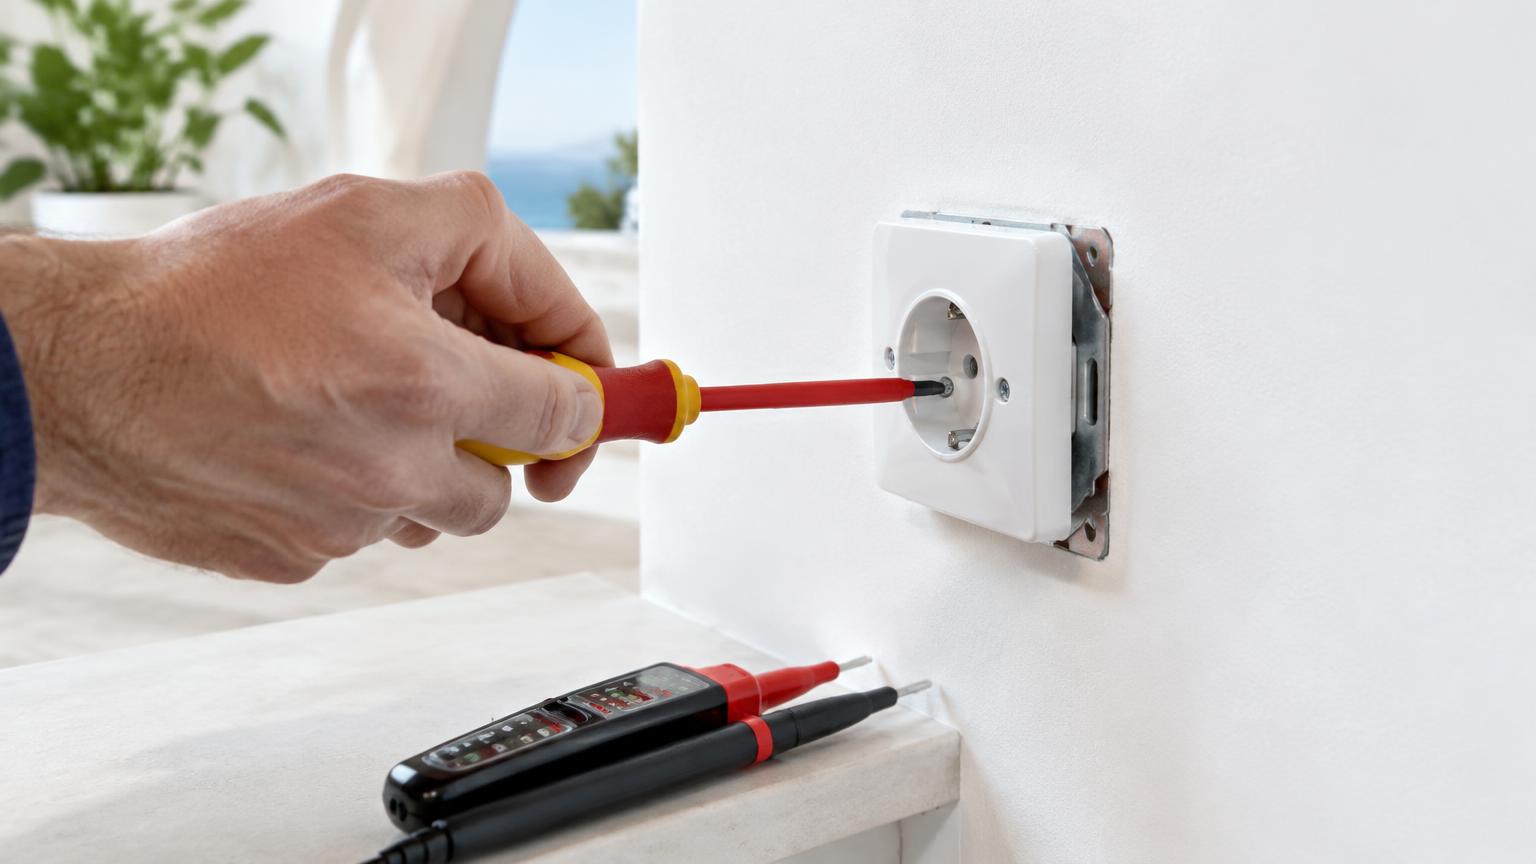
- A suitable voltage tester, preferably a two-pole tester, which you know how to use.
- Wire strippers and appropriate pliers if conductors need preparing.
- Connectors rated for the conductor size and for solid or flexible cable as applicable.
- A mounting bracket, screws and anchors suitable for the ceiling and load.
- A drill, suitable bit and concealed-services detector if new holes are required.
- Eye protection for drilling.
A neon screwdriver or non-contact voltage pen alone is not sufficient to prove that the wiring is dead. If you cannot verify safe isolation properly, use an electrician.
Do not substitute insulating tape for a proper connector or reuse cracked terminal blocks. Read the instructions and check the bracket layout before removing the existing fitting.
3. Isolate the supply and verify that it is dead
Turning off the wall switch is not safe isolation. Incorrect wiring or more than one supply near the connection can leave dangerous voltage present even when the light is off.
- Switch off the relevant circuit at the consumer unit. If you cannot confidently identify it, switch off the main switch.
- Tell everyone in the property and prevent the supply from being switched back on while you work.
- Check that the voltage tester works before and after verifying absence of voltage, following its instructions.
- Use an appropriate tester to verify that all accessible conductors at the connection point are dead.
- Only then begin dismantling, keeping the supply isolated throughout the work.
If you detect voltage, obtain unclear readings or cannot check every conductor, stop and call an electrician. Never improvise a tester from a bulb or loose wires.
Support the old fitting as you loosen it. Its weight must not hang from the electrical conductors. A photograph of the original connections can provide a reference, but it cannot establish that the previous installation was correct.
4. Understand Spanish wire colours and terminal markings
Modern installations normally use these colours and markings:
- Blue: neutral, usually connected to the terminal marked N.
- Green and yellow: protective earth, connected to the terminal bearing the earth symbol.
- Brown, black or grey: line conductors. At a lighting point, the fitting is normally supplied by a switched line connected to L.
Treat these conventions as guidance, not identification. Older properties may have inconsistent colours or alterations concealed above the ceiling rose. Several same-coloured wires or unexplained connections need professional assessment, not trial and error.
Class I fittings require a protective earth connection. If the existing wiring has no suitable earth, do not install a fitting that requires one. Never link earth to neutral at the light.
Class II fittings, marked with a square inside another square, do not require an earth connection. An existing earth conductor must still be safely terminated and protected. If it forms part of a shared connection, its continuity must be maintained; do not simply cut it off.
Two wires on a light do not, by themselves, confirm that it is Class II. Check its label and instructions rather than judging by appearance.
5. Secure the bracket and connect the fitting
Once safe isolation has been verified, remove the old light and inspect the visible wiring. Brittle insulation, blackened conductors or signs of overheating mean the job should stop until an electrician has assessed it.
- Choose fixings for the actual ceiling and load. Heavy fittings below a suspended ceiling may need an independent attachment to the load-bearing structure.
- Before drilling, assess where cables and pipes could run. A detector is helpful but cannot guarantee that every concealed service will be found.
- Install the bracket as instructed. Do not assume it is safe to drill immediately beside the cable outlet.
- With the conductors already positively identified, connect neutral to N, switched line to L and protective earth to the designated terminal where required.
- Follow the connector instructions for stripping length and tightening. No bare copper should remain exposed outside the terminal.
- Give each conductor a gentle pull to check retention. Place the connections inside the intended enclosure without trapping or straining cables.
- Fit the canopy, shades and compatible bulbs before restoring the supply.
The bracket or suspension system must carry the weight, not the electrical terminals. For pendant lights, use the manufacturer’s cable-retention and suspension arrangement. Do not shorten a pendant unless the instructions allow it and explain how.
6. Test the light and avoid common mistakes
Before restoring power, check that the fitting is secure, all connections are enclosed and no tools remain on the light or ladder. Restore the supply, then operate the wall switch.
If a protective device trips, you notice a burning smell, hear crackling or see unusual flickering, switch off at the consumer unit and arrange an inspection. Do not repeatedly reset a tripping device or open the canopy with the supply on.
Common mistakes include:
- Choosing wall plugs without checking the ceiling material or supported weight.
- Assuming the old connections or wire colours must be correct.
- Putting several conductors into a terminal designed for only one.
- Leaving loose copper strands or clamping insulation instead of the conductor.
- Exceeding the fitting’s maximum lamp rating.
- Using non-dimmable LEDs with a dimmer.
If the light does not work, do not swap conductors around. Check that the bulb is suitable and, with the supply isolated, properly seated. Persistent problems need diagnosis by an electrician rather than repeated attempts at rewiring.
7. When to call an electrician and what to budget
Use an electrician if you cannot identify the wiring, prove safe isolation or establish that a required earth is present. Damaged insulation, repeated tripping, high ceilings, heavy chandeliers and wet locations also make professional installation the sensible choice.
As an indicative guide, replacing a straightforward fitting may cost €50–€120, while more involved mounting work may be around €120–€300 or more. These are broad ranges, varying with specification, existing condition, area, access and travel. The fitting itself, wiring repairs and additional lighting points may be quoted separately.
Ask whether the quotation includes fixings, connection materials, travel and tax. Where the electrical installation will be altered, clarify the scope and any required certification before work starts.
If your property is on the Costa del Sol, ReformaClick can help you find renovation companies and request a no-obligation quote. Photos taken without disturbing electrical connections, together with the fitting’s weight and ceiling type, can help explain the job.
Frequently asked questions
Can I change a ceiling light with just the wall switch off?
No. Isolate the supply at the consumer unit and verify absence of voltage using suitable testing equipment. The wall switch alone does not provide reliable safe isolation.
What happens if live and neutral are reversed?
Some lights may still work, but that does not make the connection correct or safe. Follow the L and N markings, and never use successful operation as a way to identify the conductors.
Why are there three ceiling wires but only two on my light?
The ceiling may provide switched line, neutral and earth, while the fitting may be Class II. Confirm both the conductor functions and the fitting’s classification. Any unused earth must be safely terminated, with existing earth continuity maintained where relevant.
Do I need a boletín to replace a ceiling light in Spain?
A like-for-like replacement without changes to the installation would not normally require a new certificate by itself. New installations and extensions require an authorised installer and a boletín under the REBT; the electrician should confirm what your particular work involves.
Would you rather hire a professional?
Tell us about your project and we will connect you with renovation companies on the Costa del Sol. No obligation.
Get a quote