
How to Change a Light Switch Safely in Spain
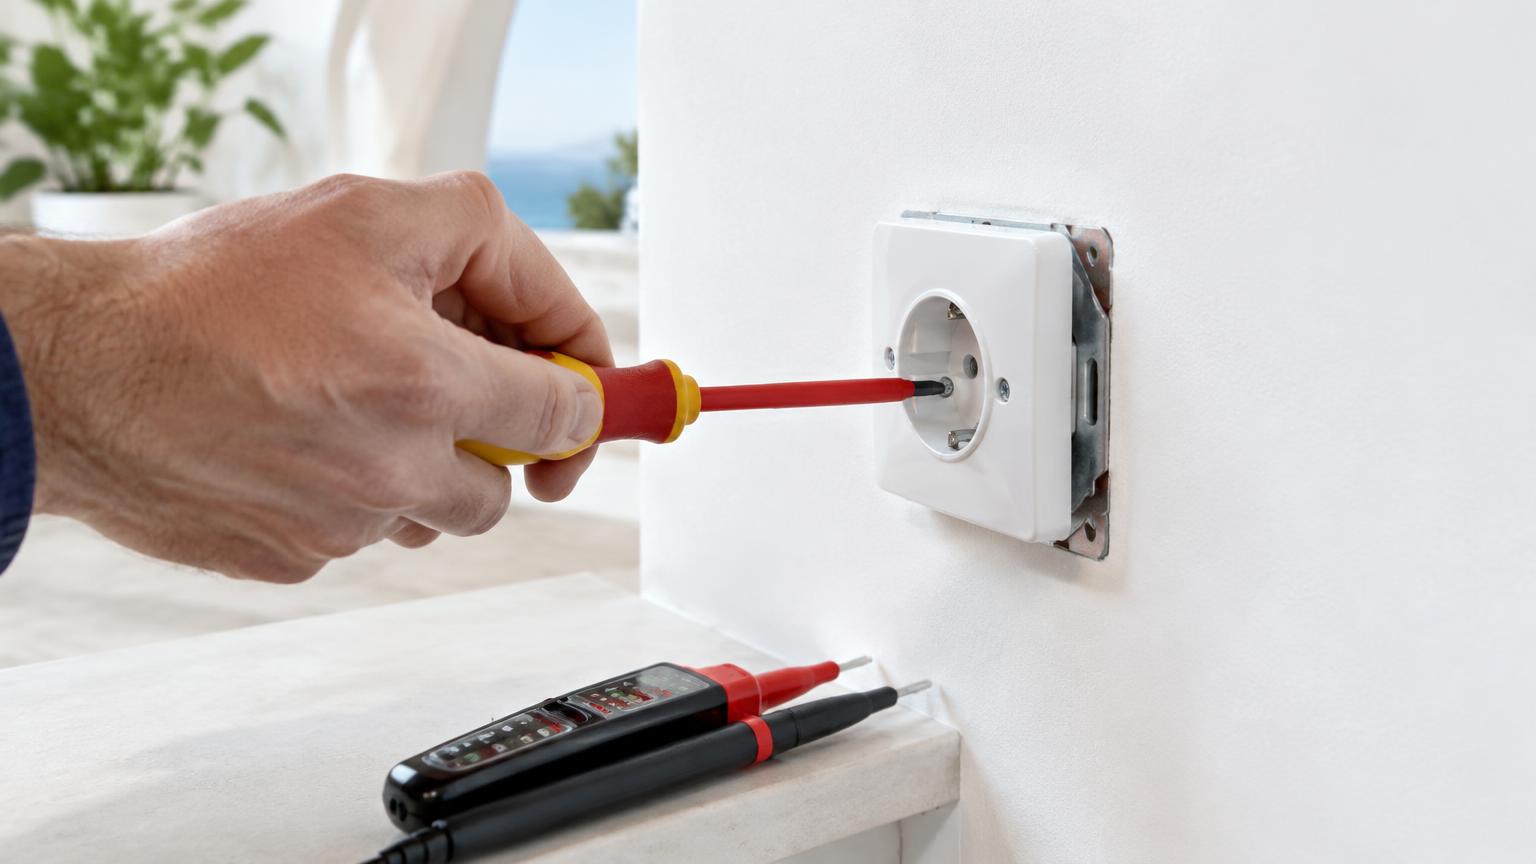
Changing a light switch means isolating the electricity, proving the circuit is dead, identifying the connections and fitting a suitable replacement. It is only a reasonable DIY task when the replacement is straightforward, you know how to verify safe isolation and the existing wiring is in good condition.
This guide covers a conventional switch controlling one light from one position in a Spanish home. It does not cover circuit alterations, smart switches or fault-finding. If you cannot confidently identify the switch or prove that every relevant connection is dead, stop and use an electrician.
1. Establish what type of switch you have
Start by checking how the light is controlled. A light operated from one position may use a simple one-way switch. Control from two positions normally involves two-way switches; three or more positions usually require intermediate switching too. These mechanisms are not interchangeable, even when their front plates look identical.
Push buttons, dimmers and electronic controls are different again. A button that springs back may operate a relay rather than directly switching the lighting circuit.
- Check every location that controls the same light.
- Note any dimming, indicator lights or automatic operation.
- Consider whether the problem affects just this switch or other parts of the circuit.
A burning smell, crackling, unusual warmth or a circuit breaker that trips is a reason for investigation, not simply a new faceplate. Keep the affected circuit disconnected and arrange professional help.
For foreign residents, a useful distinction is that Spanish mechanisms and mounting systems may differ from those familiar in the UK. Buy for the installation you actually have, rather than assuming a familiar-looking product will fit.
2. Gather suitable tools and replacement parts
Have everything ready before switching off the supply. You will need a compatible switch mechanism and the appropriate rocker, frame and mounting support where these are separate components. Parts from different ranges do not necessarily fit together.
- Insulated screwdrivers matching the fixing screws.
- A suitable two-pole voltage tester.
- A battery-powered torch or head torch.
- A phone for recording the original connections without touching them.
- Cable labels if needed.
- A wire stripper only if you are competent to prepare conductors without damaging them.
Check that the replacement is suitable for the supply voltage, connected load and existing conductor type. Follow its manufacturer's instructions rather than choosing purely on appearance.
A neon screwdriver or non-contact voltage pen is not enough to prove a circuit dead. If you do not have the correct tester, or cannot use it confidently, do not proceed. Household rubber gloves do not make an unsafe electrical task safe.
Keep the packaging and wiring diagram available throughout the work. Terminal arrangements can differ even between switches with very similar fronts.
3. Isolate the electricity and prove the circuit dead
Work with dry hands, a dry floor and adequate independent lighting. Make sure nobody can restore the supply while you are working.
- Turn off the light, then disconnect the relevant supply at the consumer unit. If you cannot reliably identify the circuit, switch off the main supply; homes with alternative power sources need additional isolation precautions.
- Tell everyone in the property and prevent accidental reconnection.
- Check that the light no longer operates. That alone does not prove the wiring is dead.
- Remove only what is necessary to reach the test points, without touching terminals or exposed copper.
- Use an appropriate two-pole tester to verify the absence of voltage at all accessible conductors and terminals, following the correct testing procedure.
Verify that the tester works before and after testing, using a proving unit or a safely accessible known source. If you do not know how to make and interpret these checks, call an electrician. Do not improvise reference points or touch wires to see whether they are live.
4. Remove the old mechanism and record the connections
Only after proving the circuit dead should you remove the rocker and frame according to their fixing method. Some clip into place and others use screws. Forcing them can break the clips or damage the surrounding plaster.
Release the mounting screws and ease the mechanism forward without pulling on its wires. Before disconnecting anything, take a clear photograph showing the terminal markings and existing connections. Identify each conductor by its connection, not just its colour.
A conventional one-way switch normally has an incoming connection and a switched outgoing connection to the light. Terminal positions can change between models. Your photograph is a useful record, not a replacement for the new manufacturer's diagram.
Stop if you find:
- Brittle insulation, blackened copper or melted plastic.
- Loose joints, multiple circuits or unexplained connections.
- Wires too short to handle without straining them.
- Conductors whose purpose you cannot establish.
Green-and-yellow insulation is reserved for protective earth. It must never be repurposed as a live conductor. Do not assume that other colours have been used correctly in an older installation.
5. Fit the replacement and test it once enclosed
Match the functions of the new terminals to those of the original mechanism, using the manufacturer's diagram. Do not simply copy left and right. If the correspondence is unclear, stop rather than guessing.
- Release the conductors using the terminal screw or intended release mechanism. Do not pull them free by force.
- Reuse an existing stripped end only if it is undamaged, clean and the correct length for the replacement terminal.
- Insert each conductor fully. No bare copper should remain outside the terminal, and insulation must not obstruct the electrical contact.
- Tighten as specified, or check that the spring terminal has locked. Gently check that each conductor is secure.
- Fold the wires back without pinching or straining them, then secure the mechanism level without overtightening.
- Refit the rocker and frame before restoring power.
Do not put multiple conductors into a terminal unless it is designed for them. Once everything is enclosed, restore power and check operation. If the light fails, the switch buzzes, there is a smell or a protective device trips, disconnect again. Never adjust exposed connections while energised.
6. Common mistakes and indicative replacement costs
The most serious mistake is treating the off position on the switch as electrical isolation. Other common problems include buying a one-way mechanism for a two-way circuit, mixing incompatible frame components and assuming wire colours always identify their functions correctly.
Avoid these shortcuts:
- Covering damaged insulation with tape and carrying on.
- Leaving loose terminals or exposed copper.
- Forcing a bulky mechanism into a shallow wall box.
- Altering connections with the supply on to see what happens.
As a rough guide, a basic switch mechanism and finishing components might cost €5–€35. A straightforward professional replacement could be around €50–€120, depending on travel, minimum labour charges and what the electrician finds.
These are indicative ranges, varying with product quality, the condition of the installation and location. Emergency attendance or additional repairs can cost more. Ask whether materials, travel and IVA, Spain's VAT, are included.
A useful buying tip is to photograph the existing frame before shopping. This can help match the appearance, but electrical compatibility still needs checking separately.
7. When to call a qualified electrician in Spain
Use an electrician if you cannot prove safe isolation, do not understand the wiring or discover deterioration. Professional assessment is also sensible for damp locations, older installations, alternative power supplies or any job involving changes to wiring and wall boxes.
A smart switch may need a neutral conductor, more space or a different wiring arrangement. It is not automatically a direct replacement. Changing to a dimmer also requires checks on the lamps, load and wiring.
In Spain, new electrical installations and extensions require an authorised installer and the relevant electrical installation certificate, commonly called a boletín, under the REBT framework. An equivalent switch replacement does not normally require a new certificate by itself, but extending or altering a circuit is a different matter.
When requesting a quote, explain how many switches need replacing, how each light is controlled and whether there are signs of a fault. If your property is on the Costa del Sol, ReformaClick helps you find renovation companies and request quotes without obligation.
Frequently asked questions
Can I change a light switch without turning off the power?
No. Isolate the supply at the consumer unit and prove the circuit dead with suitable testing equipment. Turning the switch off or seeing that the lamp no longer lights is not sufficient.
Which wire goes into the terminal marked L?
L usually identifies the line or common terminal, depending on the mechanism. Do not select a wire by colour or its previous physical position alone. Its function must be established and checked against the manufacturer's diagram.
Do I need a one-way or two-way light switch?
A light controlled from two locations normally uses two-way switches. A single control point may use a one-way switch, although relay and push-button systems also exist. Confirm the actual mechanism before buying.
Why does the light not work after replacing the switch?
Possible causes include an incompatible mechanism, an incorrect connection or a separate fault. Disconnect the supply again. Do not troubleshoot with exposed live parts; call an electrician if you cannot safely establish the cause.
Can I replace a normal switch with an LED dimmer?
Only if the dimmer suits the lamps, their load, the wiring and the wall box. Not all LED lamps are dimmable, and dimmers are not universally compatible. Ask a professional to check if you are unsure.
Would you rather hire a professional?
Tell us about your project and we will connect you with renovation companies on the Costa del Sol. No obligation.
Get a quote