
Water Stop Valve: When and How to Replace It
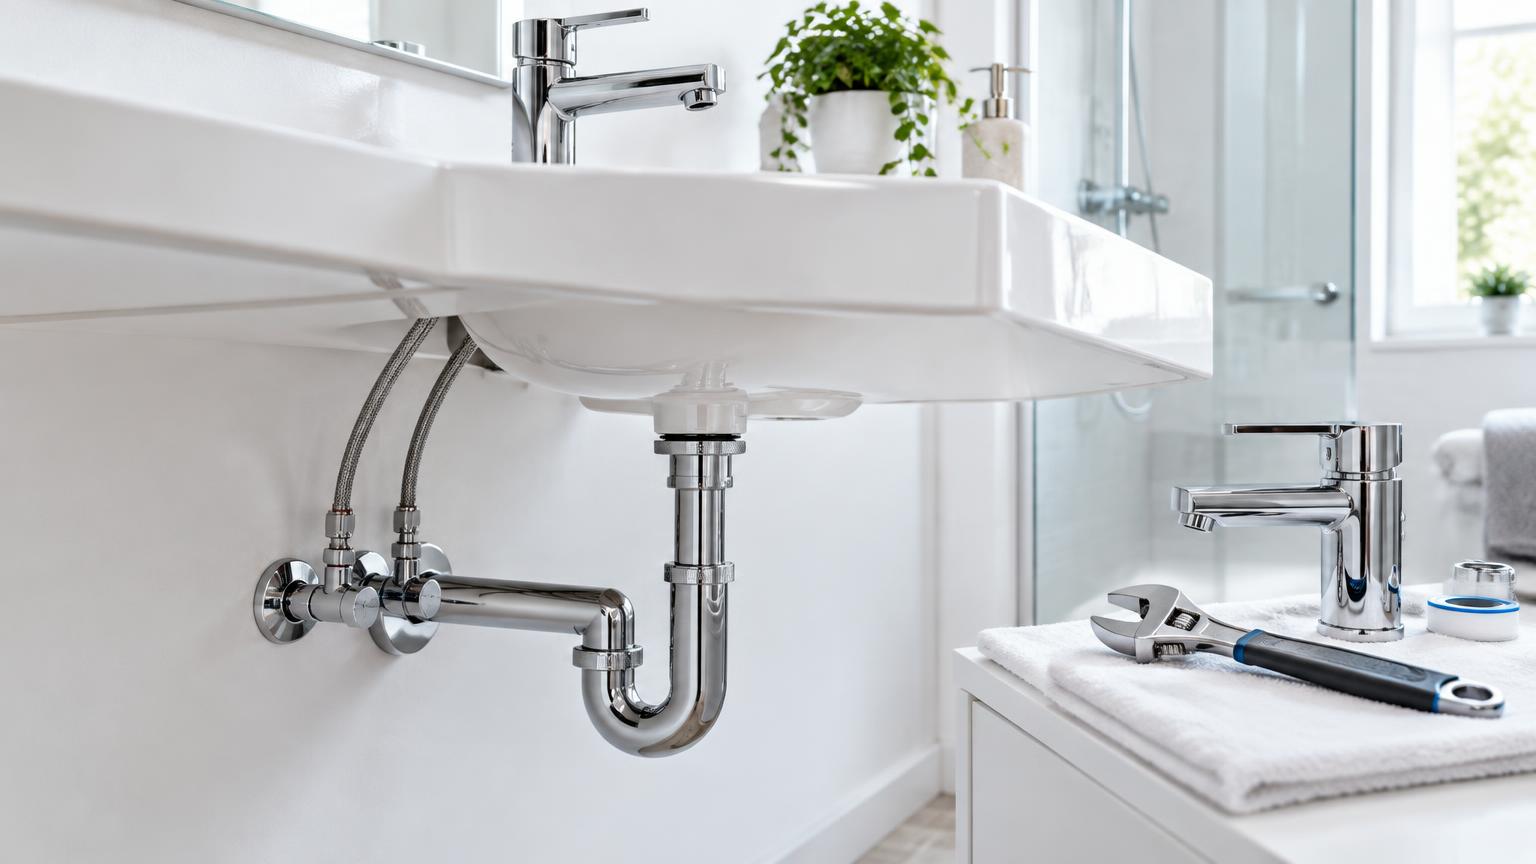
A water stop valve needs attention if it leaks, will not shut off the supply or has become too stiff to operate normally. Before replacing it, you must isolate the pipe using another valve upstream and confirm that the pressure has been released. If you cannot do that safely, leave the replacement to a plumber.
Signs that your water stop valve needs replacing
A stop valve isolates the water supply to a property, room or individual fitting. In Spain, you will often hear it called a llave de paso. A stiff handle is a warning sign, not an invitation to use more force: doing so could break the valve or damage the pipe behind it.
Look for:
- Drips around the spindle, connections or valve body.
- Damp patches, staining or corrosion.
- A handle that turns without stopping the water.
- Excessive resistance when opening or closing.
- Cracks or visibly deteriorated connections.
Not every leak means the whole valve has failed. A washer or seal may be responsible. Dry the area and identify where the first drop appears without disturbing pressurised connections.
If the body is damaged or the internal mechanism no longer closes, replacement is usually sensible. Water running briefly after isolation may simply be draining from the pipe; check whether it actually stops.
Identify the valve and establish who can isolate it
First distinguish between the property's main stop valve, room isolation valves and the small angle valves serving taps or toilet cisterns. Accessible appliance valves are generally more straightforward than valves concealed in a wall.
Quarter-turn ball valves and multi-turn valves work differently. Do not choose a replacement just because the handle looks similar. Check the pipe size, thread, connection type, overall length and suitability for drinking water and the operating temperature.
In an apartment block, the valve near the meter may be associated with communal infrastructure or the water supplier's equipment. Check with the building administrator or supplier before touching it. Never interfere with seals or sealed fittings.
Replacing the main stop valve requires an authorised upstream isolation: closing the valve you intend to remove is not enough.
Soldered, pressed, plastic-system and heavily corroded connections need the appropriate skills and tools. For these, use a plumber rather than adapting a generic DIY method.
Tools, materials and checks before starting
For an accessible valve with suitable demountable connections, gather:
- A compatible replacement valve and the correct new seals.
- Two appropriately sized spanners, preferably with parallel jaws.
- A bucket, shallow tray, cloths and torch.
- Protective gloves and safety glasses.
- Drinking-water-compatible thread sealant, only where required.
PTFE tape does not belong on every threaded connection. A flexible tap connector with a flat washer seals against that washer. A compression fitting relies on its ring, or olive, and seating surfaces. Tape in the wrong place can prevent correct assembly.
Photograph the existing arrangement and measure the connections before buying parts. Do not assume an old compression nut or olive will suit a new valve: check the manufacturer's requirements.
Clear the cupboard, protect nearby surfaces and locate the upstream shut-off. Make sure you can reach it quickly. If you cannot confidently identify how the connection seals, get advice before loosening anything.
How to replace an accessible stop valve safely
These steps apply only to an accessible valve with compatible demountable connections and sound pipework. They are not instructions for soldering, altering communal risers or replacing concealed fittings.
- Isolate upstream. Shut off the supply using the preceding valve and tell everyone in the property. If a water heater or appliance could drain, follow its manufacturer's instructions for taking it out of service.
- Release the pressure. Open a tap supplied by the isolated pipe and wait for the flow to stop. If water keeps running, do not remove the valve.
- Prepare for residual water. Place a tray and cloths underneath. Depressurised pipes may still hold enough water to damage a cupboard.
- Support the fitting while loosening. Use one spanner to counterhold the appropriate fitting and the other to undo the connection. Avoid twisting the pipe. Stop if it moves inside the wall.
- Inspect the exposed surfaces. Check threads, pipe ends and sealing faces. Damaged threads, distorted pipework or substantial corrosion need professional assessment.
- Fit the replacement. Use the specified new seals and apply thread sealant only where the joint design requires it. Follow any flow-direction marking and the manufacturer's tightening instructions. Do not pull a flexible hose into alignment by force.
- Restore the supply gradually. Leave a downstream tap slightly open and slowly reopen the upstream valve. Operate the new valve gently and allow trapped air to escape.
If a connection leaks, isolate the supply and release the pressure again before correcting it. Repeatedly tightening a badly seated washer is not a reliable repair and may damage the fitting.
Test for leaks and avoid common installation mistakes
Once the supply is restored, dry every connection thoroughly. Wipe around each joint with absorbent paper to reveal small leaks. Check again after using the fitting and over the following hours: an initially dry joint can still develop a slow seep.
Confirm that the new valve shuts off the intended supply, then reopen it without forcing the end stops. On a simple branch, closing the valve and opening its downstream tap should allow the remaining flow to run out. A mixer tap may receive water through another supply, so interpret the test accordingly.
Common mistakes include:
- Assuming the water is off without testing.
- Turning the pipe while undoing a nut.
- Reusing hardened or damaged washers.
- Mixing incompatible fitting components.
- Covering a connection before checking it.
A useful professional habit: keep the valve accessible and label what it controls if that is not obvious. Never box in a joint that remains damp.
Typical replacement costs and basic maintenance
As a broad guide, a basic domestic valve may cost €8–€40. Professional replacement of an easily accessible valve may be around €70–€180, including a standard part and straightforward labour. These are indicative ranges, not quotations, and vary with specification, installation condition and location.
Concealed valves, damaged pipes, emergency attendance and communal shutdown arrangements can increase the overall cost. Ask whether the quotation includes travel, materials, tax and any making good to tiles or walls. Comparing only the headline amount can be misleading.
For maintenance, inspect the connections visually and occasionally operate a sound valve if the manufacturer permits it. Do not force an old seized valve or apply lubricants without checking suitability.
In hard-water areas, deposits can make a valve difficult to move. Cleaning the outside will not restore a failed internal mechanism. If you leave your Costa del Sol home empty for extended periods, identify the relevant shut-off arrangements before departure rather than discovering a seized valve at the last minute.
When to call a professional on the Costa del Sol
Use a plumber when there is no reliable upstream isolation, the valve is concealed, the pipe moves or corrosion is significant. Professional help is also advisable for soldering, press-fit work, pipe alterations and any shutdown affecting neighbours.
Water near electrical sockets or appliances adds another risk. Do not touch wet equipment. Switch off power at the consumer unit only if you can reach it safely from a dry position. Before electrical work, the supply must be isolated and absence of voltage checked with a suitable detector. If access is unsafe, keep away and request help. New electrical installations and extensions in Spain require an authorised installer and the relevant installation certificate, or boletín, under the REBT.
This guide concerns water only: never attempt DIY replacement of a gas valve.
For a property on the Costa del Sol, ReformaClick helps you find renovation companies and request a quotation without obligation.
Frequently asked questions
Can I replace a stop valve without turning off the water?
Not as a DIY task. You must isolate the pipe with another valve upstream and confirm that pressure has been released. If no working isolation point is available, a plumber needs to arrange a safe solution.
Why is water still running after I close the stop valve?
It may be residual water draining from the pipe, a valve that is not sealing properly or water arriving through another supply. If the flow does not stop, do not dismantle the valve.
What should I do if my stop valve is stuck?
Do not extend the handle with a lever or force it with pliers. That can damage the valve or pipework. Locate the upstream isolation point and ask a plumber whether repair or replacement is appropriate.
Do I need PTFE tape when fitting an angle valve?
It depends on the connection. Some threaded joints need a suitable sealant, while flat-washer and compression connections seal differently. Follow the manufacturer's instructions rather than applying tape to every thread.
Would you rather hire a professional?
Tell us about your project and we will connect you with renovation companies on the Costa del Sol. No obligation.
Get a quote