
How to Replace a Tap: Bathroom and Kitchen Guide
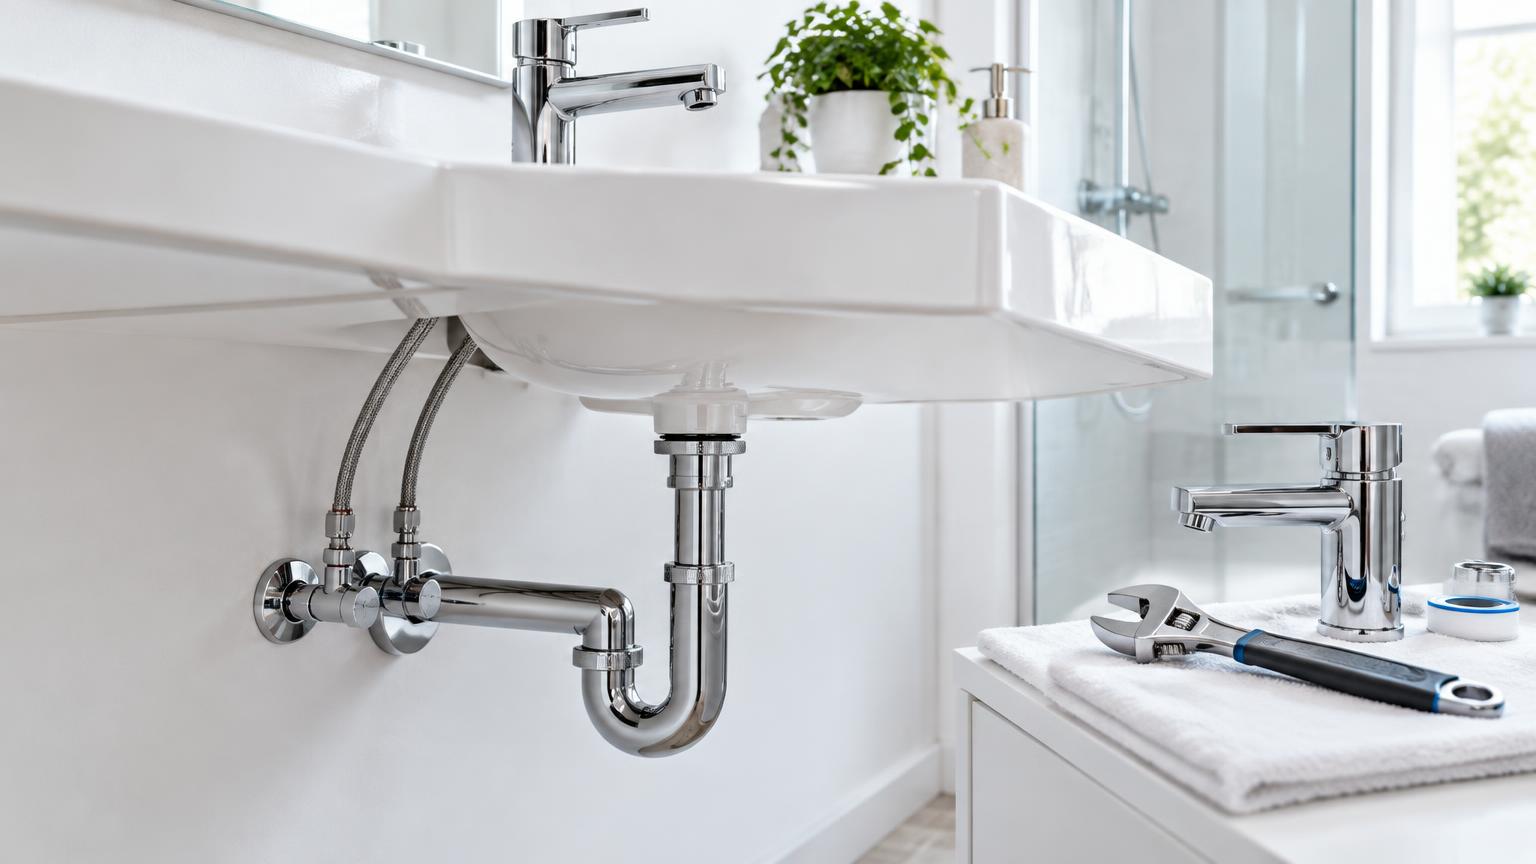
To replace a tap on a bathroom basin or kitchen sink, you need to isolate the water, disconnect the flexible hoses, undo the mounting and fit the replacement with the correct seals. It is a manageable DIY job when the isolation valves work, the pipework is sound and you can comfortably reach the fittings underneath.
The awkward part is usually below the sink: seized nuts, cramped cupboards or ageing pipes that should not be disturbed. This guide explains what to check before buying, how to fit a standard deck-mounted tap and how to test for leaks. For homes on the Costa del Sol, it also covers typical costs in euros and when a plumber is the safer choice.
1. Check that your replacement tap will fit
These steps apply to taps mounted through a basin, sink or worktop. Wall-mounted and concealed taps may need a different approach, particularly where the existing pipe connections need altering.
Before shopping, photograph the fittings underneath and check:
- The number of mounting holes and the space around the tap base.
- The thickness of the mounting surface and the fixing kit’s capacity.
- Spout height and reach, so water lands comfortably inside the bowl.
- The connection size on each isolation valve.
- The hose length needed without stretching or tight bends.
Both 3/8-inch and 1/2-inch connections are common, but do not assume your new tap will match. Check the product specifications against the actual fittings in your home.
For a pull-out kitchen tap, allow clear space for the hose and counterweight beneath the sink. Drawers, recycling bins and the waste trap must not obstruct their movement. Also check that the handle will clear the wall or splashback.
2. Gather your tools and protect the cupboard
Empty the cupboard and cover its base with an old towel. Place a bucket beneath the connections and use a head torch if visibility is poor. Cover the plughole so small washers or screws cannot disappear down the waste.
You will generally need:
- A compatible tap with its seals and mounting kit.
- New flexible supply hoses if these are not supplied or integrated.
- An adjustable spanner and a second spanner for counterholding fittings.
- A basin wrench for hard-to-reach mounting nuts.
- A screwdriver or Allen key, depending on the model.
- Gloves, cloths and kitchen roll for checking leaks.
- A cleaner suitable for the basin or sink surface.
Read the fitting instructions first. Some designs require the hoses and mounting parts to be assembled in a particular order.
Do not add PTFE tape to connections that seal with a flat washer or O-ring. The washer makes the seal, not the threads. Likewise, only apply silicone beneath the tap base if the manufacturer specifies it.
3. Isolate the water and remove the old tap
- Close both the hot and cold isolation valves beneath the basin or sink without forcing them.
- Open the tap to release the remaining water. If water continues flowing, the valves are not isolating properly: shut off the property’s main water valve before proceeding.
- Keep the bucket underneath and disconnect the supply hoses. Counterhold the adjoining fitting where appropriate so the turning force does not reach the pipework.
- Support the tap from above while undoing its mounting nut or fixing system below.
- Remove the support plate and washers, then lift the tap out with its hoses.
Some bathroom taps have a pop-up waste rod that must be disconnected first. Photograph the linkage so you can reassemble it correctly.
Never use the pipework for leverage. Stop if a wall connection turns, a valve is seized or corrosion appears significant. Forcing an old fitting can turn a small job into a concealed leak or a loss of water supply.
4. Clean the surface and secure the new tap
Remove old gasket material and deposits without scratching the surface. Use a suitable cleaner for limescale: acidic descalers can damage marble and other natural stone. Dry the area and check the mounting hole for cracks or deterioration.
- Position the base seal exactly as shown in the instructions.
- If the supply hoses are not already fitted, attach them using the manufacturer’s specified method and tightening guidance. Do not twist the hose itself to tighten a connector.
- Feed the hoses through the hole and lower the tap into place.
- Fit the washers, seals and mounting plate underneath in the correct order.
- Align the spout and tighten gradually, ideally with someone holding the tap from above.
The tap should be stable, not crushed against the surface. Excessive tightening can distort a thin stainless-steel sink or damage a ceramic basin.
If the sink flexes, check whether a suitable reinforcing plate is needed. Increasing the tightening force is not a reliable fix for an unsupported mounting surface.
5. Connect the hoses and test for leaks
Connect each hose to the correct supply, following the hot and cold markings. Hot is usually on the left when facing the tap, but check rather than relying on position alone. Start threaded connections by hand; immediate resistance can mean misalignment or the wrong size.
- Check that every required washer is present and seated properly.
- Keep hoses free from kinks, twisting and tension.
- Tighten as instructed, counterholding the adjoining fitting where needed.
- On pull-out models, connect the spray hose and position its counterweight as specified.
With the tap closed, reopen the isolation valves slowly. Check each joint with dry kitchen roll, then run both hot and cold water. If the instructions allow, remove the aerator for the initial flush and refit it afterwards.
Inspect with the tap running and switched off. Check around the base and any waste fittings disturbed during the work. Inspect again after several uses and the next day. If a joint leaks, isolate the water and examine its seal rather than simply tightening harder.
6. Avoid common mistakes and budget for the job
Typical mistakes include buying mismatched fittings, reusing worn hoses and overtightening nuts. Locate the property’s main shut-off valve before starting, even if you expect to use only the local valves. Keep hoses away from sharp edges and choose the correct length instead of adding several extensions.
For budgeting in Spain, indicative ranges are:
- Standard bathroom basin tap: €30–€150.
- Conventional or pull-out kitchen tap: €50–€250.
- Flexible hoses, washers and minor accessories: €10–€40.
- Labour for a straightforward replacement: €60–€140, usually excluding the tap.
These are guide ranges, varying with product quality, installation condition and location. Travel, urgent attendance or replacement isolation valves can increase the bill. Ask whether the quote includes VAT, materials and removal of the old tap.
A useful professional tip: check whether replacement cartridges, aerators and hoses are readily available. A tap that can be maintained may be a better long-term choice than one selected purely for its finish.
7. When it is better to call a professional
Use a plumber if the isolation valves do not close, the pipes are old and rigid, fittings are corroded or a leak keeps returning. Professional help also makes sense if the job requires drilling a worktop, altering supply connections or disturbing fittings you cannot confidently reseal.
Boiling-water taps, filtration systems and other specialist setups need their own installation procedures. Do not treat them as ordinary mixer taps unless you understand the complete system. If electrical components are wet, leave them alone and seek professional assistance.
To help a contractor assess the work, send clear photographs of the tap, the connections underneath and the isolation valves. Mention whether you are supplying the replacement and flag any existing leaks or poor flow.
If your property is on the Costa del Sol, ReformaClick can help you find renovation companies and request a no-obligation quote. Explaining the condition of the existing plumbing helps distinguish a simple replacement from a job requiring additional repairs.
Frequently asked questions
Can I replace a tap without turning off the mains water?
Yes, provided both local isolation valves shut off fully. Open the tap to confirm that flow stops once the remaining water has drained. If water continues coming through, shut off the property’s main supply before disconnecting anything.
Do tap hoses need PTFE tape?
Not normally where the connection uses a flat washer or O-ring. Tape cannot replace a damaged seal and may interfere with assembly. Use thread sealant only where the connection type requires it and follow the fitting instructions.
Can I reuse the flexible hoses from my old tap?
Fitting new, compatible hoses is preferable when replacing a tap. Never reuse hoses with corrosion, bulges, stiffness, damaged braiding or deteriorated seals. Where hoses are integrated, follow the tap manufacturer’s replacement arrangements.
Why is the water flow weak after fitting a new tap?
Check that the isolation valves are open, the hoses are not kinked and the aerator is clear of installation debris. Some taps deliberately restrict flow. If these checks do not explain the problem, arrange a plumbing inspection.
How long does it take to replace a tap?
An accessible replacement without complications may take around half an hour to two hours. Seized fixings, poor access or defective valves can make it longer. Leave enough time to test the installation properly rather than rushing the final checks.
Would you rather hire a professional?
Tell us about your project and we will connect you with renovation companies on the Costa del Sol. No obligation.
Get a quote