
Dripping Tap? How to Fix It in Around 20 Minutes
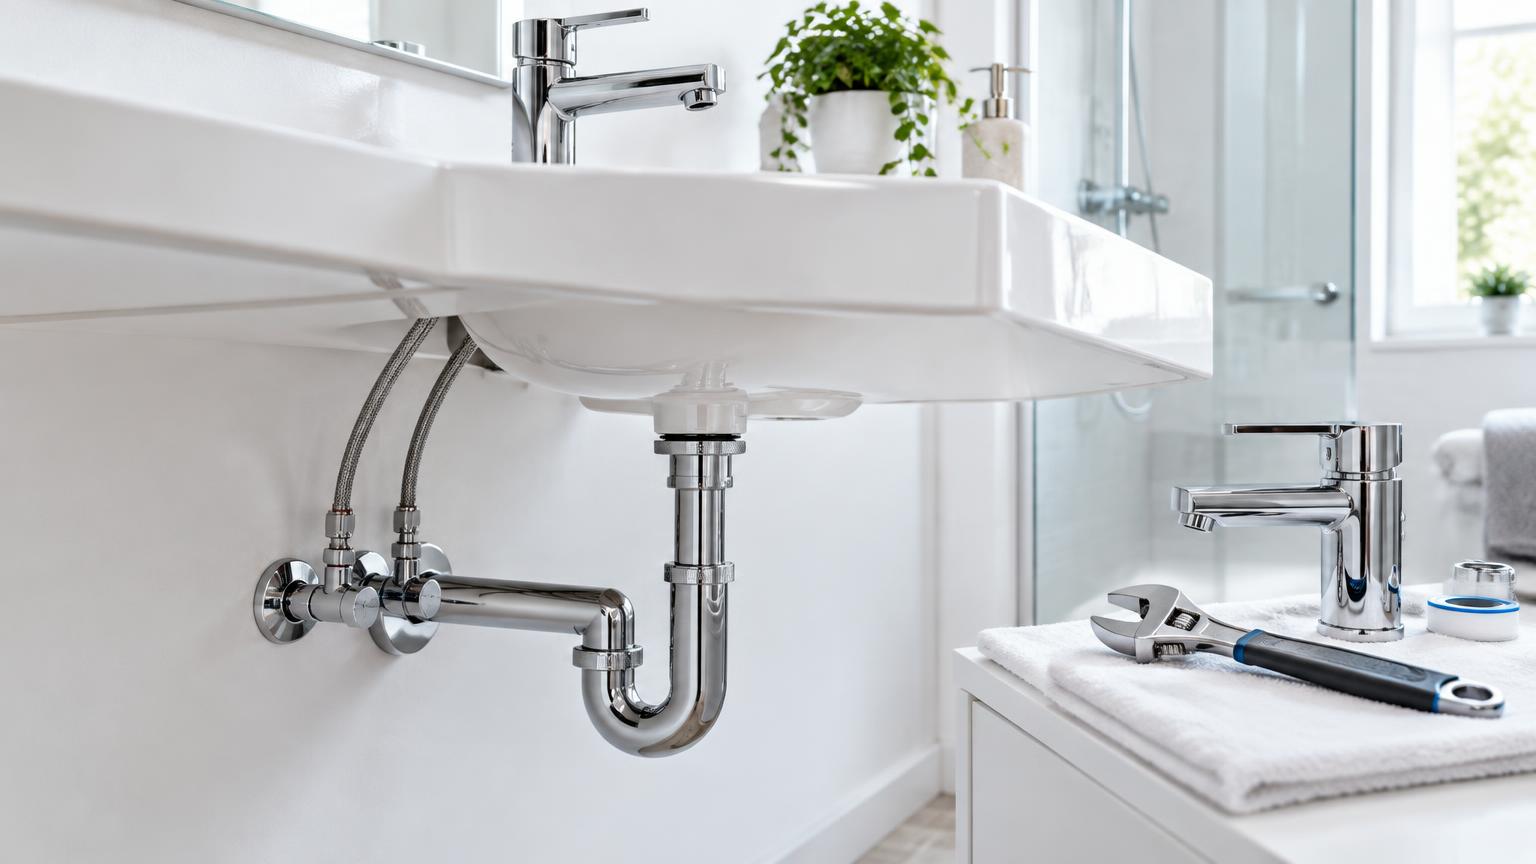
If your tap keeps dripping from the spout when switched off, the washer, valve headwork or cartridge may no longer be sealing properly. Water around the base or underneath the sink usually points to a different fault. Locate the source and isolate the water before taking anything apart.
A straightforward repair may take around 20 minutes once you have the right spare part. Finding that part, removing seized fittings and dealing with limescale can take considerably longer. This guide explains what you can tackle yourself, what to buy and when a plumber is the safer choice.
1. Find out where the tap is leaking
Dry the tap, worktop and accessible connections with a cloth. Watch where water returns, first with the tap off and then while it is running. Kitchen paper is useful for spotting moisture around individual joints.
- Dripping from the spout when off: the shut-off mechanism may be worn or contaminated with debris.
- Water around the handle: suspect the cartridge, a seal or its retaining arrangement.
- Leaking around a swivel spout: the O-rings may need replacing.
- Water beneath the basin or sink: inspect flexible hoses, connections and the tap body. If it only appears as water drains away, check the waste fittings too.
A few drops immediately after switching off may simply be water draining from the spout. Continued dripping needs investigation. A blocked aerator is not normally responsible for a persistent drip when the tap is off: cleaning it is more relevant to splashing or an uneven flow.
2. Gather your tools and isolate the water
The replacement part depends on your tap, but a basic toolkit should include:
- A small adjustable spanner and screwdrivers.
- A set of Allen keys.
- Cloths, kitchen paper and a shallow container.
- A compatible washer, valve headwork or cartridge.
- Silicone grease suitable for drinking-water fittings, where recommended by the manufacturer.
- A finish-compatible limescale remover, if needed.
Close both the hot and cold isolation valves beneath the basin or sink. Open the tap to release pressure and check that the flow stops. If there are no local valves, or they do not shut off properly, use the property's main stop valve.
Never force a seized isolation valve: breaking it could leave you with an uncontrolled leak. Call a plumber if you cannot isolate the supply. Cover the plughole to catch small screws and protect decorative surfaces with a cloth.
If leaking water has reached sockets or appliances, do not touch wet electrical equipment. Isolate the electricity at the consumer unit only if safe to do so. Before any electrical work, verify that the circuit is dead with a suitable voltage detector.
3. Repairing a tap with separate hot and cold handles
Two-handle taps may use traditional rubber washers or ceramic valve headwork. A quarter-turn handle often suggests a ceramic mechanism, but check the actual fitting rather than assuming a washer will solve the problem.
- With the water isolated, remove the handle's decorative cap and retaining screw. Photograph each stage.
- Lift off the handle and unscrew the valve headwork, supporting the tap so that you do not twist the pipework.
- If there is a rubber washer at the end, inspect it for splitting, hardening or distortion. Fit a replacement of the same size and profile.
- For ceramic headwork, obtain a compatible replacement. Hot and cold versions may turn in different directions.
- Remove accessible debris and reassemble without overtightening.
Trade tip: a new washer cannot reliably seal against a badly pitted valve seat. Do not attempt to grind or sand the seat without the right knowledge and tools. If you cannot tell which side is leaking, checking both valves while the water is isolated may save a second dismantling session.
4. Replacing a single-lever mixer cartridge
A single-lever mixer uses a cartridge to control flow and blend hot and cold water. A persistent drip from the closed spout often means this component needs attention. Designs differ, so check the manufacturer's instructions where available.
- Isolate both supplies and release the pressure through the tap.
- Find the handle's retaining screw, often hidden behind a small decorative plug. Loosen it with the correct tool and lift off the handle.
- Remove the trim and cartridge retaining nut. Avoid applying force to a decorative cover as though it were a substantial fitting.
- Photograph the cartridge's position before lifting it out. Carefully clean its seating area without scratching it or leaving grit behind.
- Insert the compatible replacement, aligning the locating tabs and seals. Reassemble to the manufacturer's tightening instructions.
Matching the cartridge diameter is not enough. Its height, spindle, inlet arrangement and locating points must also match. Take the old part or a reliable model reference to a plumbing merchant.
If the retaining nut is seized, stop rather than adding a long lever. Excessive force can crack the tap body, loosen its mounting or strain the connections below.
5. Base leaks, O-rings and mistakes to avoid
Water escaping around a swivel spout can indicate worn O-rings. Isolate the supply, remove the spout using its intended fixing method and replace the seals with identical ones. Apply a small amount of suitable lubricant only where specified, and inspect the housing for cracks.
Water collecting around the base may also have run down from a leak higher up. Silicone sealant around the base will not fix an internal tap leak, nor will it repair a leaking supply hose beneath the sink.
Avoid these common mistakes:
- Wrapping every thread in PTFE tape: many tap connections seal with a washer or O-ring, not the thread.
- Tightening harder to compensate for a damaged seal.
- Using bare pliers on chrome or other decorative finishes.
- Applying aggressive acids or mixing cleaning products.
- Reusing hoses that are cracked, corroded or distorted.
Where the local water is hard, limescale can make dismantling difficult. Use a compatible cleaner, observe its contact time and rinse thoroughly. Do not soak complete mechanisms unless the manufacturer expressly allows it.
6. Test the repair and budget for the job
Check that the tap is fully reassembled and the handle is off before restoring the supply. Open the isolation valves gradually to allow pressure to return.
- Run both cold and hot water. Some trapped air may come through initially.
- Turn the tap off and watch for continued dripping after residual water has drained from the spout.
- Dry all accessible connections and check them with kitchen paper, both with the tap running and switched off.
- Check again later and during the following day.
Indicative parts prices are €3–€15 for seals or washers, €10–€45 for valve headwork and €15–€70 for a cartridge. A straightforward professional repair may fall around €70–€160. Supplying and fitting a basic to mid-range replacement tap may cost roughly €100–€300.
These are guide ranges, varying with product quality, existing condition and location. Awkward access, unusual parts and emergency attendance can increase the bill. Ask whether the quote includes travel, parts, labour and Spanish VAT, known as IVA.
7. When it is better to call a professional
Stop and seek help if you cannot shut off the water, the tap is heavily corroded, its body is cracked or the leak appears to come from inside a wall. Concealed fittings, thermostatic mechanisms and stubborn components are also sensible reasons to involve a plumber.
If the tap still drips after the correct replacement part has been fitted, there may be seat damage, trapped debris or another fault requiring diagnosis. Replacing an ageing tap with unavailable spares may be more practical than paying for repeated repairs.
Take clear photographs of the tap, its connections and any model reference before requesting a quote. This helps explain the problem, although an inspection may still be needed. If your property is on the Costa del Sol, ReformaClick can help you find renovation companies and request quotes without obligation for repair or replacement.
Frequently asked questions
Why does my tap drip even when I turn it off tightly?
The washer, ceramic valve or cartridge may be worn, or debris may be preventing a proper seal. Extra force will not restore the seal and can damage the handle or mechanism.
Can I repair a dripping tap without turning off the water?
Do not dismantle the valve mechanism or supply connections under pressure. Isolate both hot and cold feeds, open the tap and confirm that the flow has stopped before starting.
How do I know which replacement cartridge to buy?
Use the tap's make and model, consult its parts diagram or take the old cartridge to a plumbing merchant. Diameter alone is insufficient: the spindle, height, inlets and locating tabs must also match.
Is it worth repairing a tap or should I replace it?
A repair usually makes sense when the body is sound and compatible spares are available. Replacement may be preferable for cracked, corroded or repeatedly leaking taps. Compare complete repair and replacement quotes.
Would you rather hire a professional?
Tell us about your project and we will connect you with renovation companies on the Costa del Sol. No obligation.
Get a quote